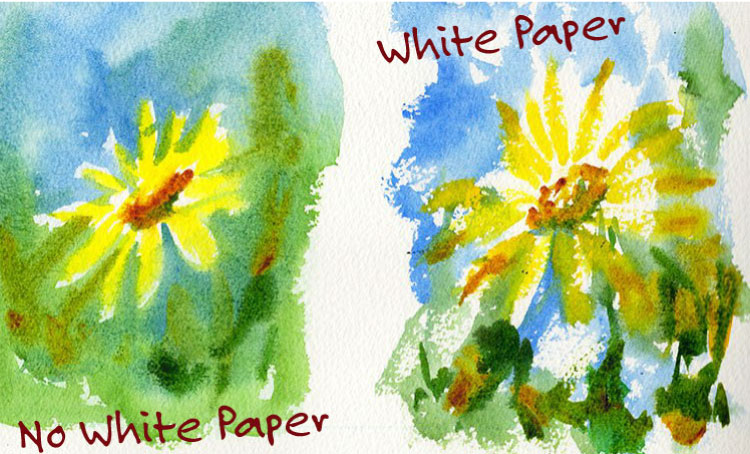
1. Not Leaving White Paper at the Beginning
One of the first instructions we get in watercolor painting is something along the lines of "Paint a nice wash of cobalt blue over the entire sky with a big flat brush."
The only part of that instruction I agree with is a big brush (and we all know I prefer rounds.) I agree with painting the entire sky in one go, but leaving holes is critical. If we don't leave holes in our washes we lose the sparkle of white paper.
You can always use white gouache to place white where you happened to lose it, but if you lose the white paper sparkle then you're pretty much limiting yourself to painting a dull lifeless scene. Sometimes this works for night or rainy days. But even on rainy days we want a little bit of sun coming through the clouds and giving life to our work.
You can regain light color by scrubbing out paint or using gouache but you can never regain the effervescent sparkle of pristine white paper.
Always leave at least 1/4 of your paper white on the first wash. Paint all over your painting but leave lots of holes. When in doubt, leave white paper!
Disclaimer: Jennifer Branch Gallery is a participant in the Amazon Services LLC Associates Program, an affiliate advertising program designed to provide a means for sites to earn advertising fees by advertising and linking to amazon.com. I receive a small rebate for your entire order (starting at 4%) if you choose to purchase through Amazon. Most items can be bought multiple places and I highly recommend local art stores if you have one! Any other recommendation links I receive no compensation for.
These referrals help me support this website, and I thank you for any purchase you make through them. I will never recommend a product I have not used frequently and believe is the best tool for the purpose!
2. Too Many Colors
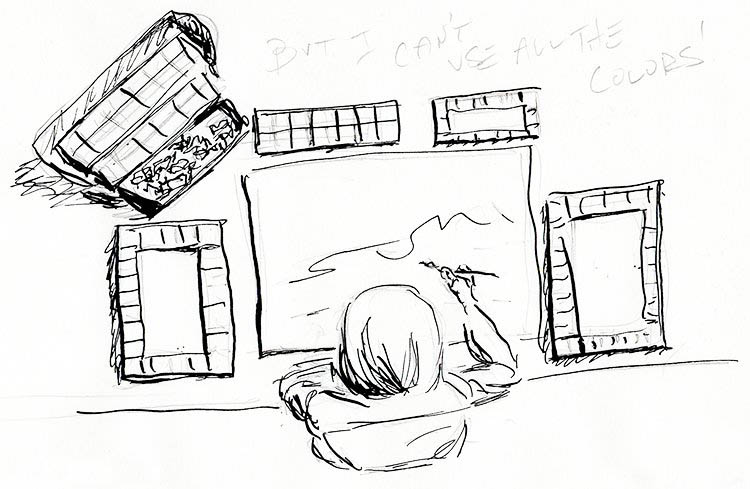
But I can't use ALL the colors!
I can't tell you how many workshop students show up with a few tackle boxes of pigments!
(I have to admit, I have a few extra paints myself.)
I always tell beginner watercolorists to stick to 3 pigments in a wash before letting the painting dry completely. Advanced artists can get away with more pigments, but the danger point starts at more than 3.
Keep in mind many paint colors are already mixes of several pigments. That's why most paint tubes I use only contain one pigment to start. They're not convenience mixes, which have lovely colors from the beginning - but then you can't mix them with anything before you get mud! I do a lot of color mixing and I'd be limited from the beginning if the paint tube contains 3 pigments.
I've seen scientific studies where they "prove" it makes no difference if you throw all the paints on at once or you carefully paint layers. They are wrong. Unequivocally wrong. Half of the point of watercolor is the multiple layers of paint. It makes a difference which pigments float on top which pigments. But today I'm not talking about pigment size or how to get a yellow green versus a green yellow.
If you stick to a limited palette of 12 pigments and only use 3 of those pigments at a time, your paintings will look gorgeously bright and fresh compared to someone else using every color they can get their hands on.

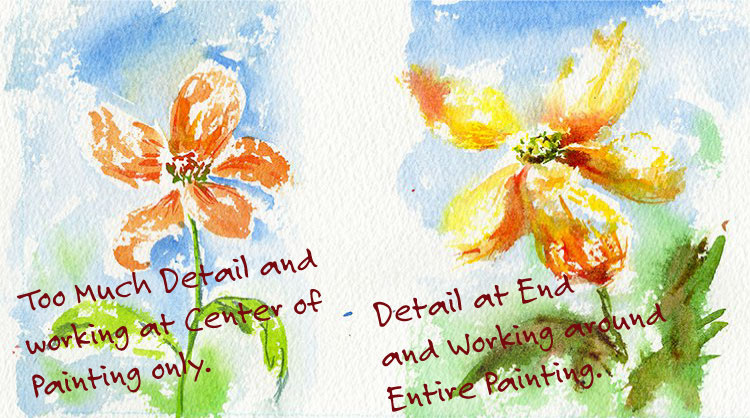
3. Too Much Detail At Beginning
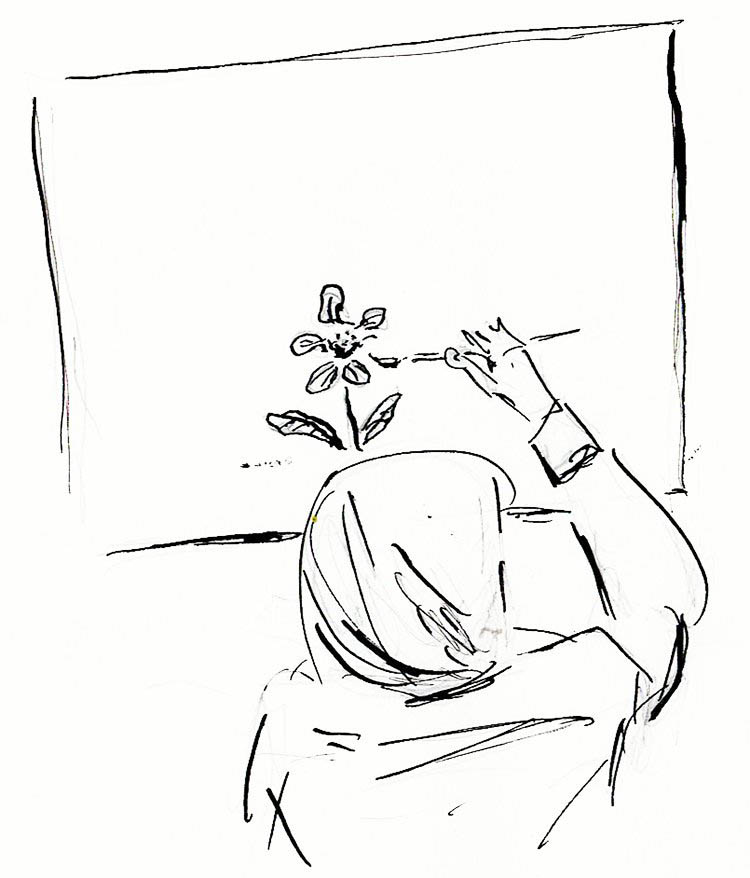
See how isolated this beautifully detailed flower is? It will be nearly impossible to connect the flower with the landscape around it.
Too much detail and painting only at the very center of interest are interlinked problems. I've never seen a student who didn't do both together - or fix both together!
First, too much detail. If you're painting tiny details at the beginning of a painting you're not thinking about the big shapes and value pattern in the painting. You're not thinking big shapes and color temperature pattern.
You're painting each and every stamen on a lovely detailed flower. That flower is usually isolated in the very center of interest, floating in space. All of that detail you've done usually then migrates to the rest of the painting. You've set a high standard for precise details and you want to continue that detail throughout the painting.
Problem #1: When you start with tiny details instead of big shapes your proportions are off.
Even if you're drawn everything beautifully, the shapes of the colors and shadows are just a bit off. If you start big and work toward small shapes you're much more likely to have those proportions right.
Problem #2: If you put a lot of detail in at the beginning of a painting, you tend to put detail everywhere in that painting.
This makes the painting extremely fussy. By putting unnecessary detail away from the center of interest you're drawing the viewer's eyes away from where you want them to go. Not good.
If you put the details in very last, you only use as much as absolutely necessary. The simplest way to force yourself into this habit is to use a big brush for 90% of your painting!
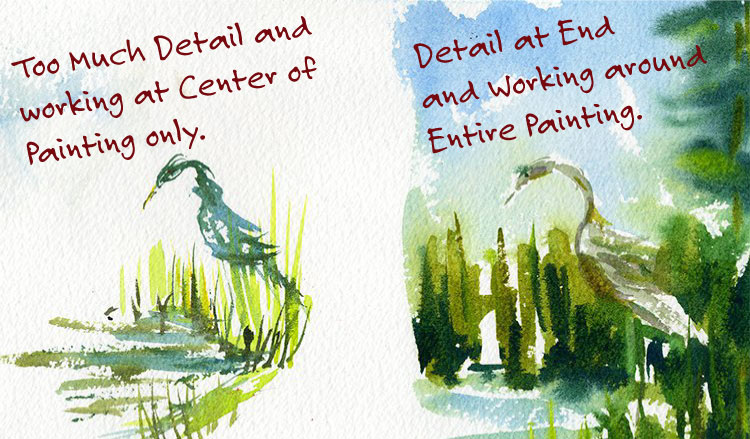
4. Working only in the Center
Artist's Tips
Decide where you're going from the start. Are you painting a little sketch or a powerful composition?
It can't be both!
If you start off painting only at your center of interest and don't move around your painting, your center of interest will be isolated from the rest of your painting. It's always going to look like a cutout pasted on your painting rather than an integrated part of your painting.
An isolated little sketch is charming to remember a scene, but it's not a finished painting. A finished composition works the entire paper, not just a little patch in the middle.
The background of a painting is planned from the beginning, not an afterthought. Everything in the background directs the viewer's eyes where you want them to go.
5. Clean Water!
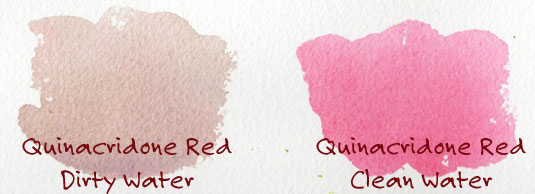
A picture speaks a thousand words - that's the point of all this anyhow!
If you use dirty water to paint with, you'll get dirty looking paintings. You can see how much a clear pinkish-red like quinacridone red changes without changing the paint from my little egret sketches. That was a very tiny sketch to make that much difference. Imagine not changing the water on a full sheet painting before you start that perfect pink rose!
Change the water with every wash, minimum!
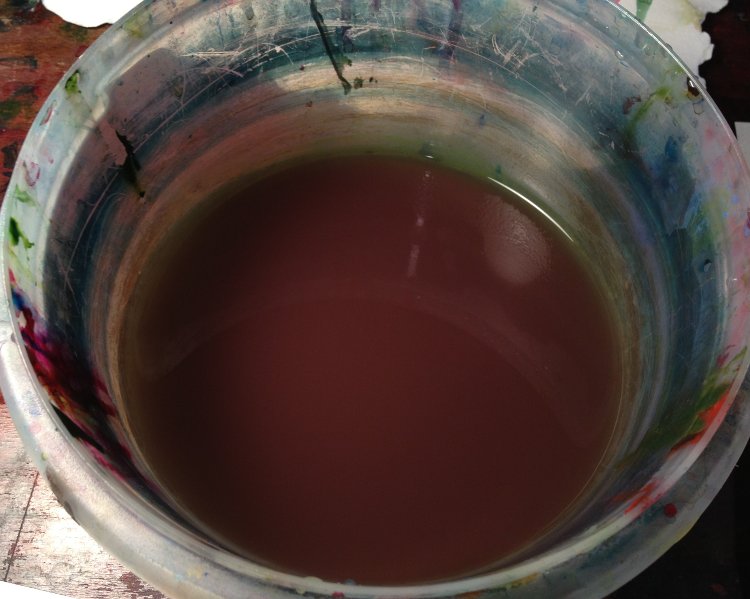
Look at how muddy water gets after 1 wash!
These beginner watercolor painting mistakes are all very easy to avoid. Some, like changing water or working all over your painting, are just changing a habit. Using a big brush to avoid tiny detail at the beginning is easy. Limiting yourself to 3 colors in every wash is a simple thing to do.
All of these little painting habits will make your paintings dramatically better. Your colors will be brighter (or more the color you wanted them to be!) Your compositions will be more simple and bolder.
These are a few simple habits to change your paintings for the better!
Homework!
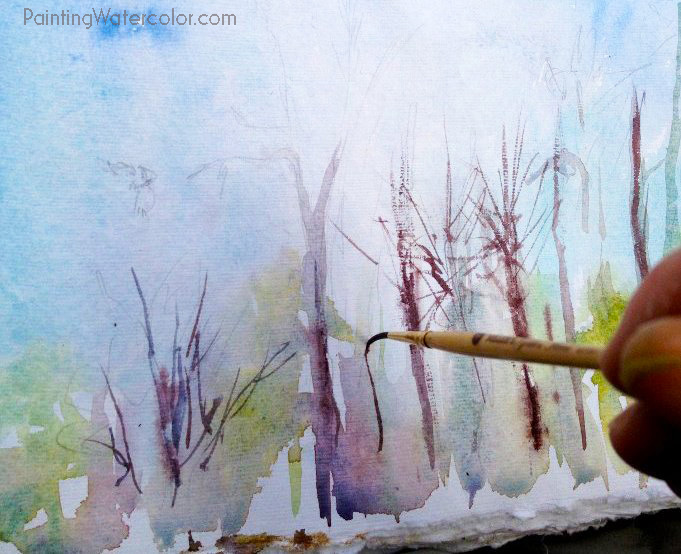
Try painting a sky with a really big brush (at least a #14 Round). Paint at least 3 layers, drying in between layers.
Layer #1
Paint 2/3 of the painting at most, hitting all quadrants equally.
Let this dry completely!
Change Water!Layer #2
Paint only 50% of what you just painted, still using the big brush.
Let this dry completely!
Change Water!Layer #3
Paint only 10% of what you've already painted. You can use a small brush for 2%.
I think you'll be amazed at how lovely your sky looks!