Painting Demonstration 1
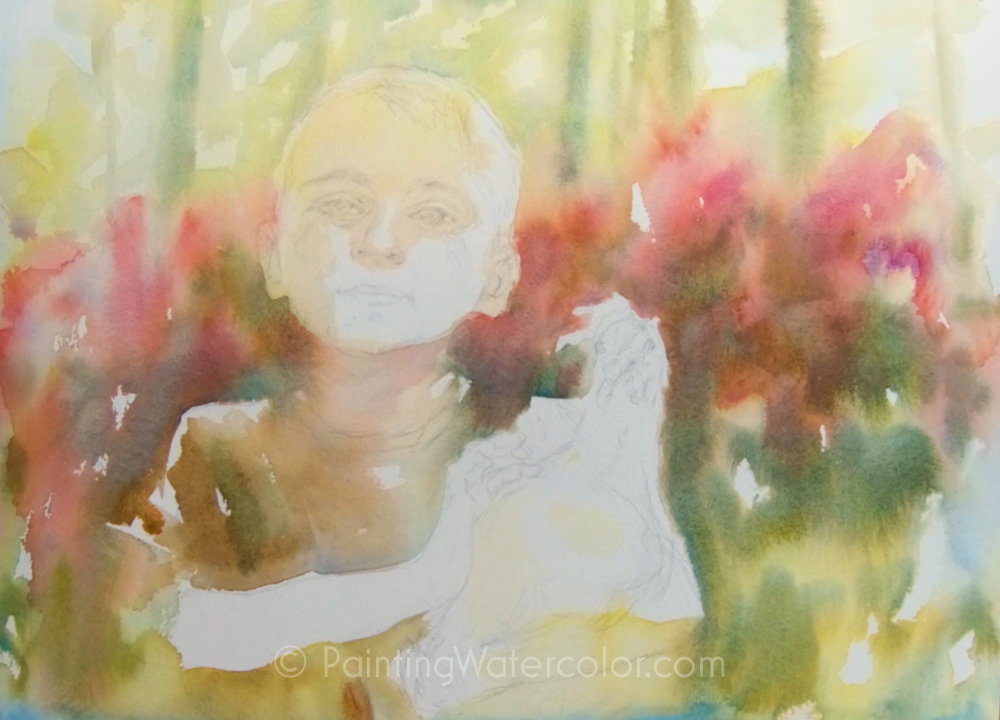
I paint the background very quickly and loosely, with my squirrel mop brush. I don't want any detail at all to distract from the portrait subject. I pull the background into the shadows on the figure and the chicken so they are integrated.
Disclaimer: Jennifer Branch Gallery is a participant in the Amazon Services LLC Associates Program, an affiliate advertising program designed to provide a means for sites to earn advertising fees by advertising and linking to amazon.com. I receive a small rebate for your entire order (starting at 4%) if you choose to purchase through Amazon. Most items can be bought multiple places and I highly recommend local art stores if you have one! Any other recommendation links I receive no compensation for.
These referrals help me support this website, and I thank you for any purchase you make through them. I will never recommend a product I have not used frequently and believe is the best tool for the purpose!
Painting Demonstration 2
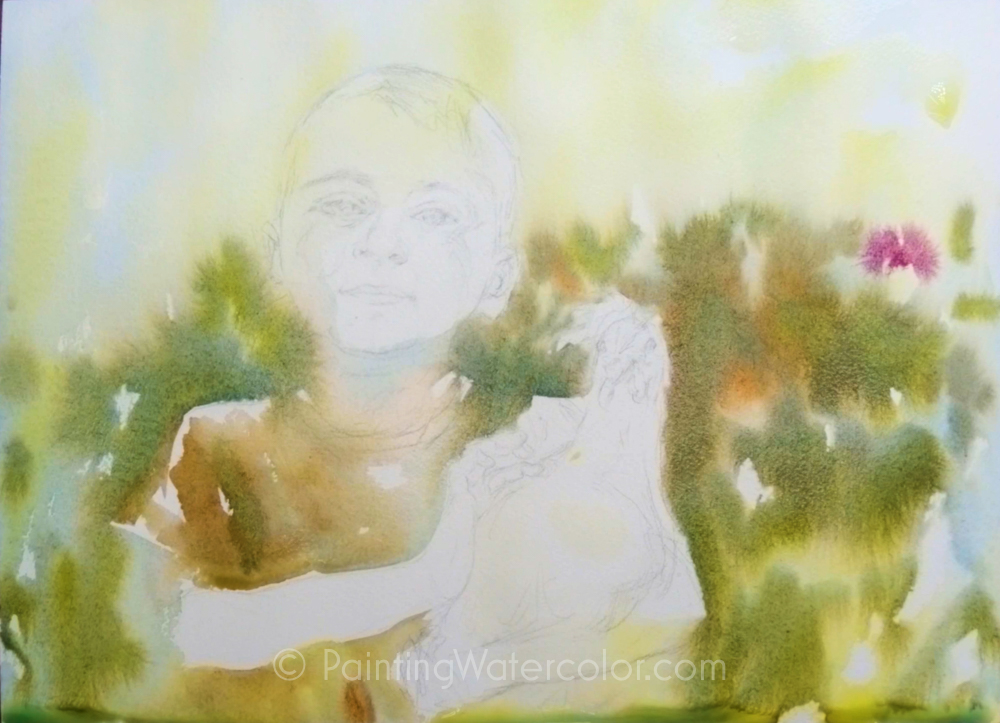
I'm using the same colors for the background as in the figure. There's the wonderful pyrrol red in the azaleas that's echoed in the skin and later in the chicken's comb.
There's really no separation in the shadow areas between the subject and background. However, I leave the highlight areas completely white paper.
Painting Demonstration 3
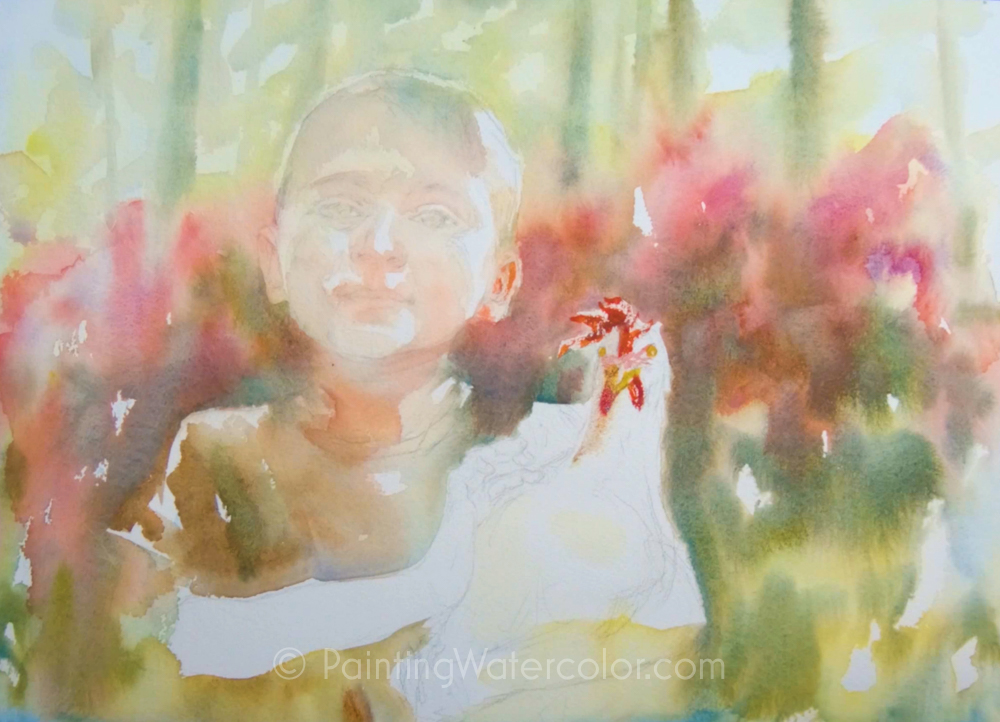
The azaleas' color is in the chicken's comb. A nice bright red.
I'm just modeling the shapes of the face in this stage. I round the cheeks, deepen the eye sockets and push back the hairline. The first detail is really the bright red of the ear.
Artist Tips
Leave your paper white in the highlight areas. This gives you more options later!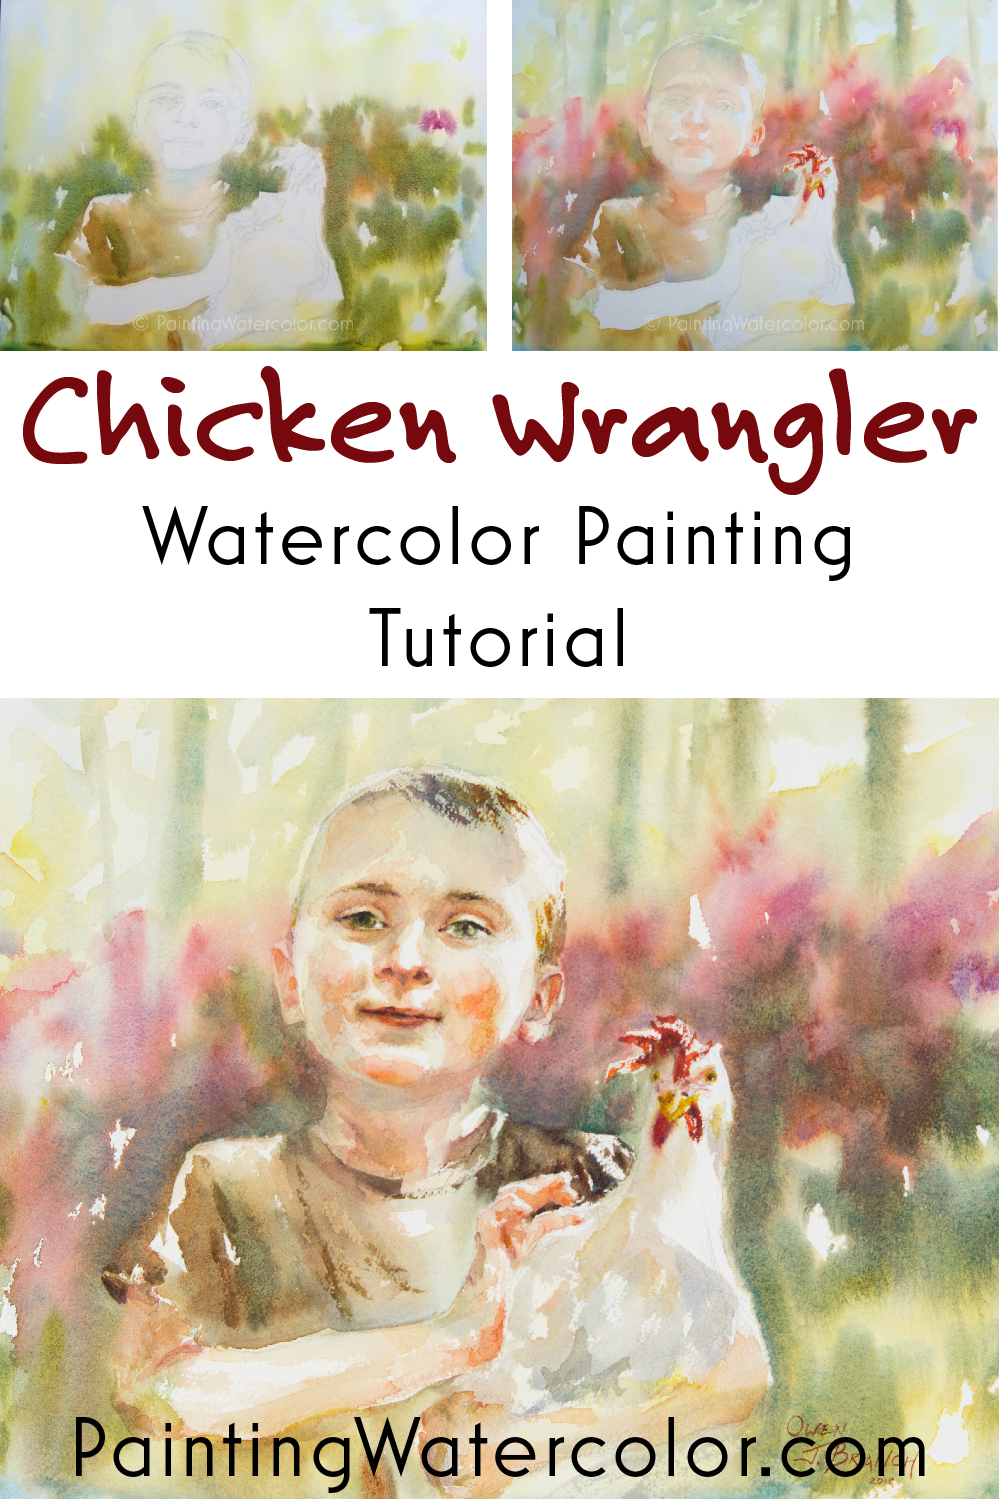
Painting Demonstration 4
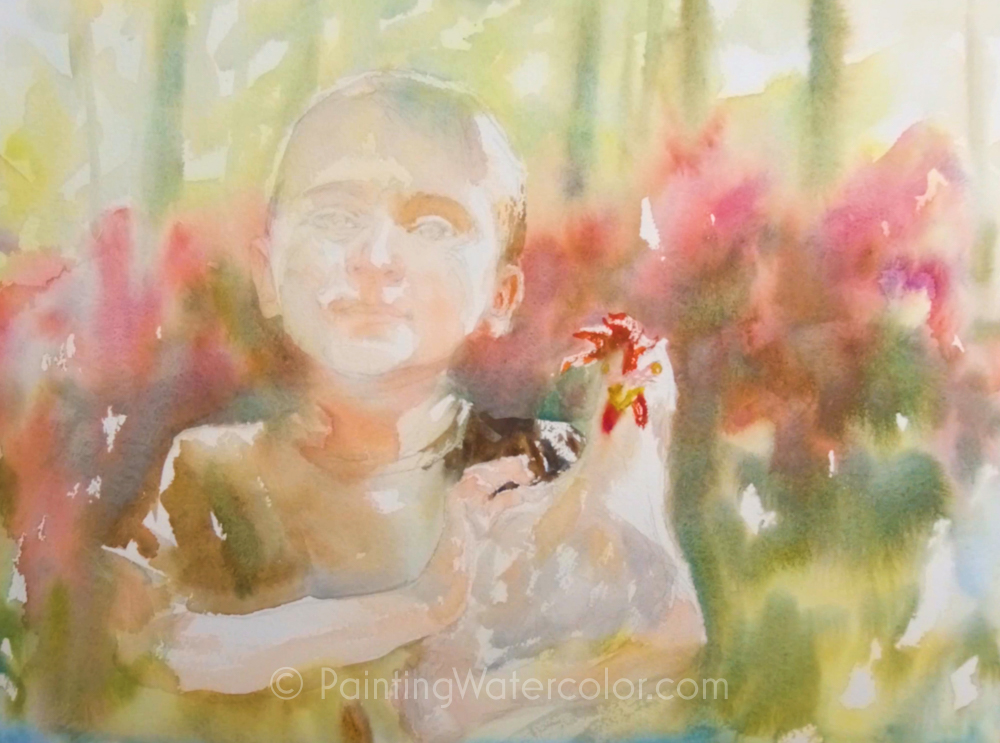
This is mostly about the chicken! It's a white chicken, so there are a lot of great reflections on the white feathers. I'm keeping the feathers pretty soft, so they don't distract too much from the portrait and the hand.
I start painting the hand using the same colors I used in the face. There's a bit more pink in the hand since I see a lot of the palm. I try to keep it fairly loose, but still leave some highlights.
Painting Demonstration 5
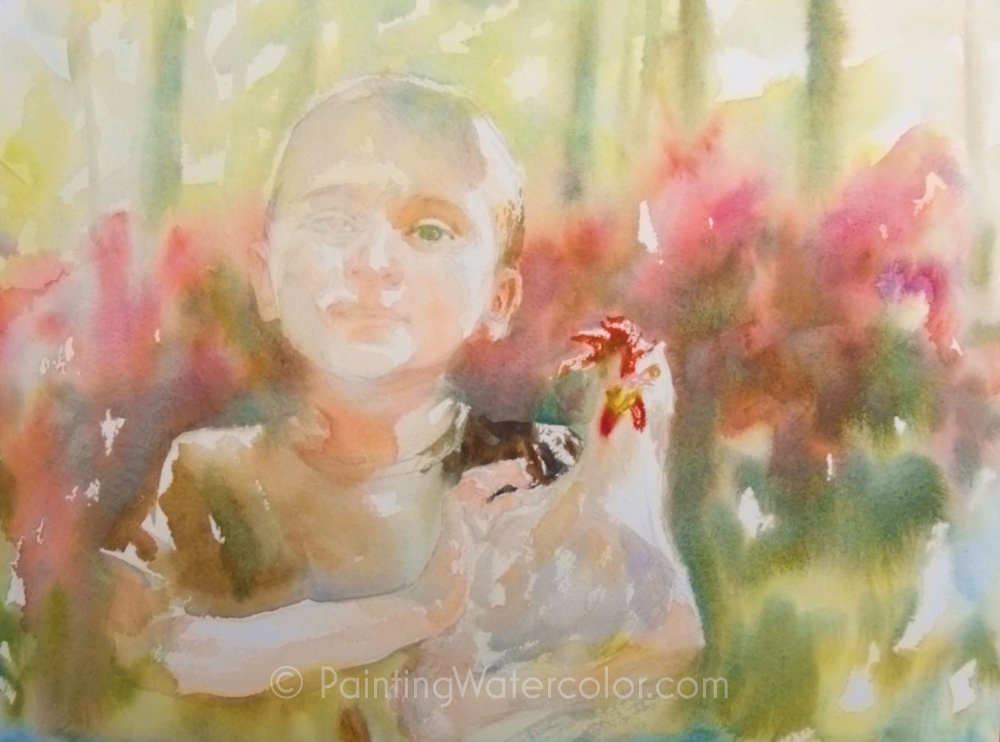
I begin the second wash on the face with an eye, since I want eyes to have more detail than the rest of the face. I don't start with the eye color, I begin with the shadows behind the eye, in the eye socket. Then, I gradually build up the detail around that.
Painting Demonstration 6
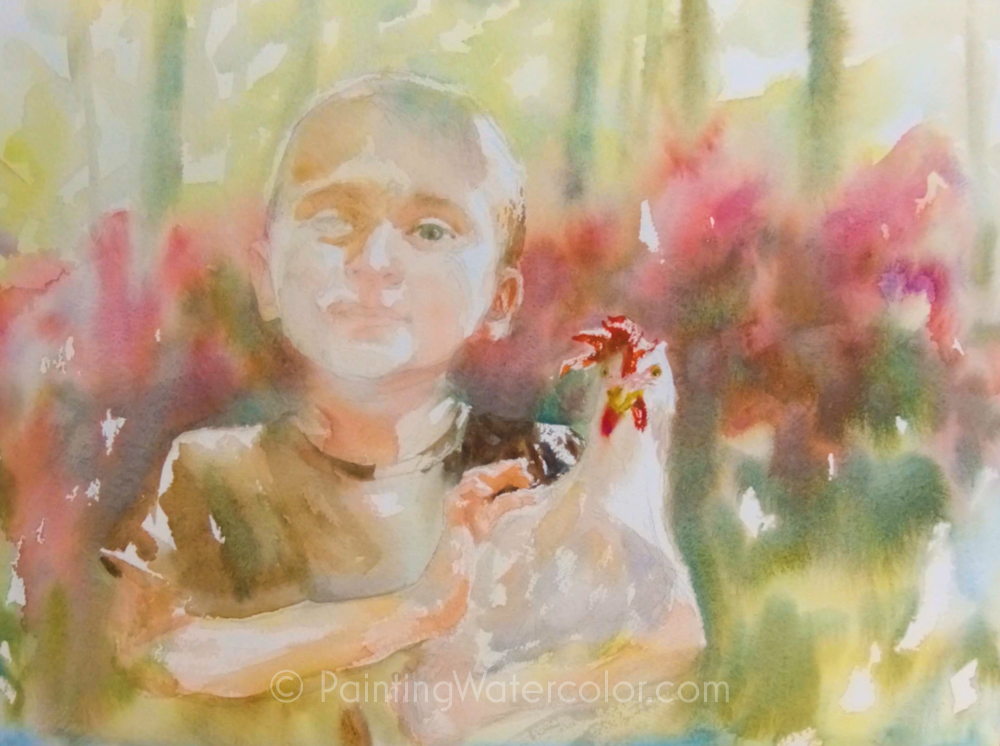
When I paint the pupil, I blur it a bit with the surrounding iris. Since I've painted the entire iris already, the colors are integrated well. Sometimes I leave paper white for the reflection, sometimes I go back and add it. It really doesn't matter for this.
Painting Demonstration 7
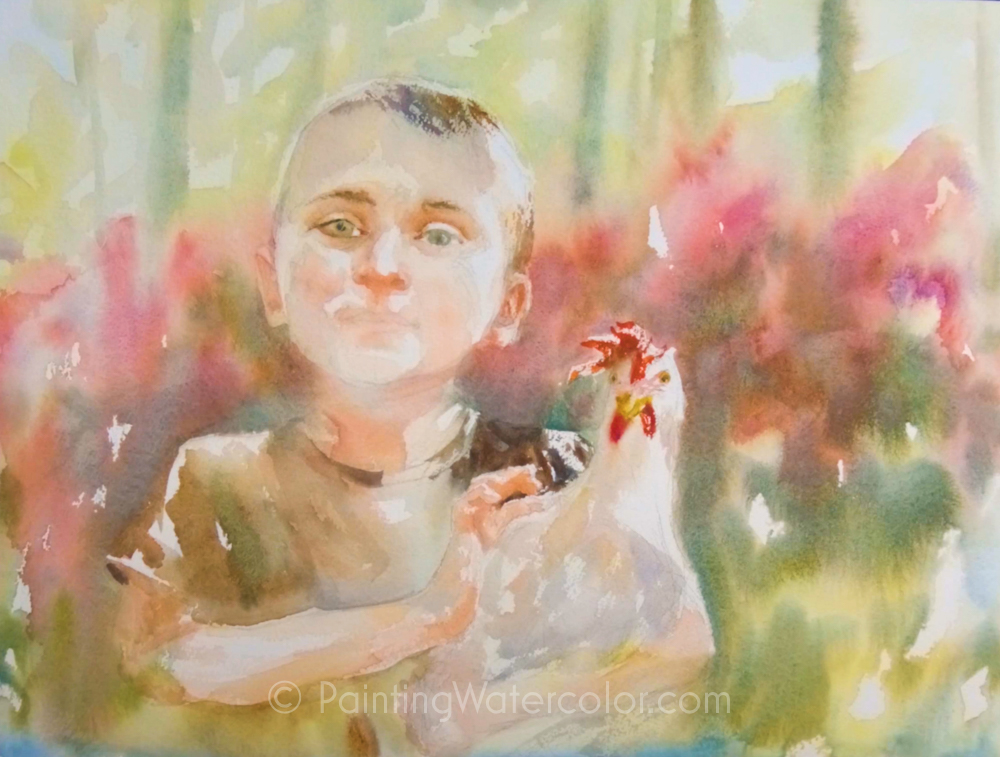
I paint the second eye the same way, starting with the socket and then adding the details. After this, I make sure the details of eyelashes and iris are blurred in most places. Lots of lost and found edges!

Chicken Wrangler Final Watercolor Painting!
I love how this one turned out and it's now hanging on my wall.
It means so much to take the time to paint someone you love. I hope this inspires you to paint a loved one's portrait soon.


