Painting Demonstration 1
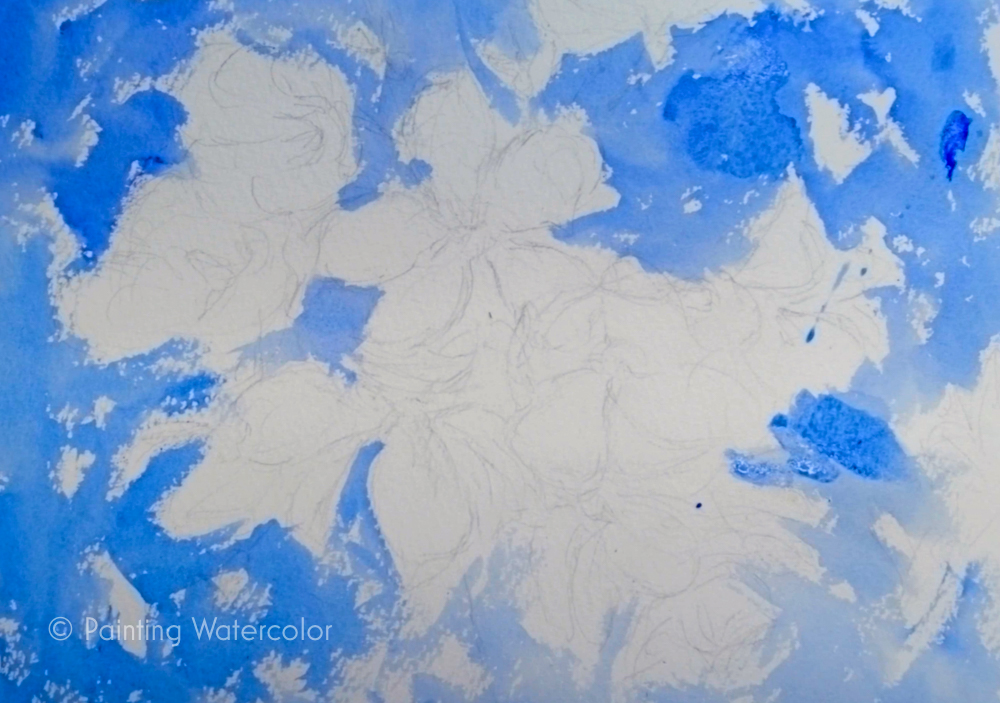
Before I begin painting, I reserve a few highlights with a wax crayon.I keep this to just a few of the very white highlights and press lightly for a hit and miss effect on the paper.
I start with a very loose wash of cobalt blue and ultramarine blue. I leave lots of whites to look like distant cherry blossoms.
Disclaimer: Jennifer Branch Gallery is a participant in the Amazon Services LLC Associates Program, an affiliate advertising program designed to provide a means for sites to earn advertising fees by advertising and linking to amazon.com. I receive a small rebate for your entire order (starting at 4%) if you choose to purchase through Amazon. Most items can be bought multiple places and I highly recommend local art stores if you have one! Any other recommendation links I receive no compensation for.
These referrals help me support this website, and I thank you for any purchase you make through them. I will never recommend a product I have not used frequently and believe is the best tool for the purpose!
Painting Demonstration 2
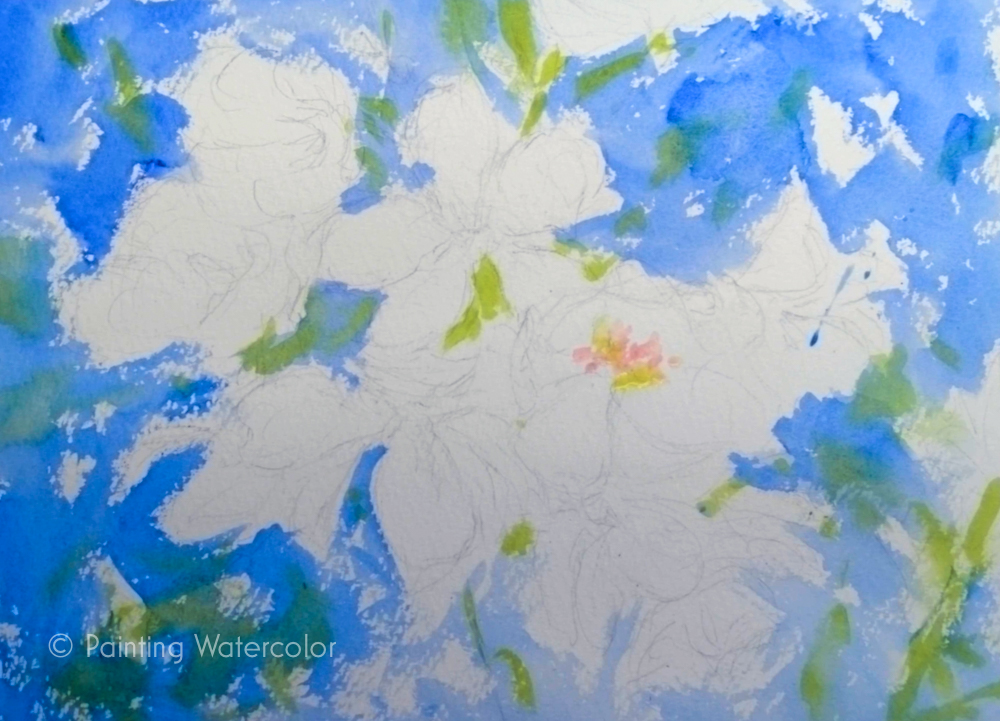
I add some nice bright spring greens with a lot of azo yellow. Once the negative painting is done, it's time to start painting the actual subject of the painting - the cherry blossoms!

Painting Demonstration 3

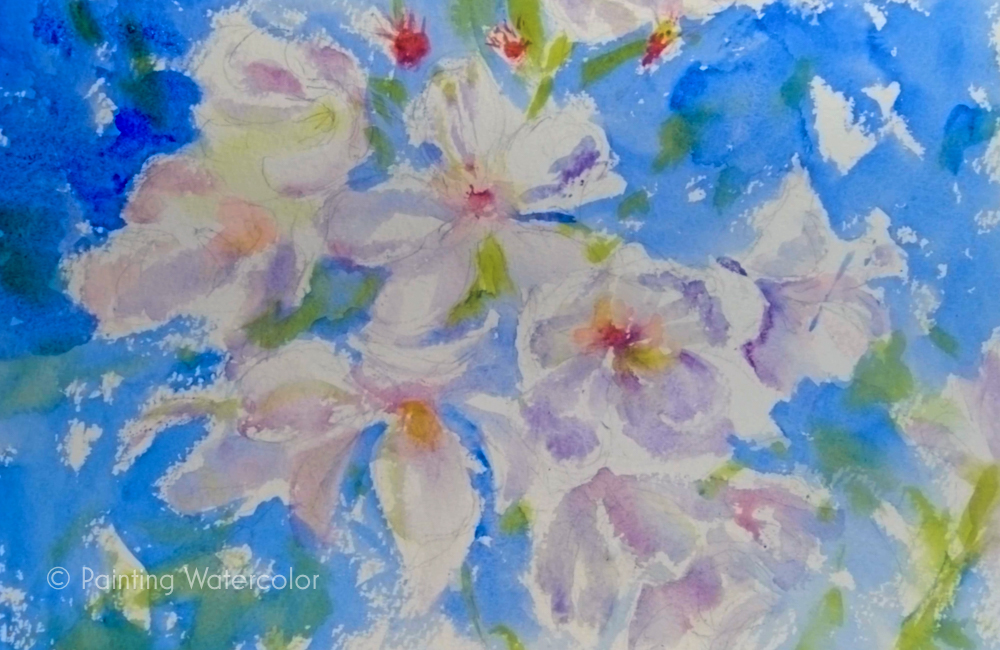
I'm using very subtle cobalt violet and cobalt blue in the flower petals with just slight hints of quinacridone red.
The rough press paper is perfect for the loose, hit and miss strokes.
Artist Tips
Don't paint every edge and detail. Leave your strokes loose.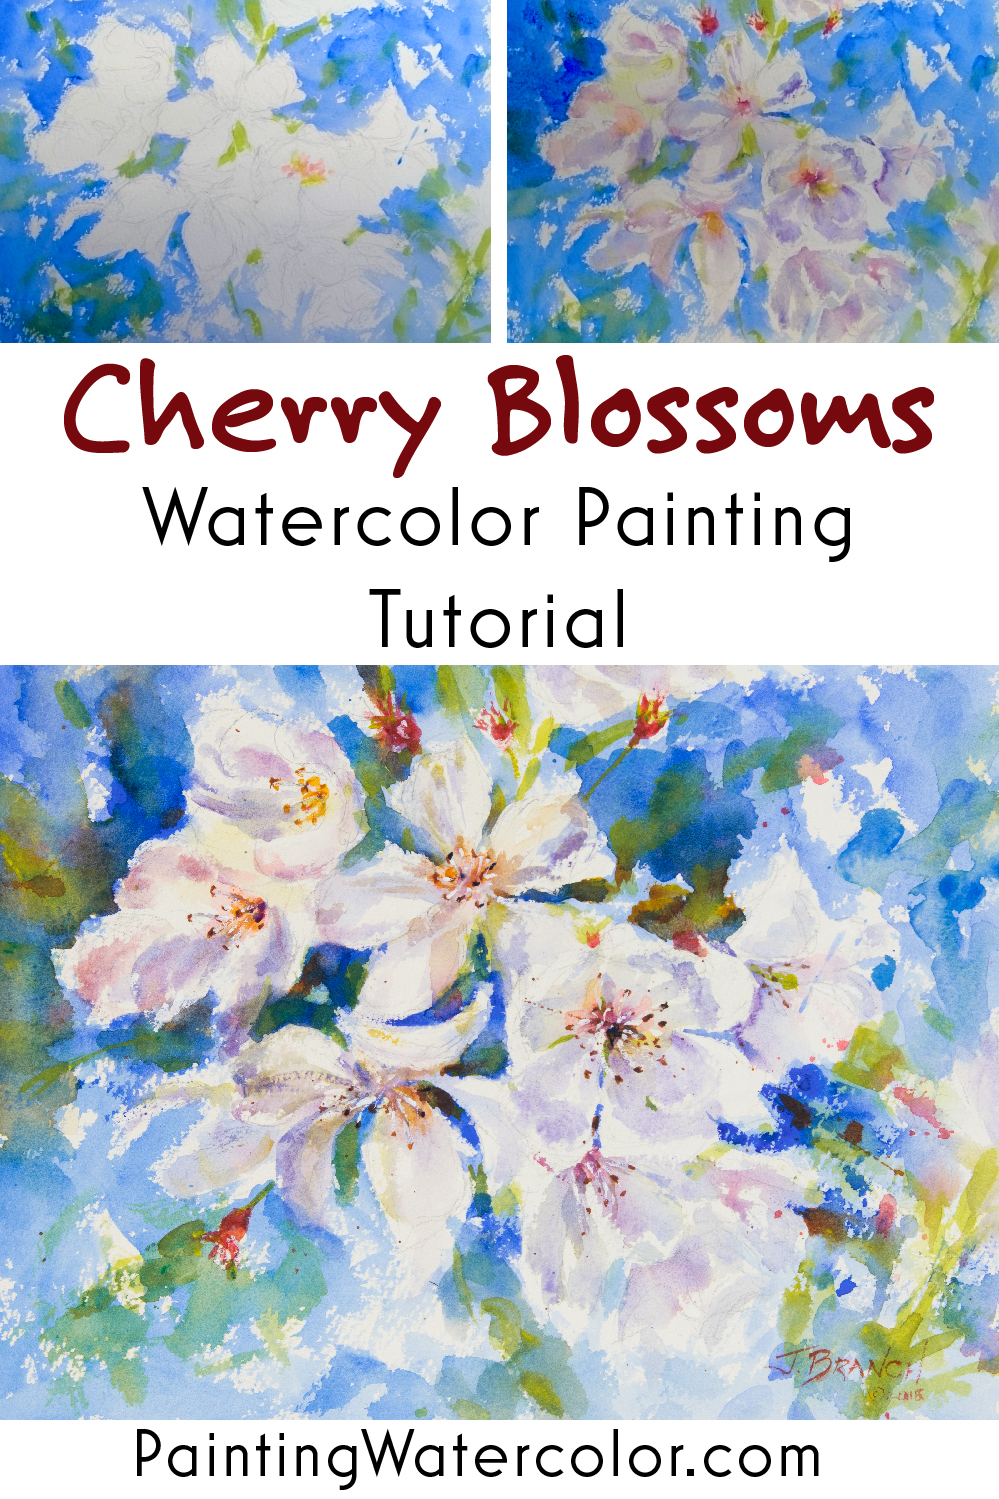
Painting Demonstration 4
Continue very lightly moving around the painting. Remember, white flowers are subtle!
The flowers that have already dropped their petals are a lovely bright pink mixed with green. Great contrast!
Painting Demonstration 5
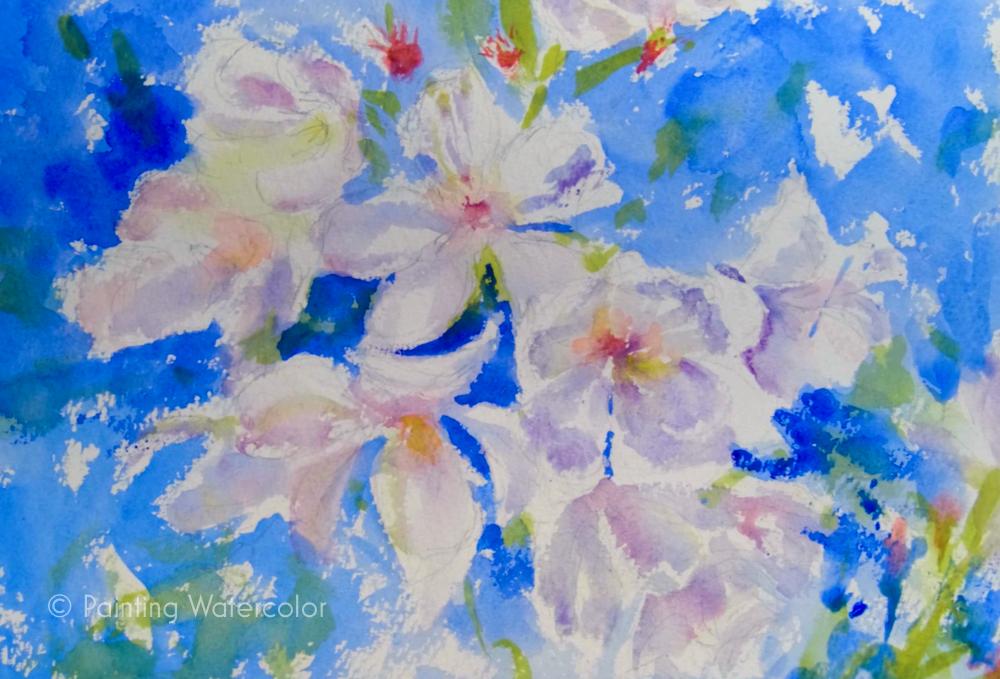
Now I'm increasing the contrast between the flowers and the sky in just a few places. Keep this simple and very light. The rough press texture is your friend!
Painting Demonstration 6
Let it dry just a bit before you start adding the delicate filaments. Otherwise it will blur everywhere!
Painting Demonstration 7
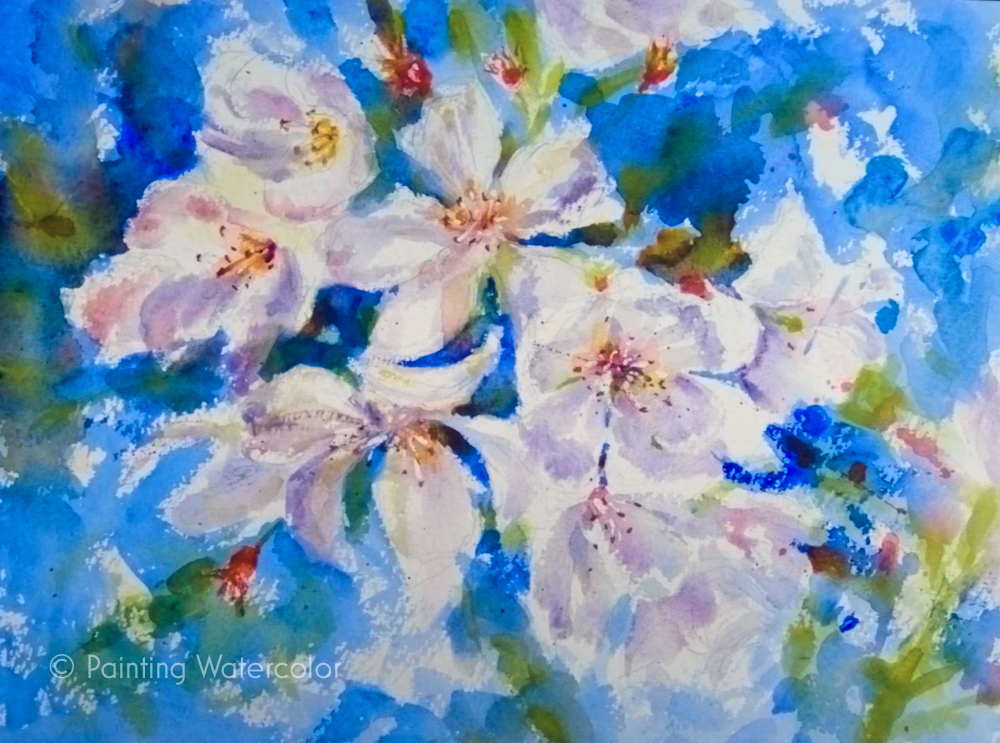
I add the delicate filaments in white gouache. Reserving the gouache would have felt clunky. It's one of the cases that only gouache would work well.
A bit of splatter paint loosens up the center of the flowers.

To purchase Cherry Blossoms Painting Tutorial original watercolor painting, please click!
Cherry Blossoms Painting Tutorial Final Watercolor Painting!
A few more darks behind the flowers and a few subtle details and the painting is done!
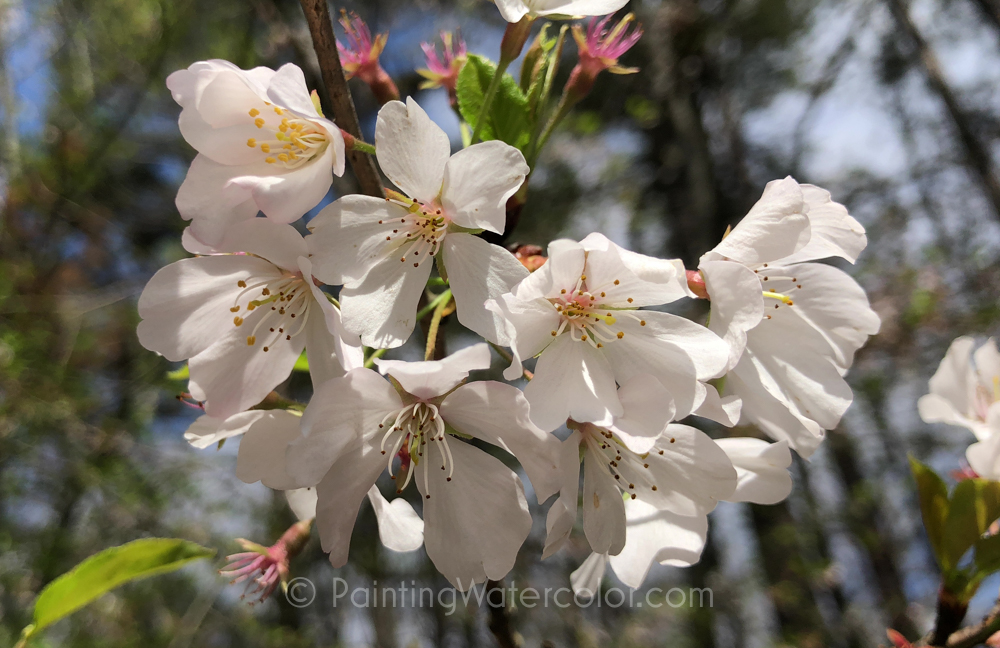
I love this huge cherry tree in my front yard. I've painted it for years, but I always find something new every year to paint. It's one of the joys of spring for me!
I hope this inspires you to paint a flowering tree near you this spring!