Painting Demonstration 1
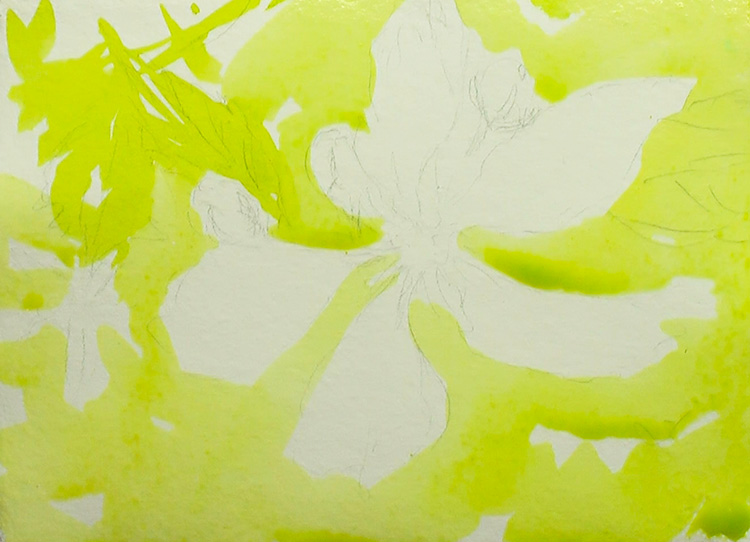
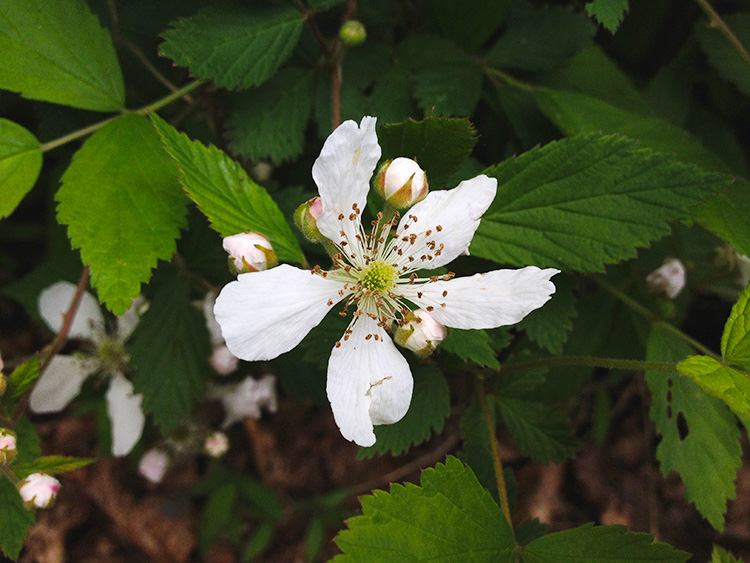
I start the watercolor painting with my usual mix of pthalocyanine green and azo yellow. The greenish yellow is a good, luminous background for flowers. Since the blackberry flowers are translucent, I can see some of the greens and blues of the background in the whites of the petals. I'm remembering that in my first wash.
I'm basically outlining the flower, but leaving lots of whites to sparkle. After all, there are more flowers in the distance!
Painting Demonstration 2
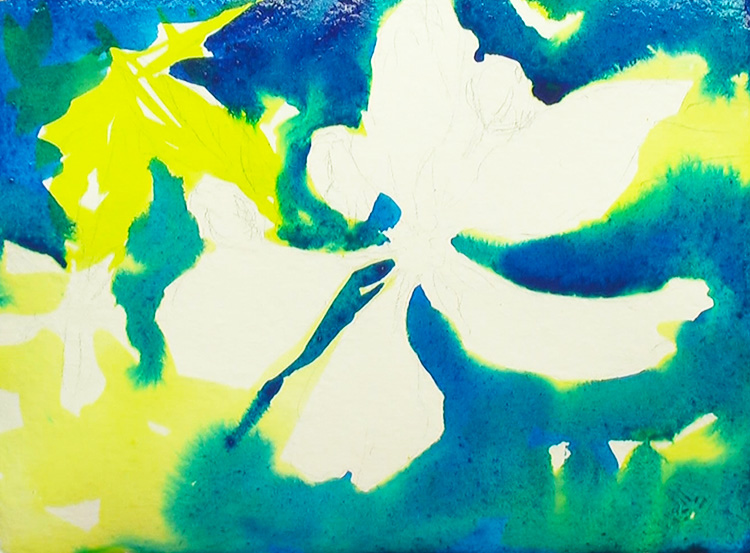
In the video, I speed things up a bit!
I drop rich pthalocyanine blue into the pale yellow-green background. Everything blurs together in the wet into dry wash, leaving the white flower outlined in dark values. This contrast always makes painting white flowers so much fun!
Remember pthalo blue is extremely staining, so only put it where you want to keep it!
Painting Demonstration 3

Working with the very wet wash, I drop burnt sienna, ultramarine blue and pthalo green / yellow in. I let all the colors flow together, not overworking it.
Now I have a good dark background the white flower will glow against. I let it dry completely before I start the next wash.
Artist Tips
When using an dip ink pen on an almost finished painting, always test it on a scrap of paper first!
Painting Demonstration 4
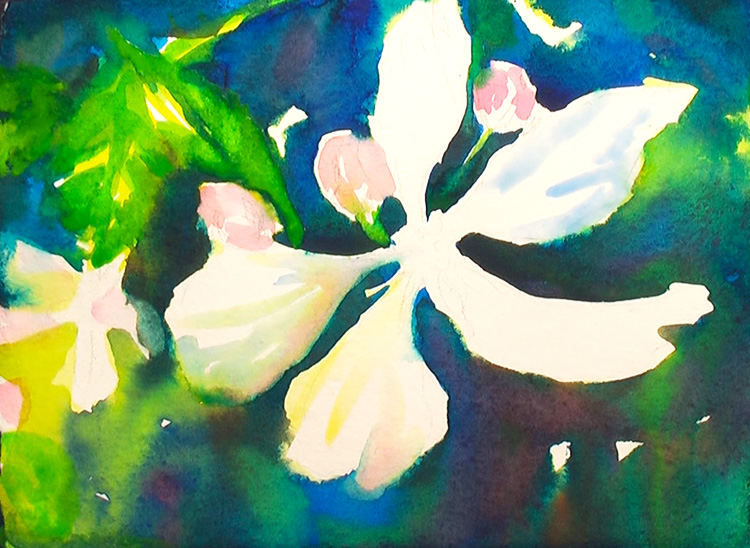
I start out very pale on the white flower. I want to maintain the tranlucent white of the flower. I need to not make any mistakes that would need gouache!
I paint some yellow, ultramarine blue and quinacridone red. I also use clean water and the pale washes to pull paint in from the edges of the flower.
I work a little on the leaves in the background. I don't want too much detail there, just enough to say they are blackberry leaves. The little blackberry flower I also hint at. Not much, a few strokes defining it as a flower.
The little pink buds I roughly define.
Painting Demonstration 5
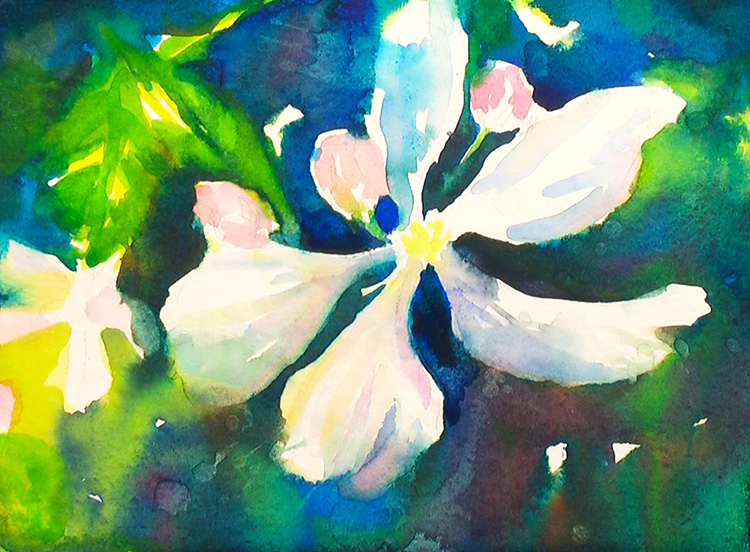
I continue pulling paint in from the background into the flower. This creates lost and found edges. Shadowed areas are blurred into darkness. Highlighted edges still show up stark against the dark background.
When you're painting something like a flower, let your brush strokes move with the growth pattern of the petals. The blackberry flower has lines radiating out from the center, so move move your brush along those lines.
Painting Demonstration 6
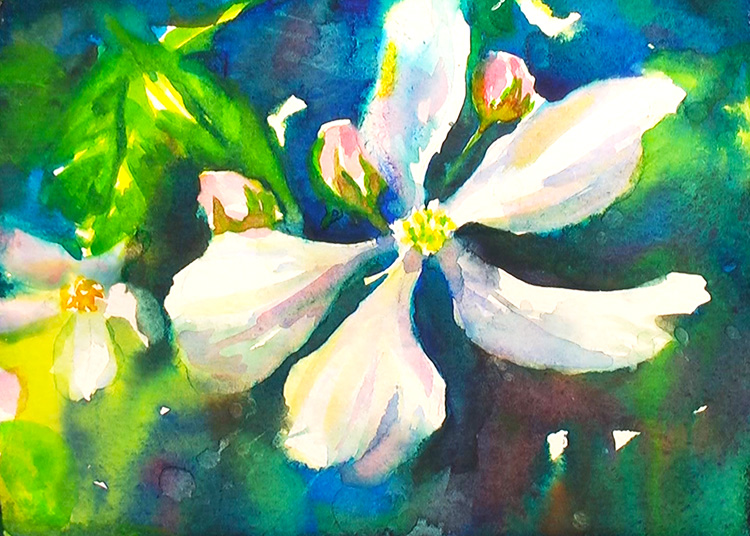
A bit more softening of the flower edges finishes the lost and found edges effect. I add a bit of detail to the flower center in yellow and green. I also paint shadows, ultramarine blue and pulling in background color, under the flower center. This really starts the three dimensional feel.
Let this dry completely!
Painting Demonstration 7
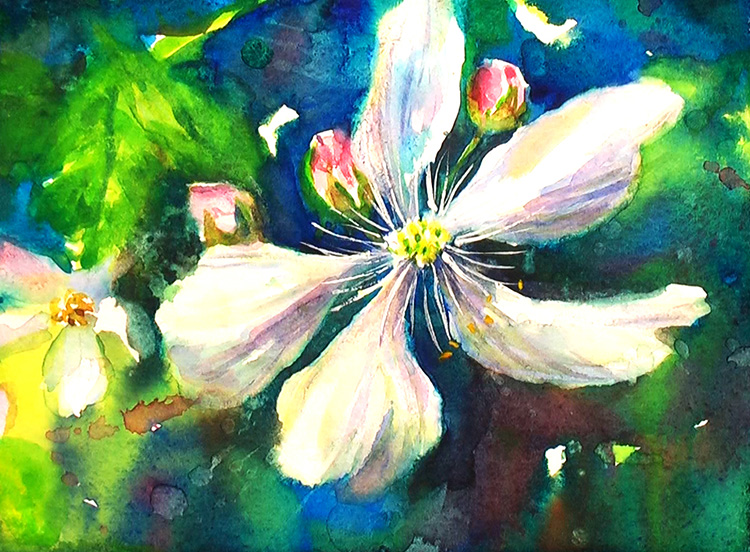
I paint the blackberry flower stamens in white gouache. I like the contrast between the opaqueness of the gouache on top of the transparent flower.
If you don't feel like using gouache, you can mask it from the start - but that would be rather stilted in comparison. You could use a razor blade to pull out the stamens, but that would be a rough scratchy feel instead of smooth stamens and you don't have the opaque / translucent contrast. Think about these things before you start painting!
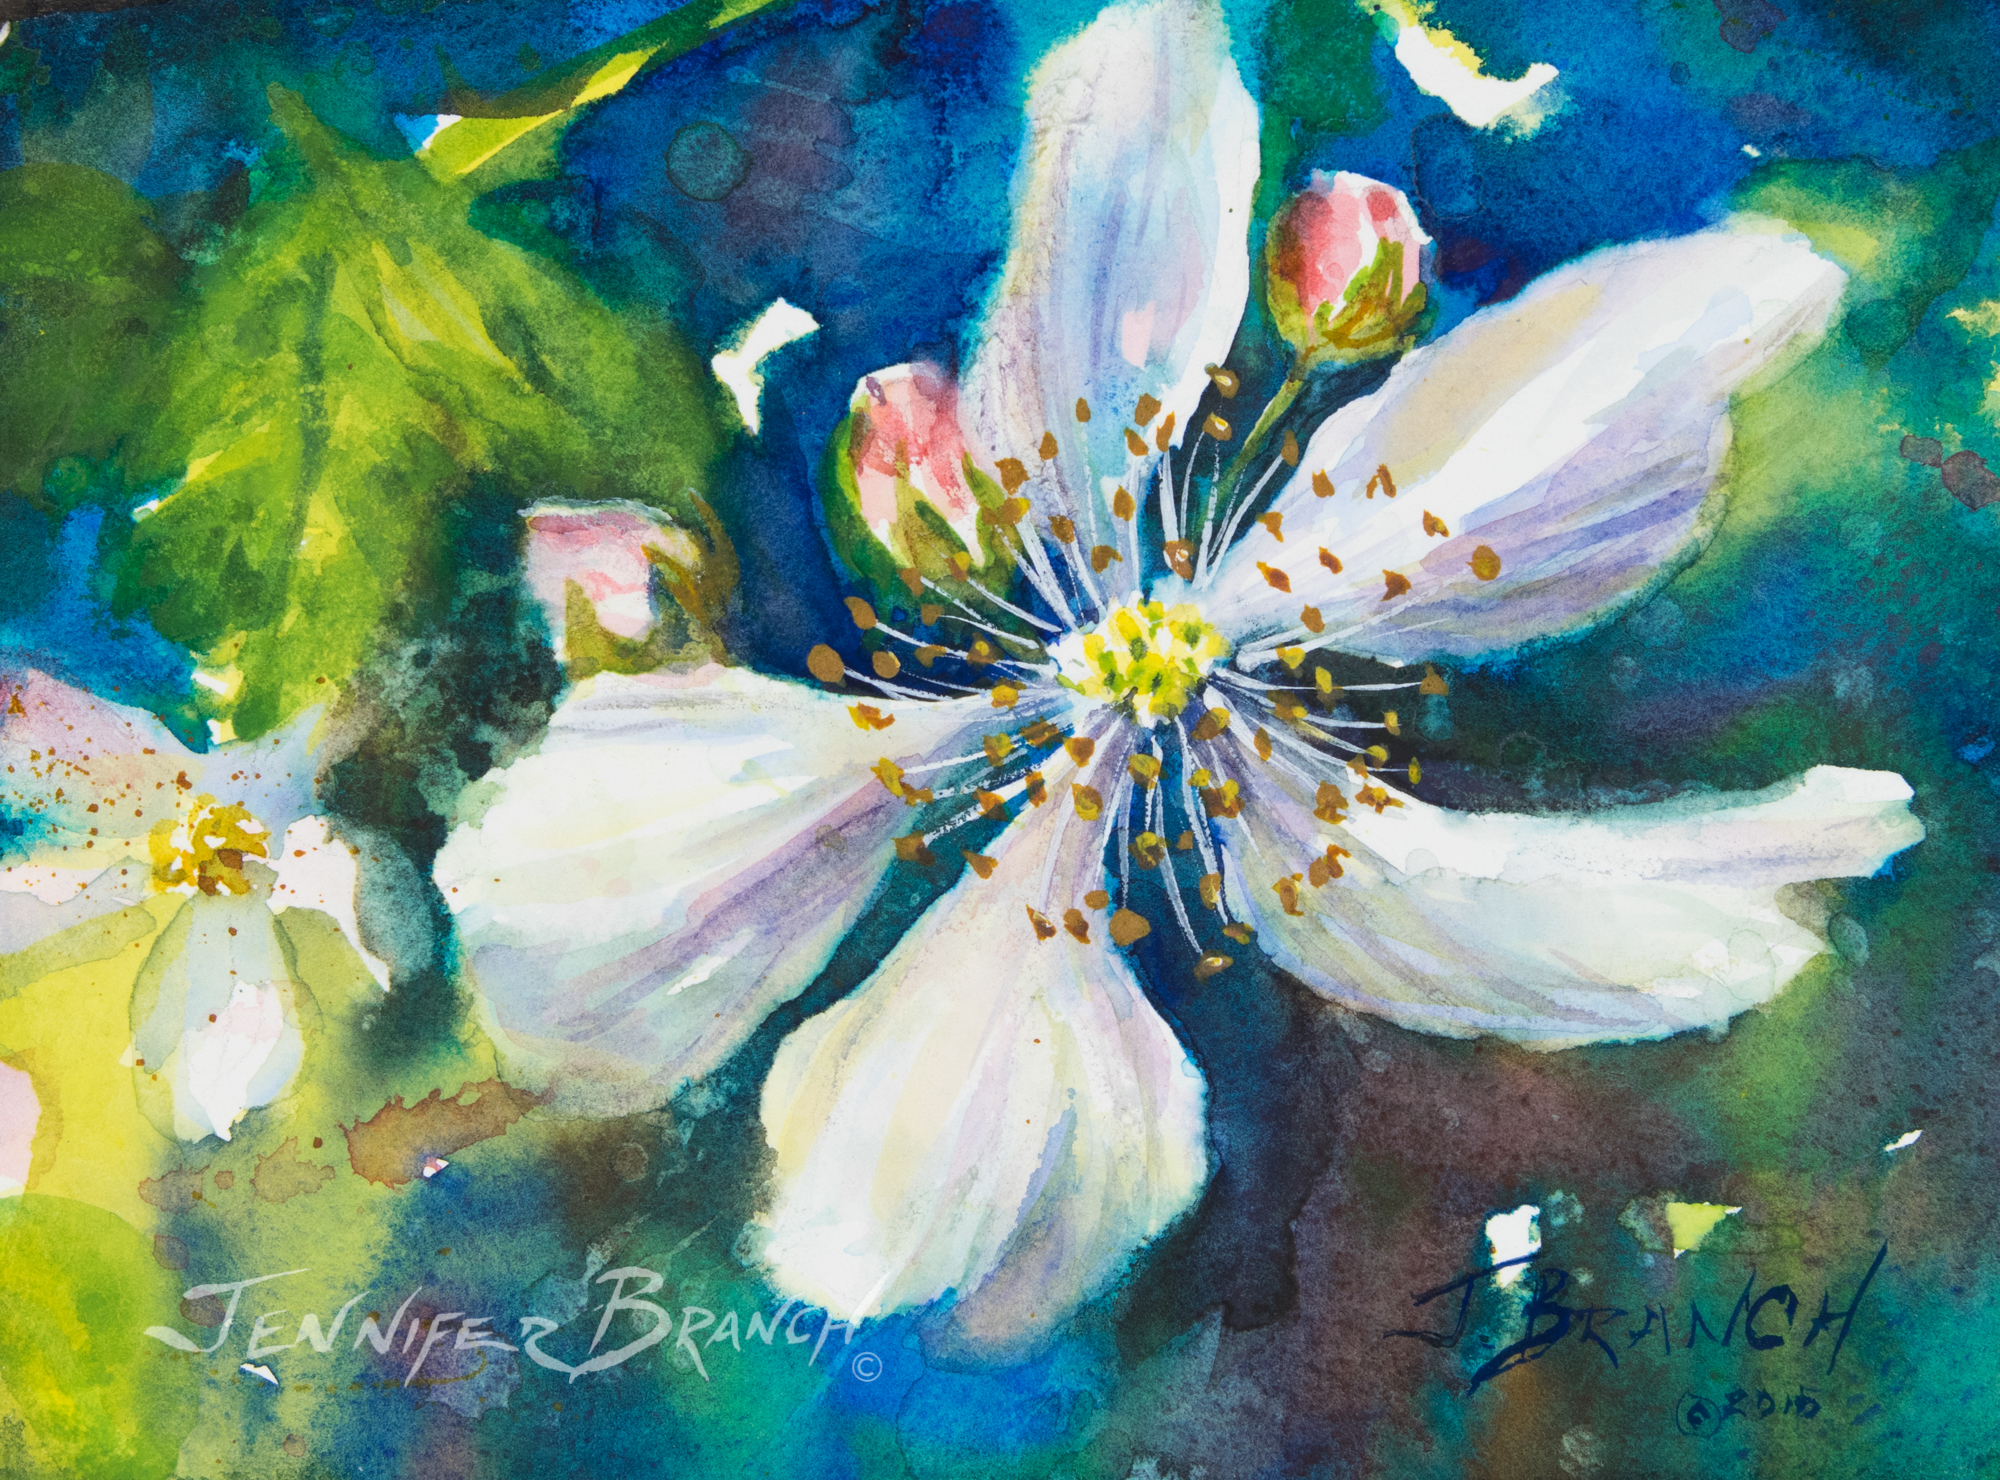
To purchase Painting Blackberry Flowers original watercolor painting, please click!
Painting Blackberry Flowers Final Watercolor Painting!
I darken a few of the petal shadows, keeping my brush moving along those radiating lines. Just a few more touches of blurred shadows makes the flower peek in and out of the blackberry bramble, highlights glowing against the dark shadows.
Blackberries are blooming like crazy right now so I encourage you to go out and paint ones near your own backyard.
Painting white flowers is always fun and a great challenge. I think it's better to start painting flowers with white flowers. All the "bones" of the flower are revealed and simplified so you learn how to paint delicate shadows and leave highlights. To make something like this into a pink rose, I would just a tinges of pink, especially in the midtones. Starting with white flowers is a great way to perfect your flower painting skills.
I hope you go out and paint white flowers of whatever variety this weekend!
Related Art Lessons


