Painting Demonstration 1
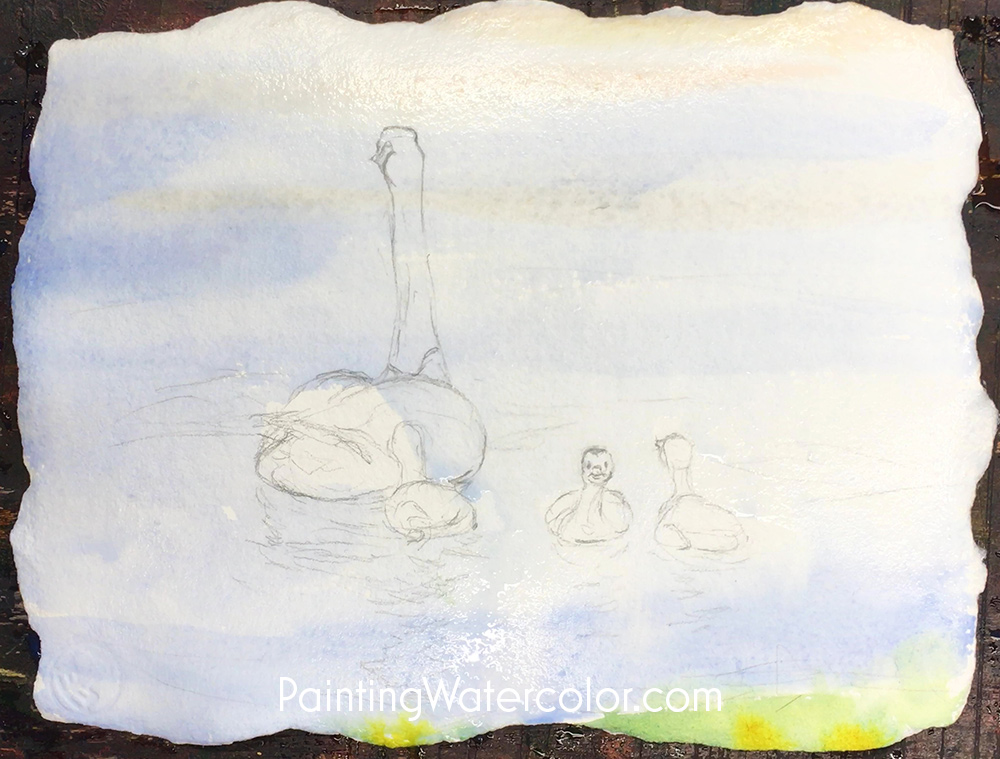
I begin the painting with a very simple wash of cobalt blue tinged with cobalt violet. I use horizontal lines in the distance, but my brush strokes follow the pond ripples by the time they reach the geese.
When painting portraits :) always paint over the shadows when you're doing a pale initial background. It's rare you see a defined line between background and object in the shadows so you want to connect them from the beginning.
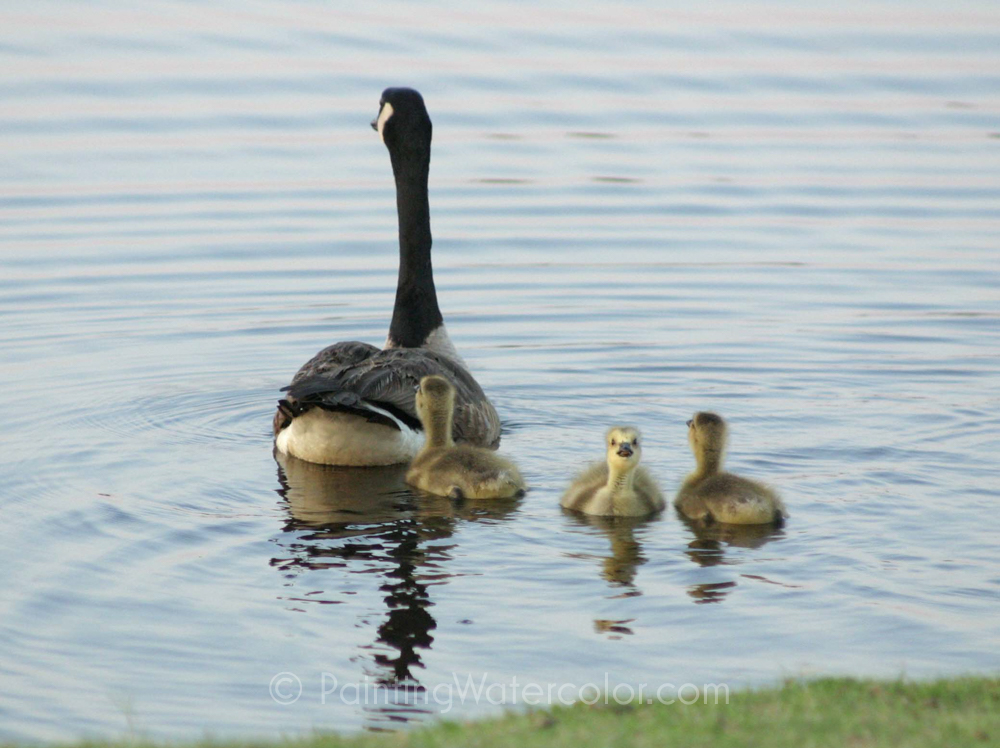
Reference photo of Canadian Geese. Aren't they adorable?
Painting Demonstration 2
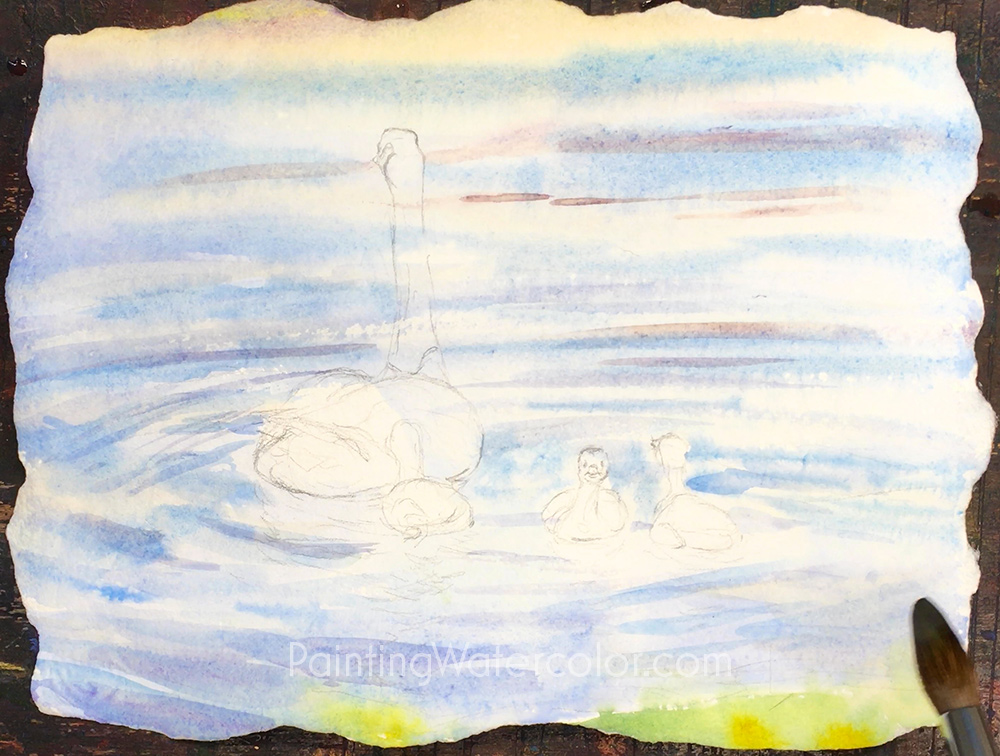
While everything is still wet, I start adding more definition to the pond ripples. I'm not concerned about the geese reflections yet since the reflections are all darker than the pond background.
Notice how the ripples connect and flow. If you do this while everything is wet, your painting will connect and flow in the same way. So just follow those lines with your brush strokes!
Painting Demonstration 3
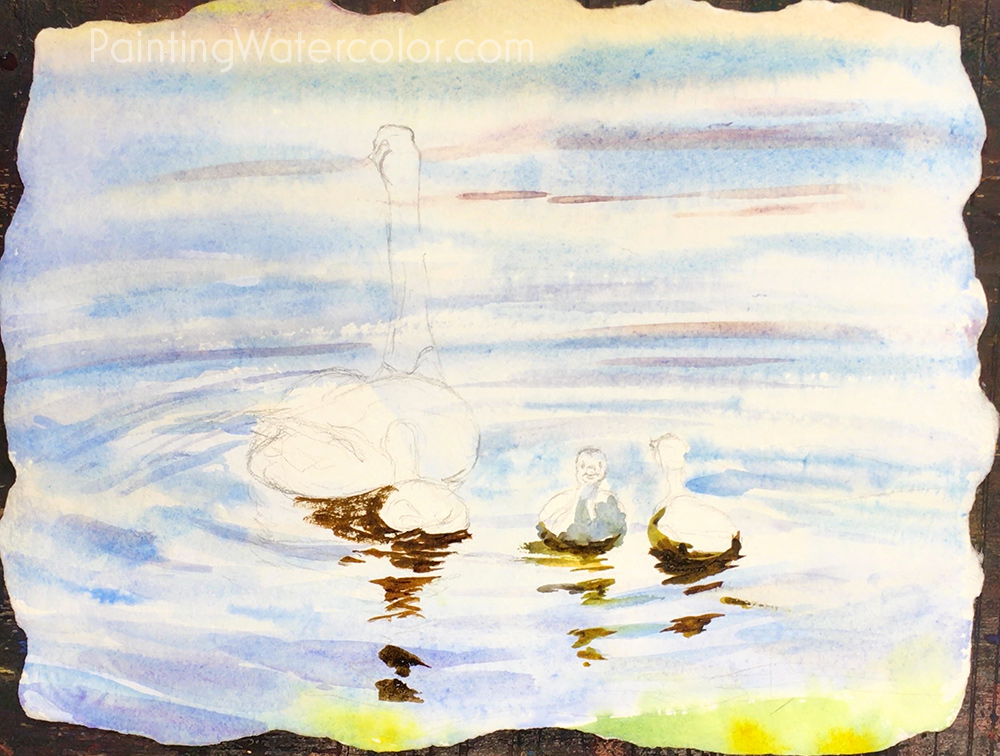
Now it's time to start painting the reflections! Since you've painted the pond ripples, you have a clear guide for where to paint the reflections. Leave the lighter part of the ripple alone and only paint the darker part. That's where you will see the reflected image.
I use more wet on dry brush for the reflection and more drybrush in the geese themselves. However, where there is disturbed water that sparkles, I use drybrush in the reflections.
Remember, reflections come directly toward the viewer.
Artist Tips
Paint the background pond, then the reflected images.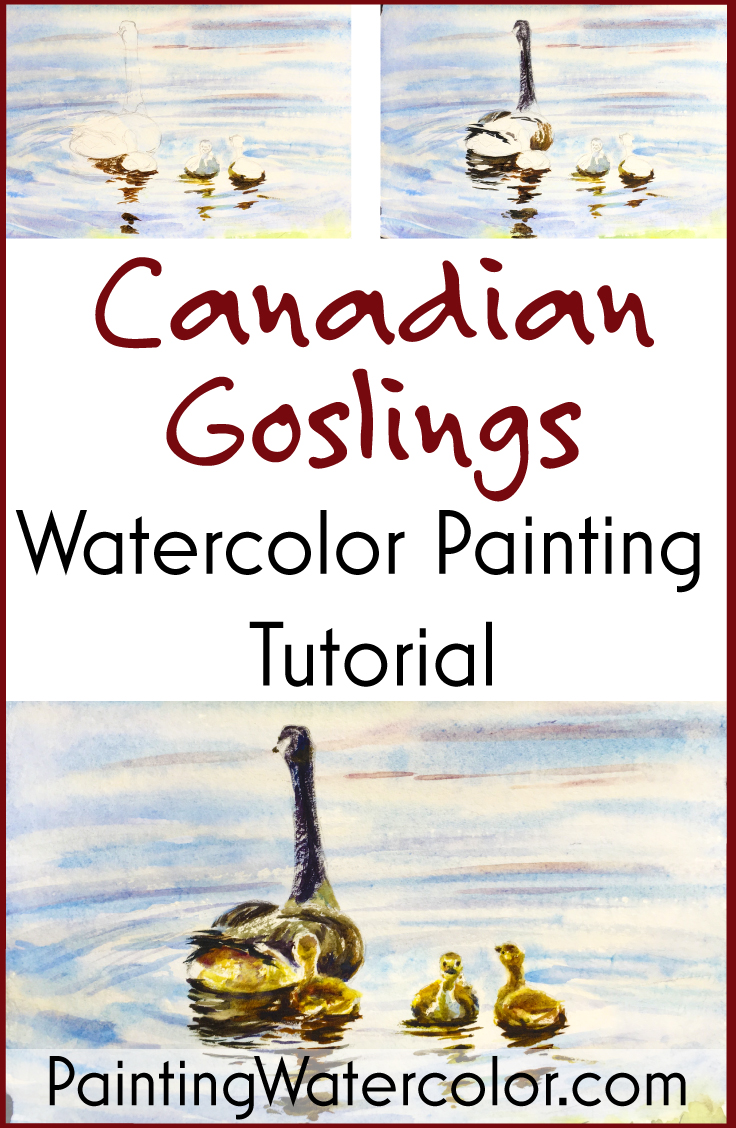
Painting Demonstration 4
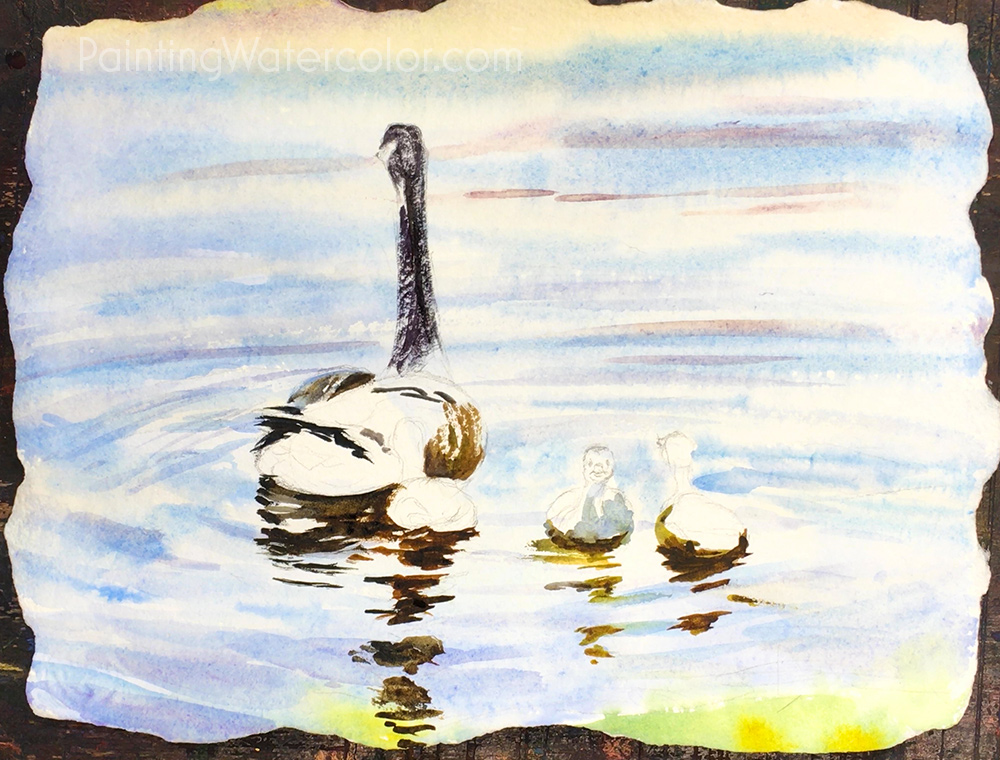
Take your time planning each brush stroke on the geese. Each stroke is going to show up, so check your color. Remember dry brush mixes in layers, not by flowing together.
Notice how each feather group lies and how reflective it is. Don't paint individual feathers, but their groupings in a single stroke.
Painting Demonstration 5
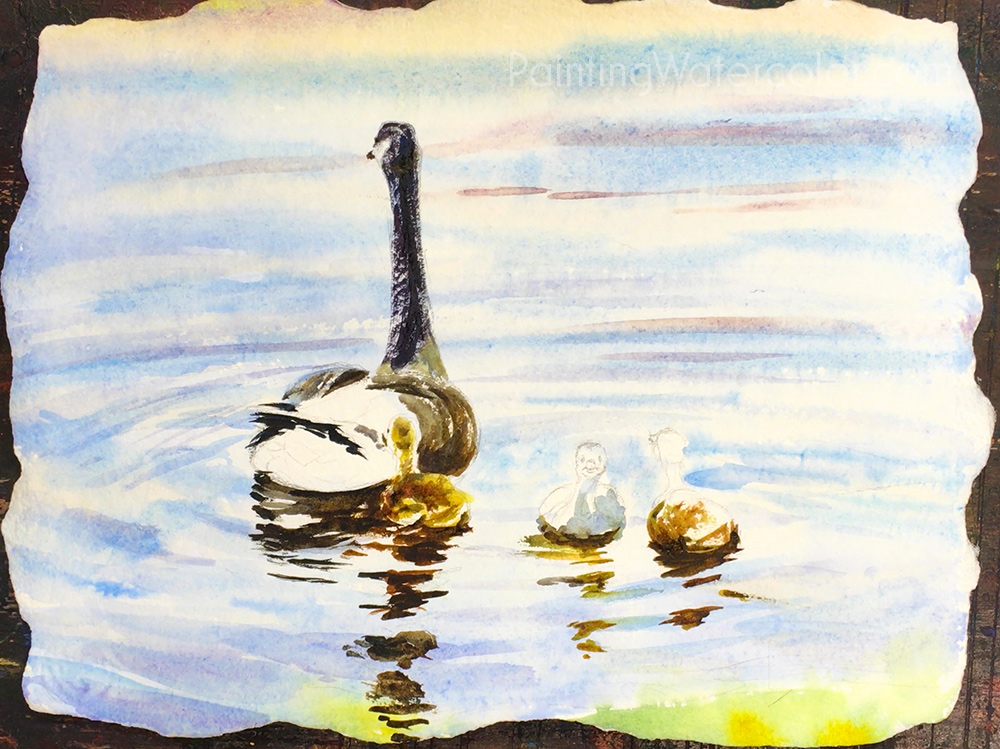
I'm using a lot of drybrush (and my fingers) on the goslings. They're still fluffy balls of down so they have to be very light.
All it takes is a dot or two for the goose's face. Keep it very simple and don't fuss over details.
Painting Demonstration 6
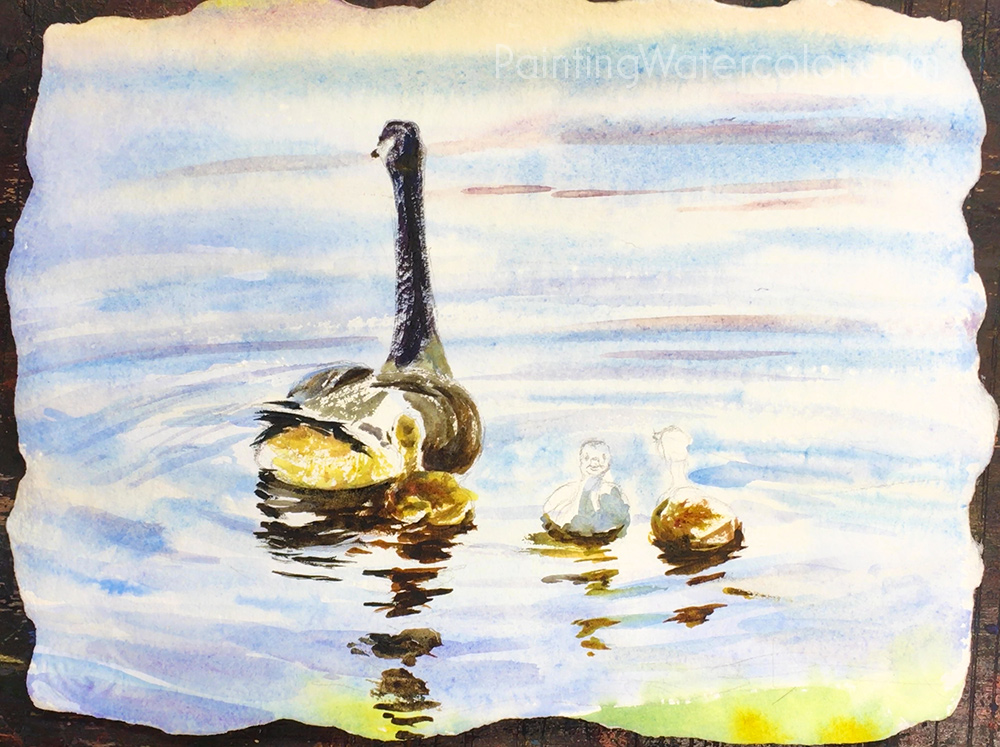
More delicate dry brush strokes on the geese. I leave a lot of white for lightness of the down and reflection in the deep shine of feathers.
Painting Demonstration 7
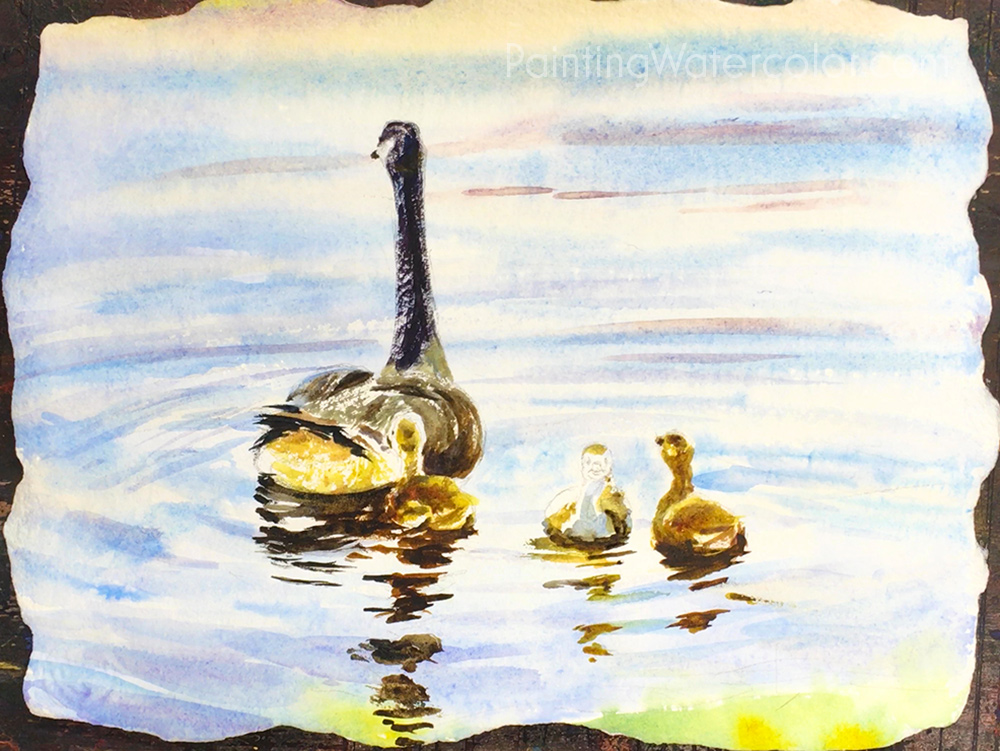
Some more delicate details on the goslings. It would be easy to paint every single feather, but the effect would be photographic and boring. It's much more difficult to suggest clumps of feathers and tiny faces without painting all the details.
Look at what you are painting and distill it down to the important bits only!
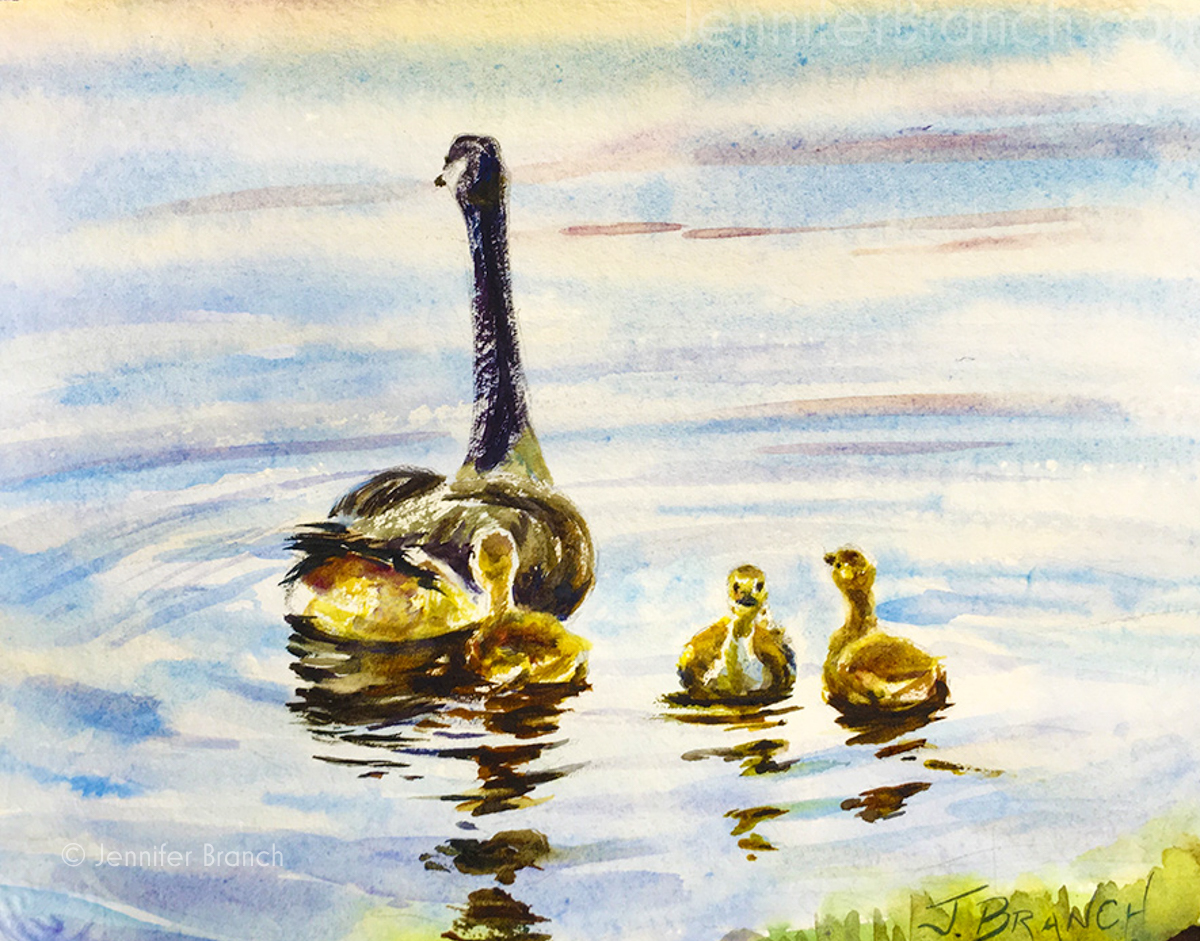
Canadian Goslings Reflections Final Watercolor Painting!
This watercolor goslings painting is a very simple painting - and we all know simple paintings are usually the most difficult to actually paint!
The total time of the painting was about an hour with no drying breaks. It all went swimmingly, so I only painted it one time. To be honest, this is the sort of painting I might paint several times to get it right since each brush stroke is so important. With the translucency and dry brush, there's not much room for mistakes.
I think the huge value of painting something a few times or doing sketches is underestimated. I honestly don't think it's possible to have a good painting you've worked on for a month. It would have to be overworked at that point unless you're only painting a wash a week. Then, of course, it makes sense. Limited time to paint is always a problem for artists.
For the spontaneous quality of a really good watercolor, I think it needs to be done in one or two sessions with 3 hours of painting (not including drawing) time. Once you've spent more time than that, it's overworked. Better to start again and paint it better with half the brush strokes you used the first time.
Speaking of doing paintings again, next week's painting took a few tries but I learned a lot along the way!
I really enjoyed the simplicity of these goslings watercolor painting. My youngest son did too and claimed it for his room!
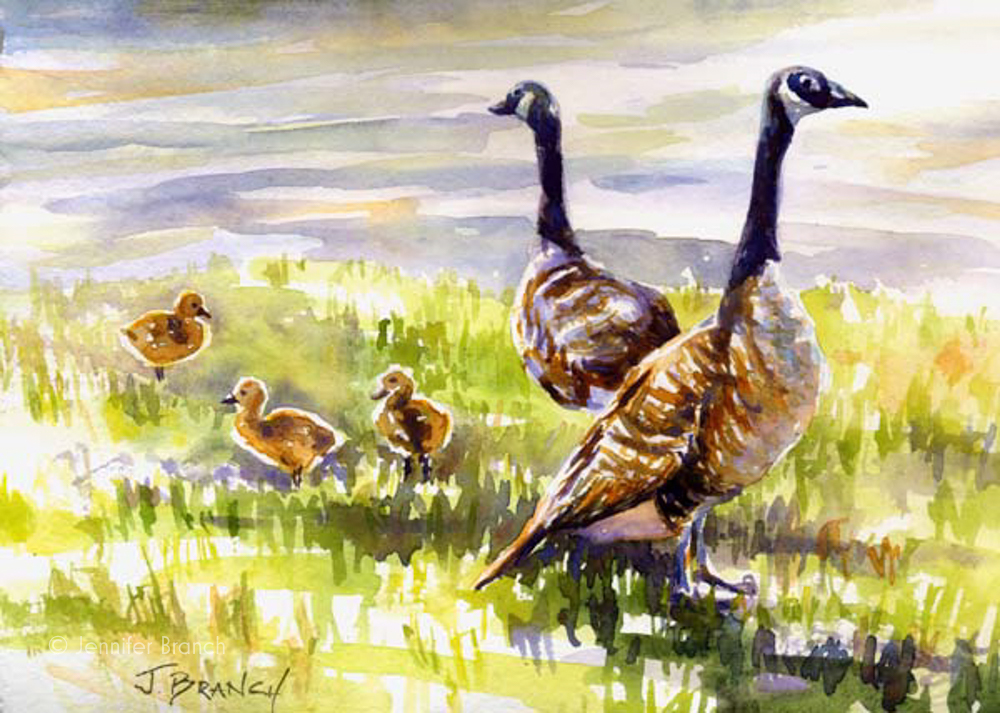
I painted this for my oldest son's nursery. It has a slightly different feel but it was painted 9 years ago.
See you next week for the 3rd watercolor reflections painting tutorial!
Watercolor Painting Reflections Lesson |
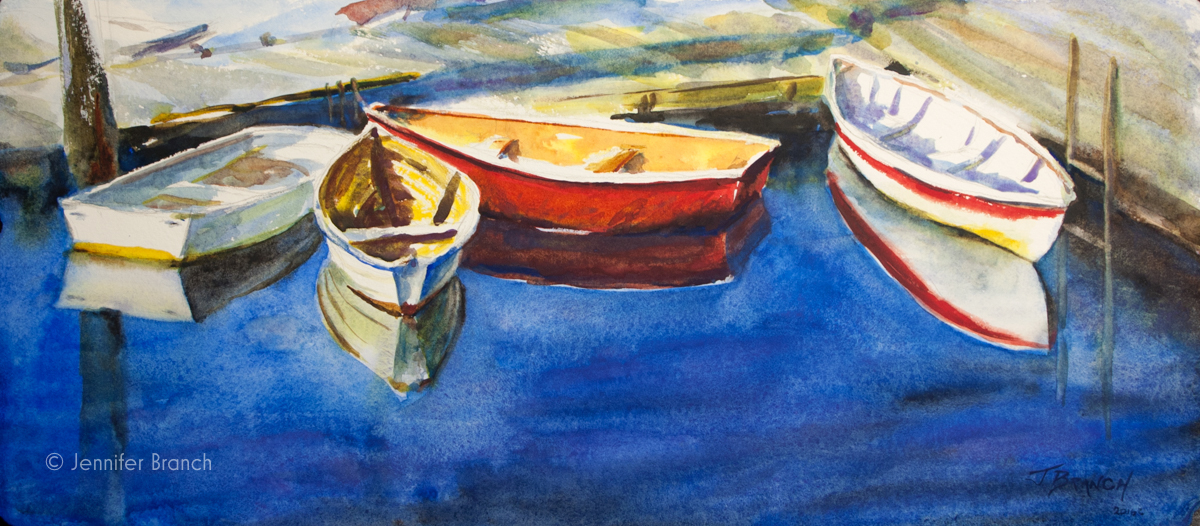
Watercolor Painting Reflections |
Watercolor Painting Reflections Tutorial |


