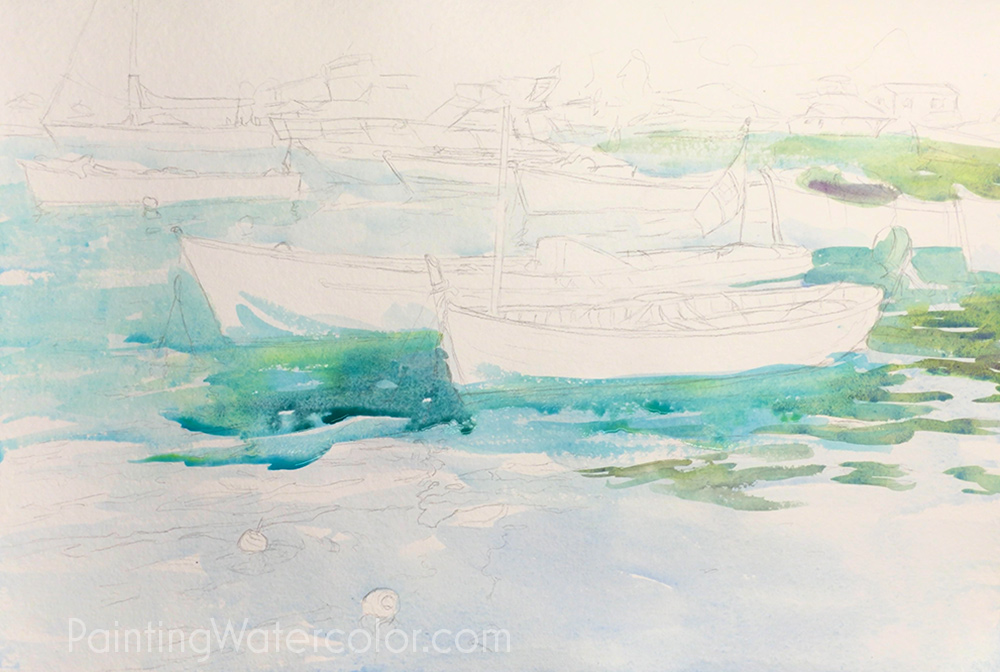
Painting Demonstration 1
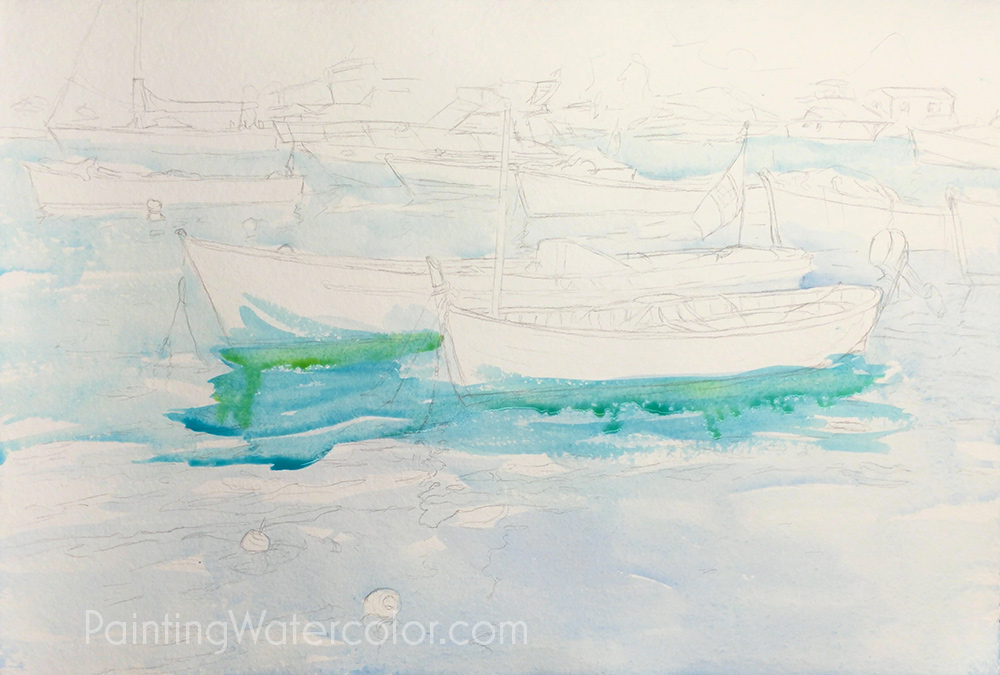
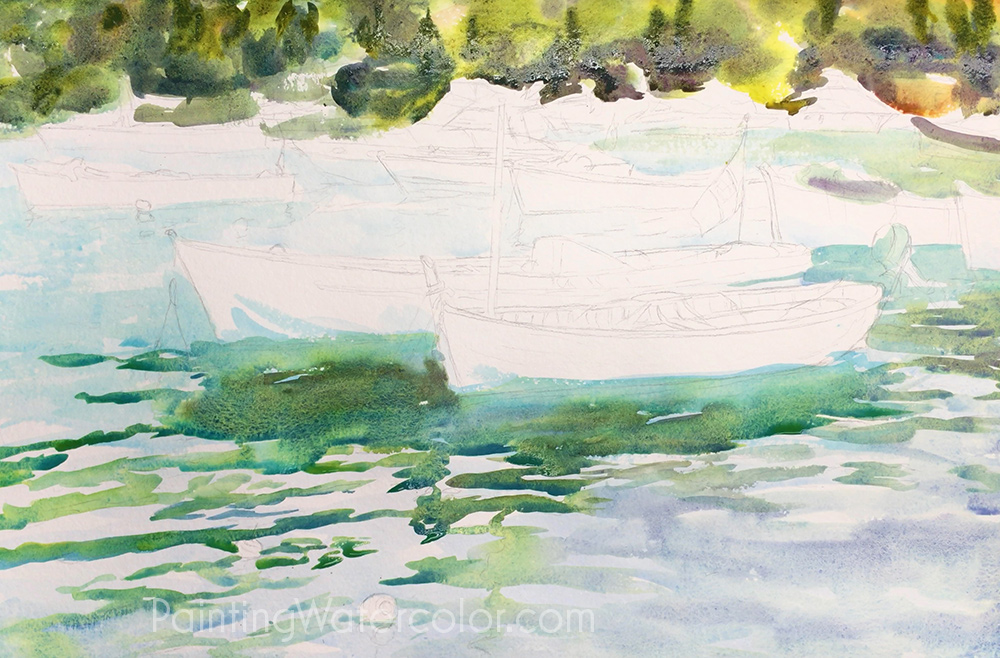
I start with a loose open wash of cobalt blue. I want to tone down the whites.
Since the focus of the painting is the lovely water directly under the boats, I go ahead and paint it! I use cobalt teal with a touch of nickel azo yellow for a warm glow.
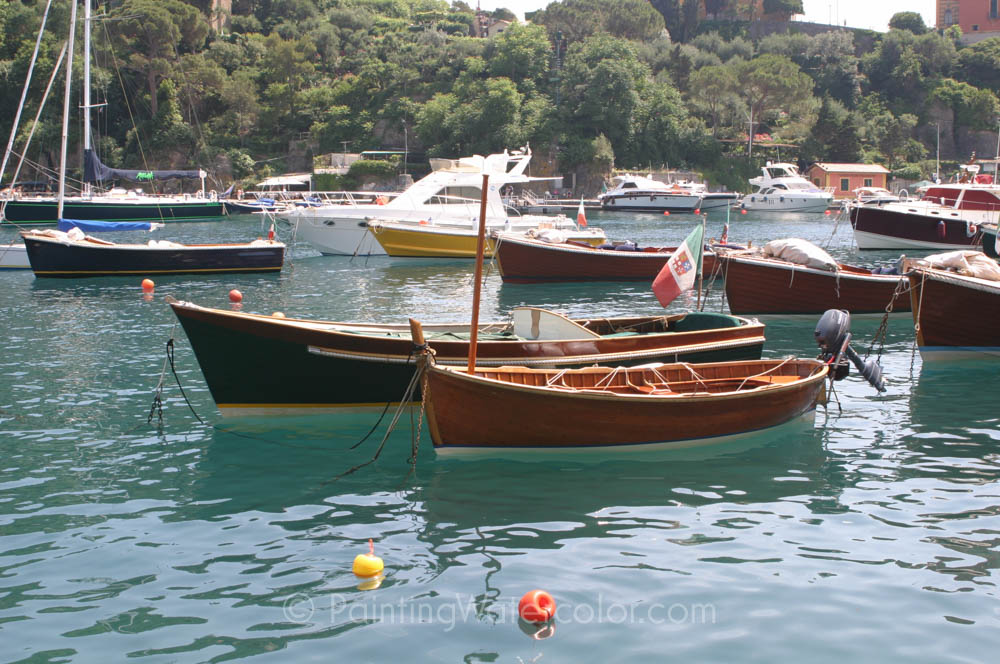
Portofino Boats reference photo
Painting Demonstration 2
I'm mixing some pigments on the palette on this one. I want some duller greens so I mix cobalt teal with a touch of nickel azo yellow and cobalt violet.
Remember paint very loosely, leaving lots of holes. I don't have to worry about blurring whites since I did that with my first pale blue wash.

Painting Demonstration 3
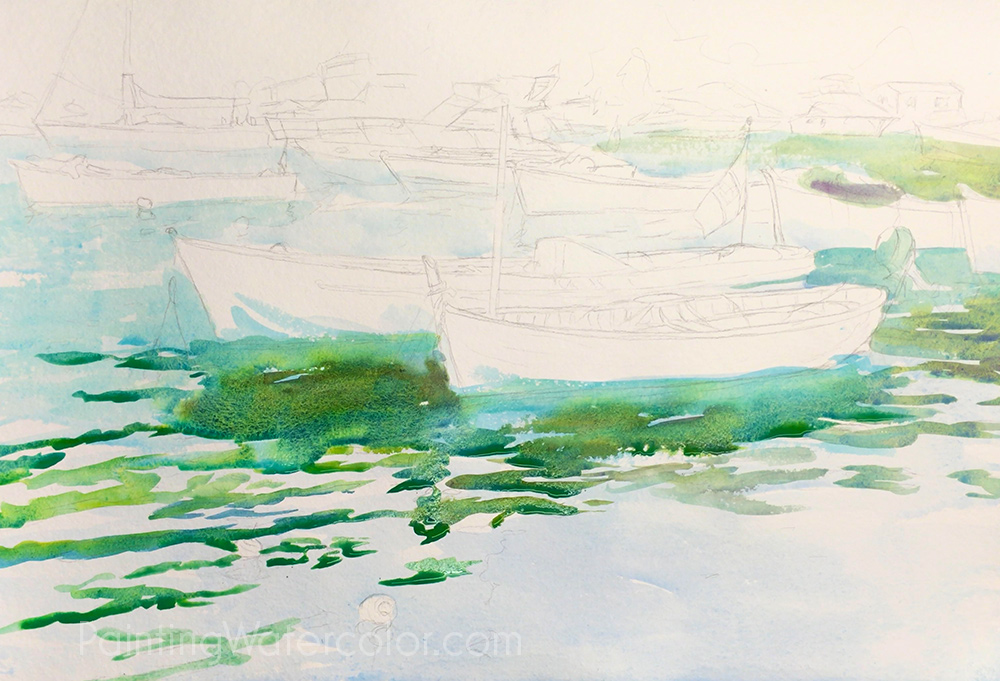
More loose layers in the water all around the painting. Don't confine yourself to one spot - keep your brush dancing!
Artist Tips
Always be willing to experiment and break your own rules.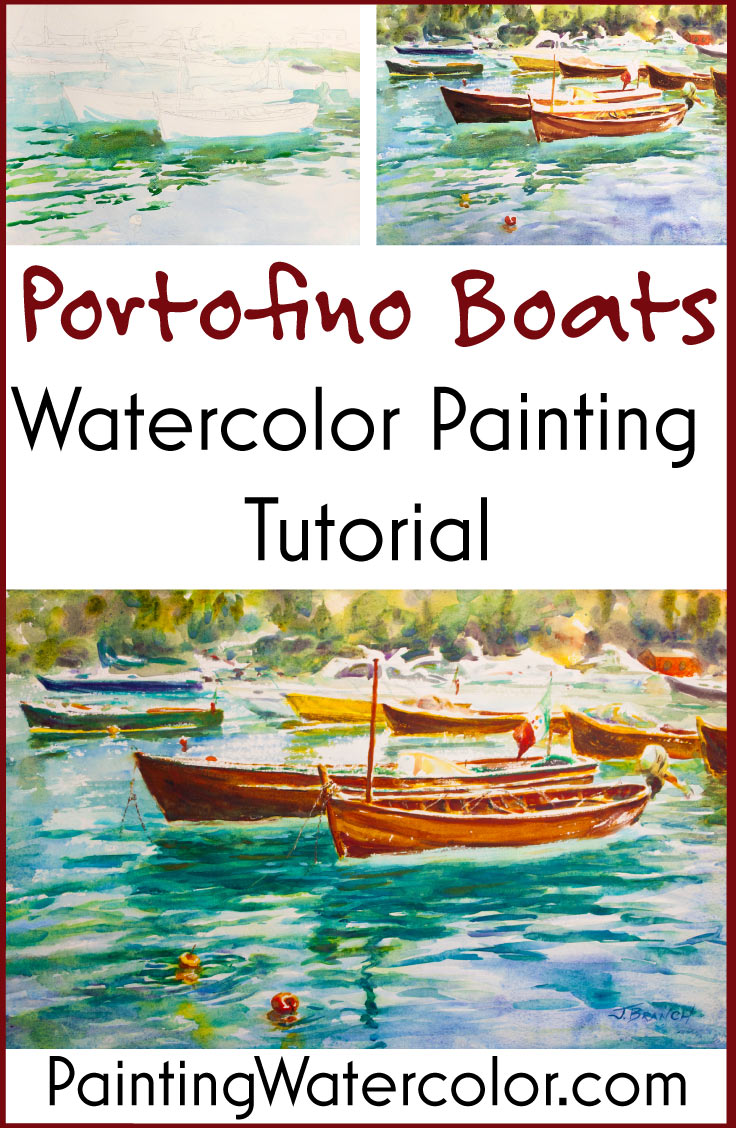
Painting Demonstration 4
I use my same simple palette in the background, but with a lot more cobalt violet to dull it. I want the background to be a dull mid dark with just enough dashes of warm colors to look like sunlight. This dullness will make the water midground glow even more.
Painting Demonstration 5
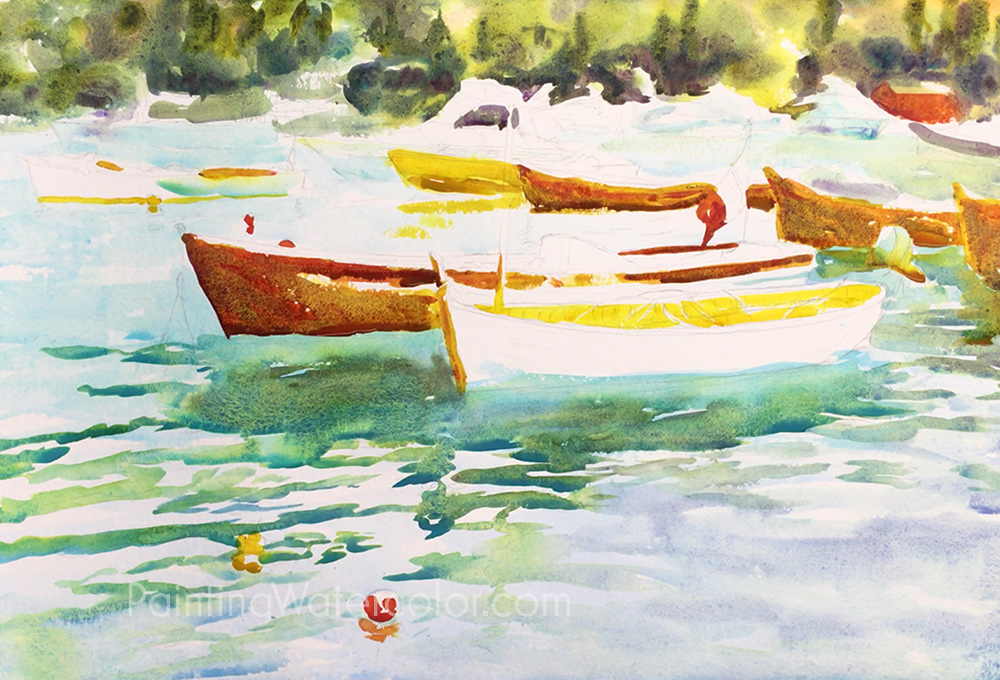
I start painting the boats with very warm colors. Nickel azo yellow, quinacridone rust with small touches of cadmium red. Then I drop in some cobalt violet to dull them slightly where I want that.
On the farther boats, I connect the boats to their reflections. I want the contrast blurred.
Painting Demonstration 6
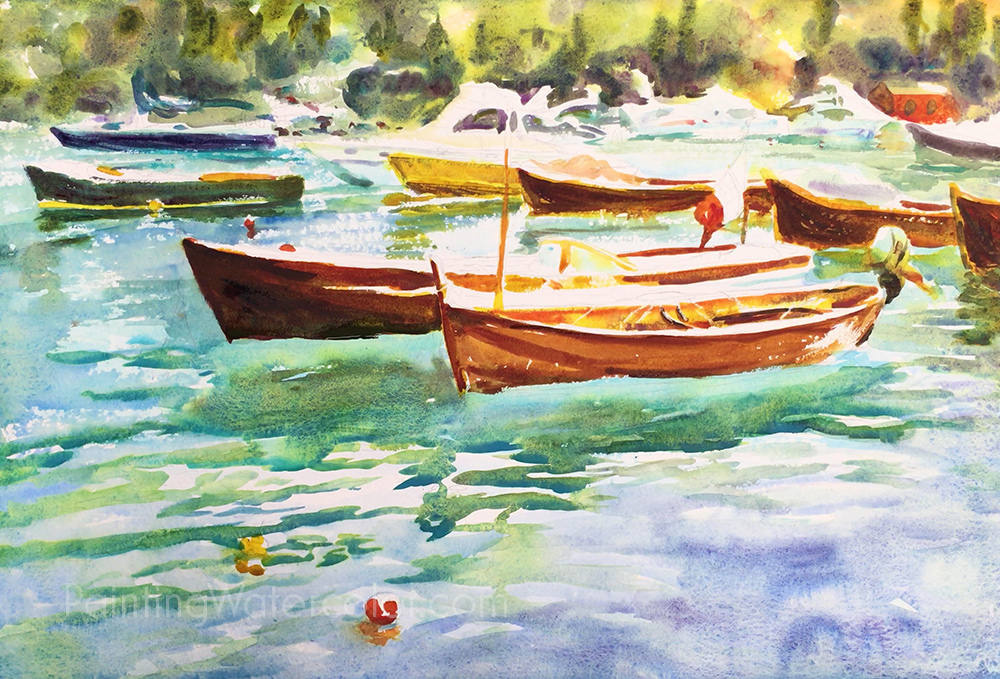
The sparkling water on the left is one of those tricky bits. I want enough color to make the whites sparkle, but not so much it draws attention away from my focus.
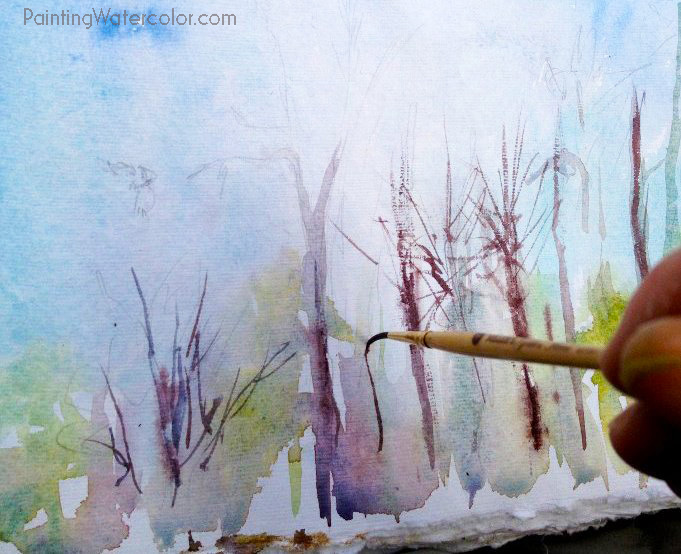
When you're painting the wooden boats, your brush strokes should follow the line of the boats. This will look like wooden boards.
I used a wax crayon to reserve a few whites.
Painting Demonstration 7
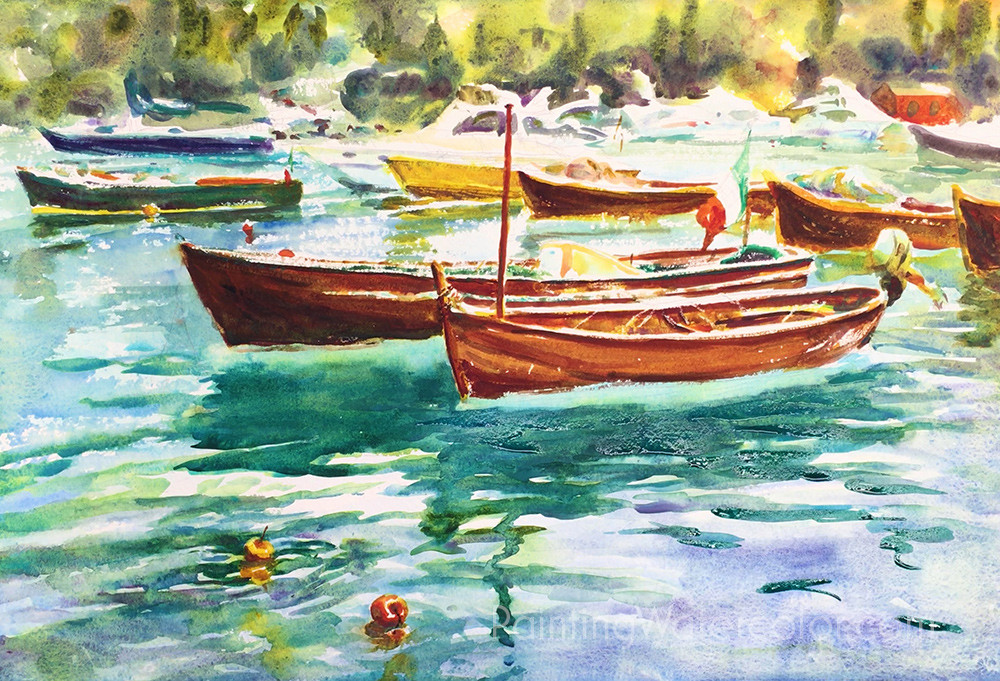
More darks in the water to intensify the glowing water under the boats. I use a lot of layers in exciting water like this. I want layers for the reflections, layers for the tide, layers for the wind ripples. There's a lot going on so really look at the water.
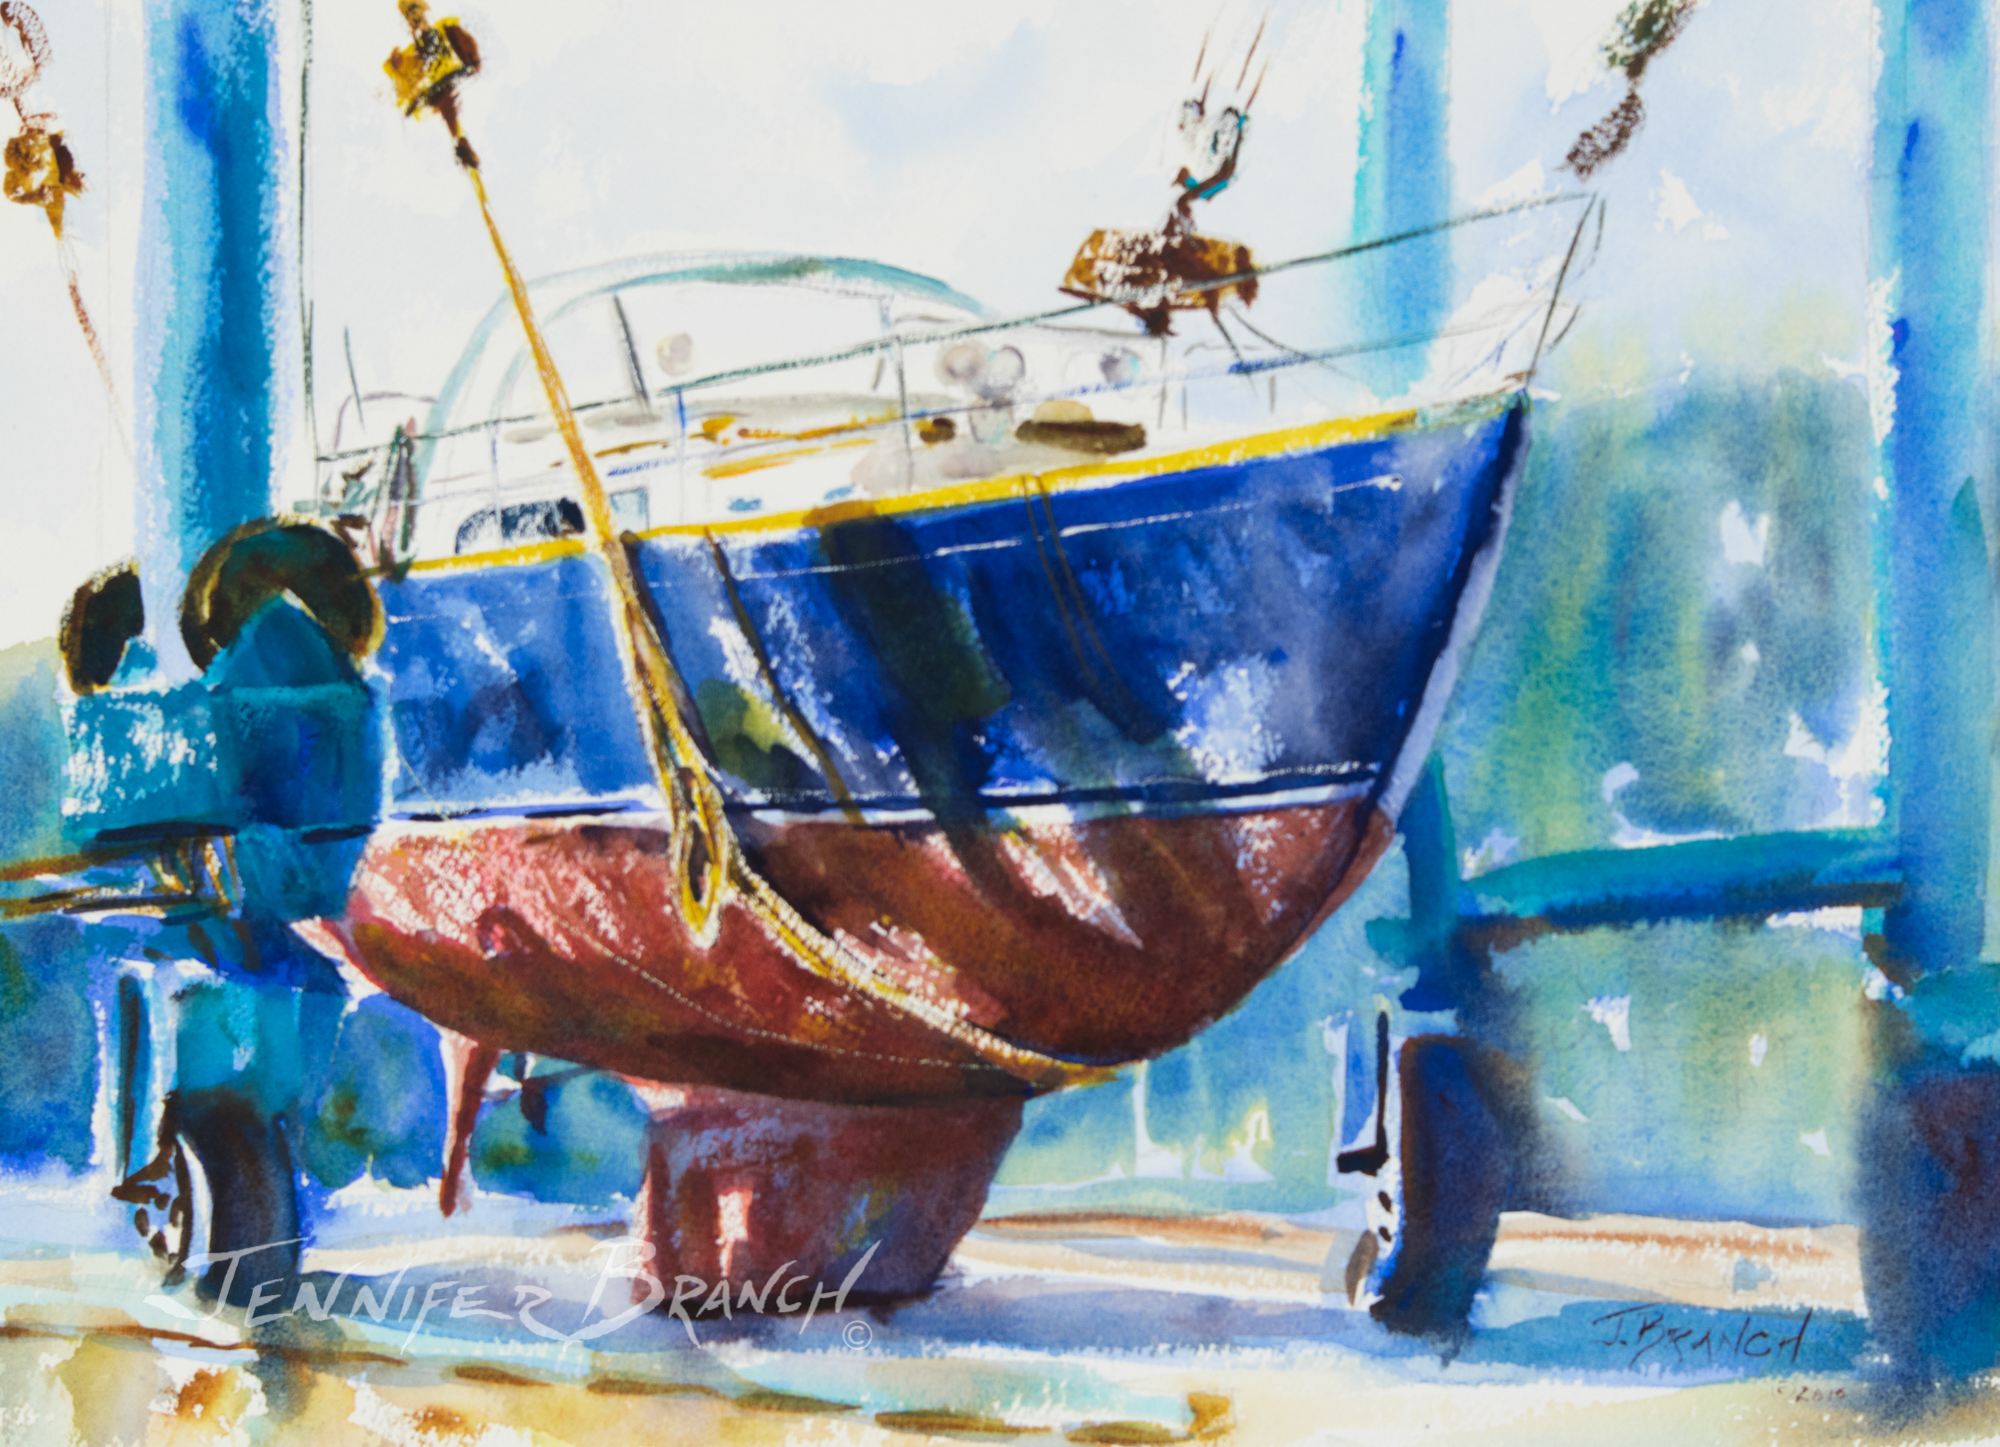
To purchase Portofino Boats Reflections original watercolor painting, please click!
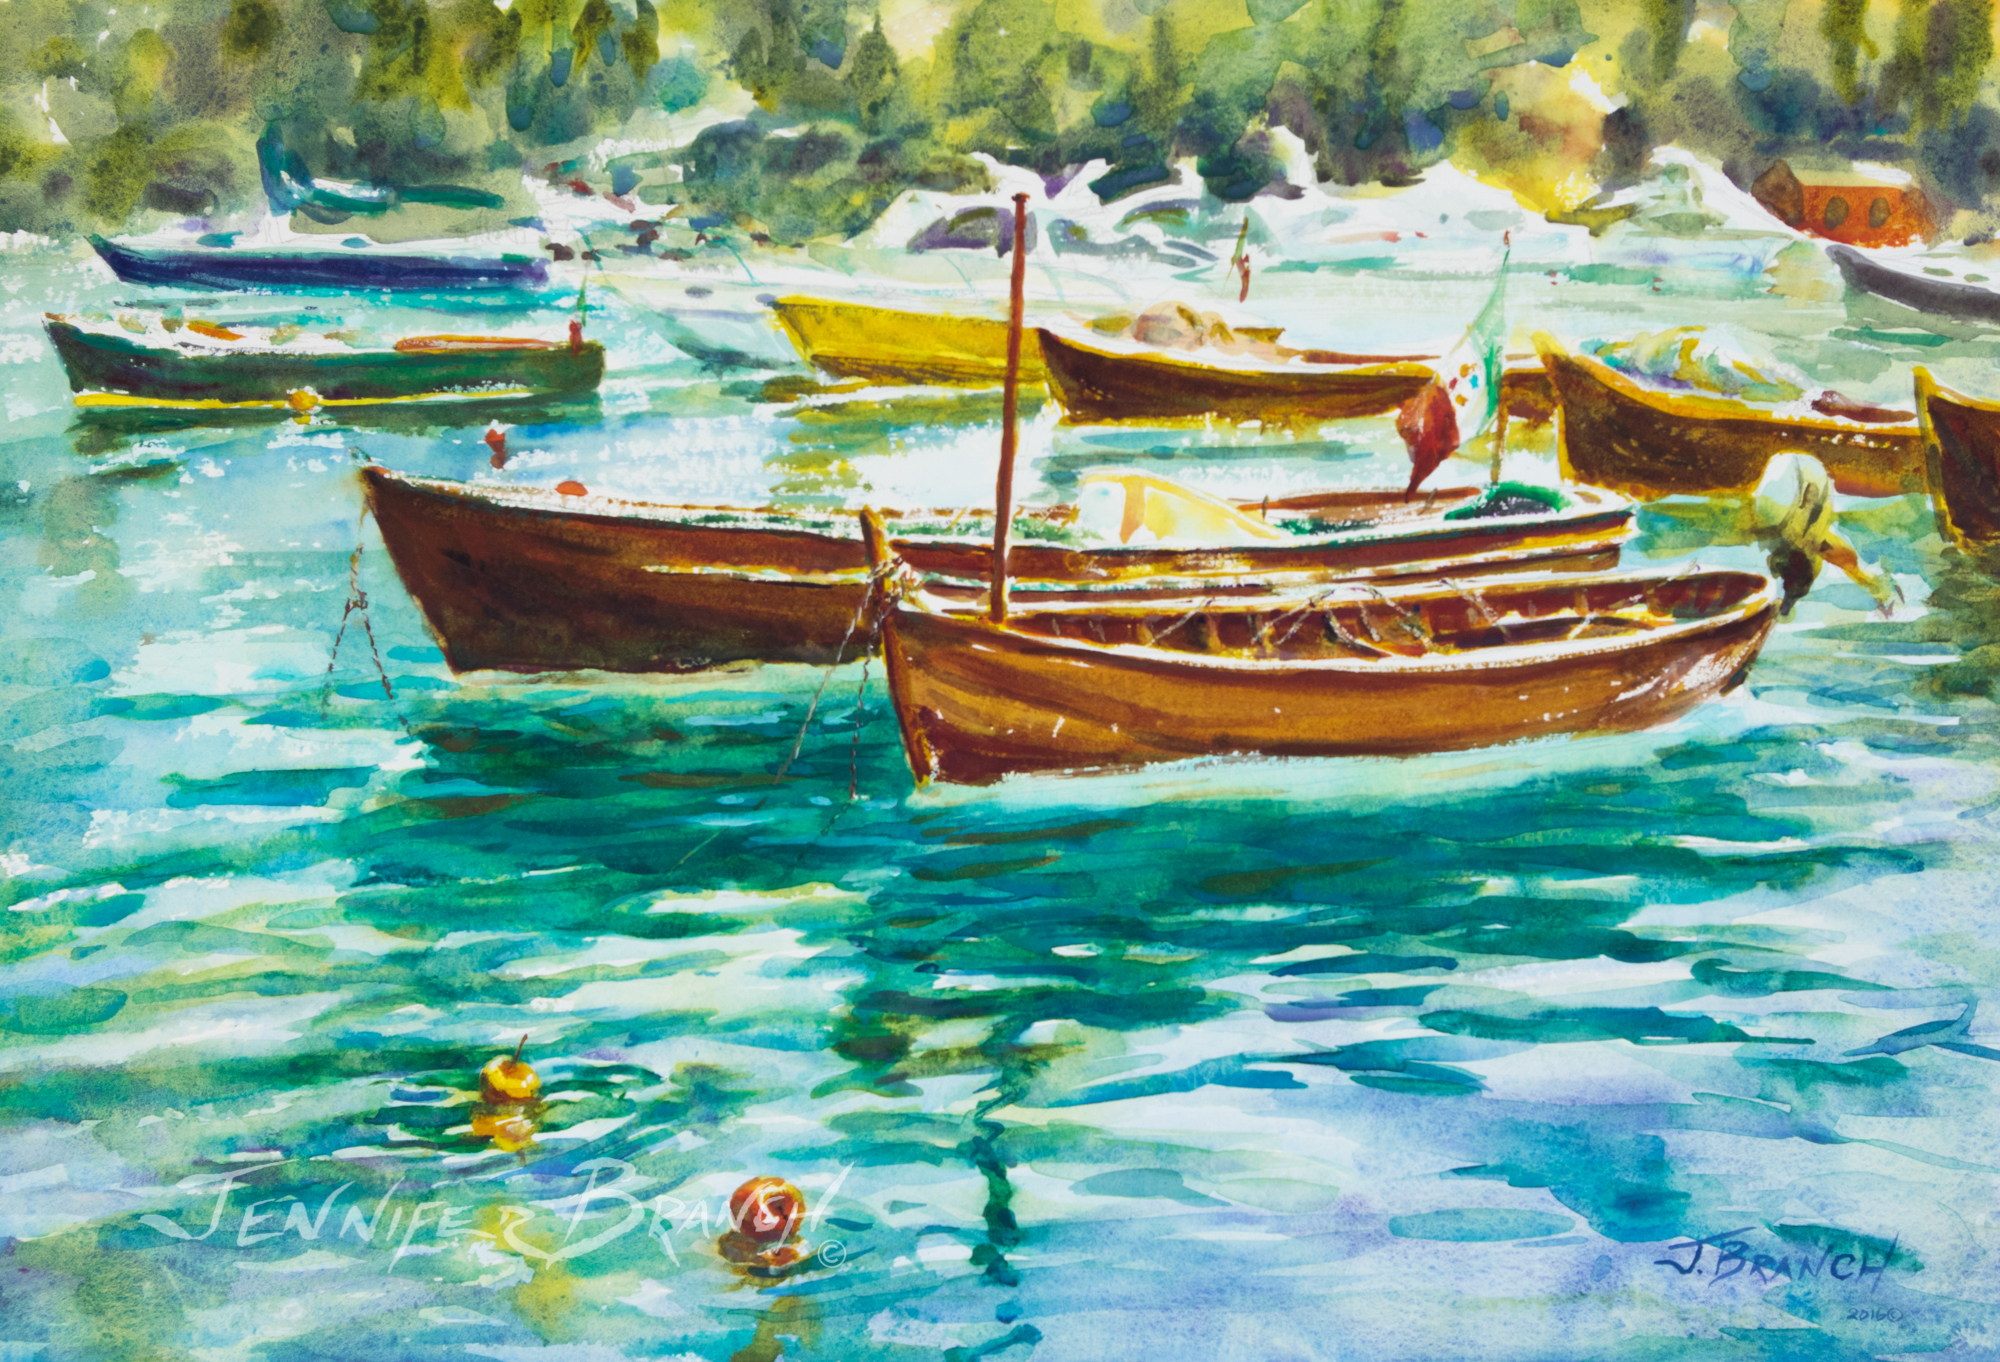
Portofino Boats Reflections Final Watercolor Painting!
I love how this painting turned out, full of sparkling light and glowing water. I've actually tried to paint this a few times through the years, but never liked how it turned out. This time I love it!
I hope you've enjoyed my Painting Reflections in Watercolor series. If you'd like to see the full series, please click on one of the other paintings in the series.
Watercolor Painting Reflections Lesson |

Watercolor Painting Reflections |
Watercolor Painting Reflections Painting Tutorial |