Painting Demonstration 1
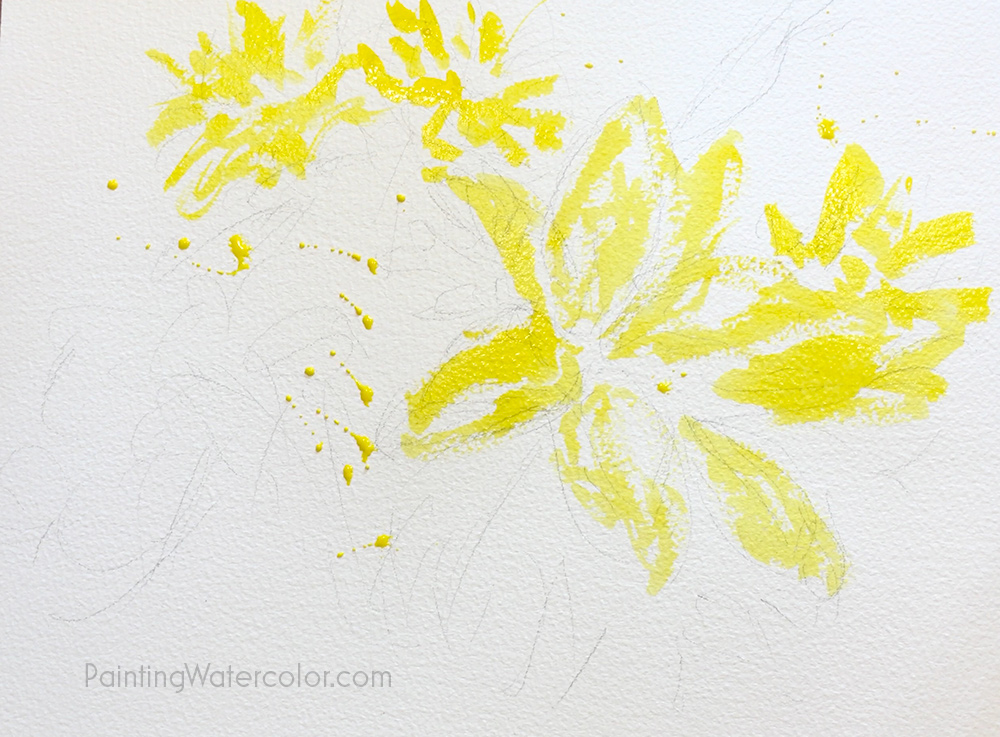
I start with a quick, loose wash of azo yellow, since it's the palest color and the color of the central subject.
Disclaimer: Jennifer Branch Gallery is a participant in the Amazon Services LLC Associates Program, an affiliate advertising program designed to provide a means for sites to earn advertising fees by advertising and linking to amazon.com. I receive a small rebate for your entire order (starting at 4%) if you choose to purchase through Amazon. Most items can be bought multiple places and I highly recommend local art stores if you have one! Any other recommendation links I receive no compensation for.
These referrals help me support this website, and I thank you for any purchase you make through them. I will never recommend a product I have not used frequently and believe is the best tool for the purpose!
Painting Demonstration 2
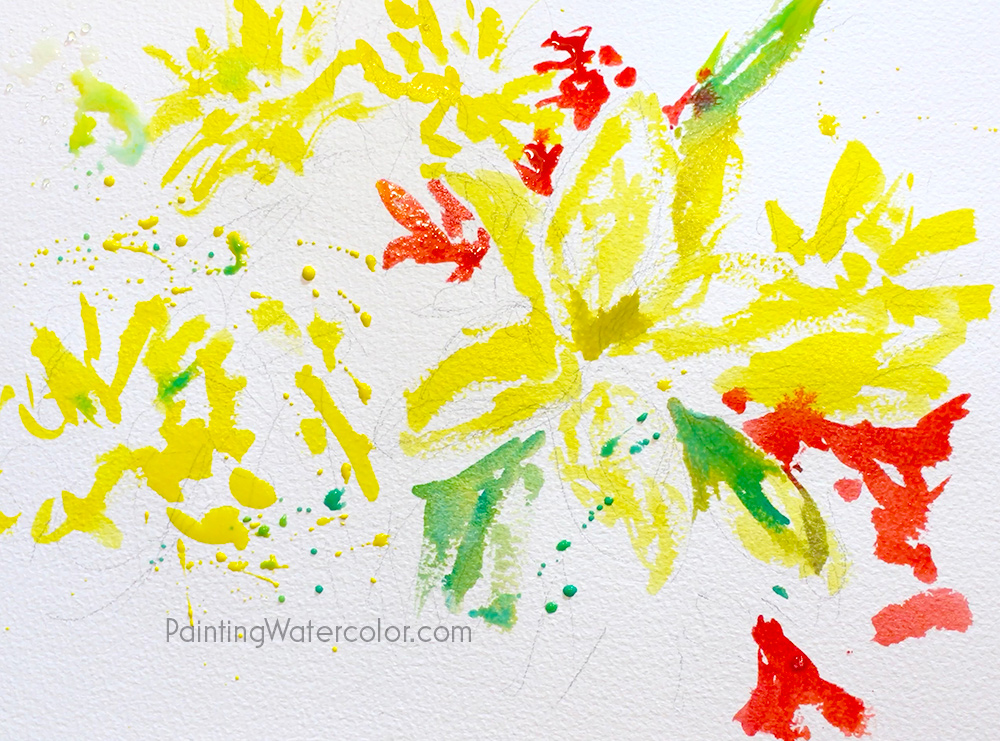
I start dashing in quinacridone reds. The alstroemeria is a background flower in this sketch. I don't want too much detail in it. The red is mostly to make the yellow lilies pop.
Painting Demonstration 3
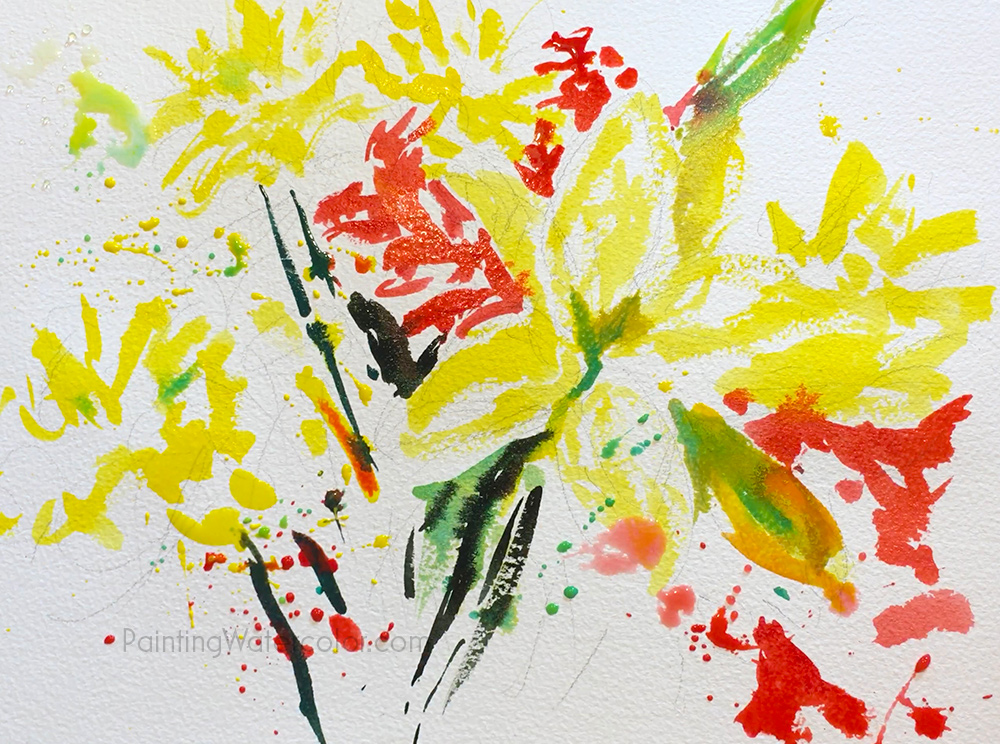
A few strong darks start to show the shapes of the lilies. They didn't really show up until I added the darks.
Negative painting is a necessity with pale flowers, even if you plan on using gouache.
Artist Tips
Paint very loosely until the very last details.
Painting Demonstration 4
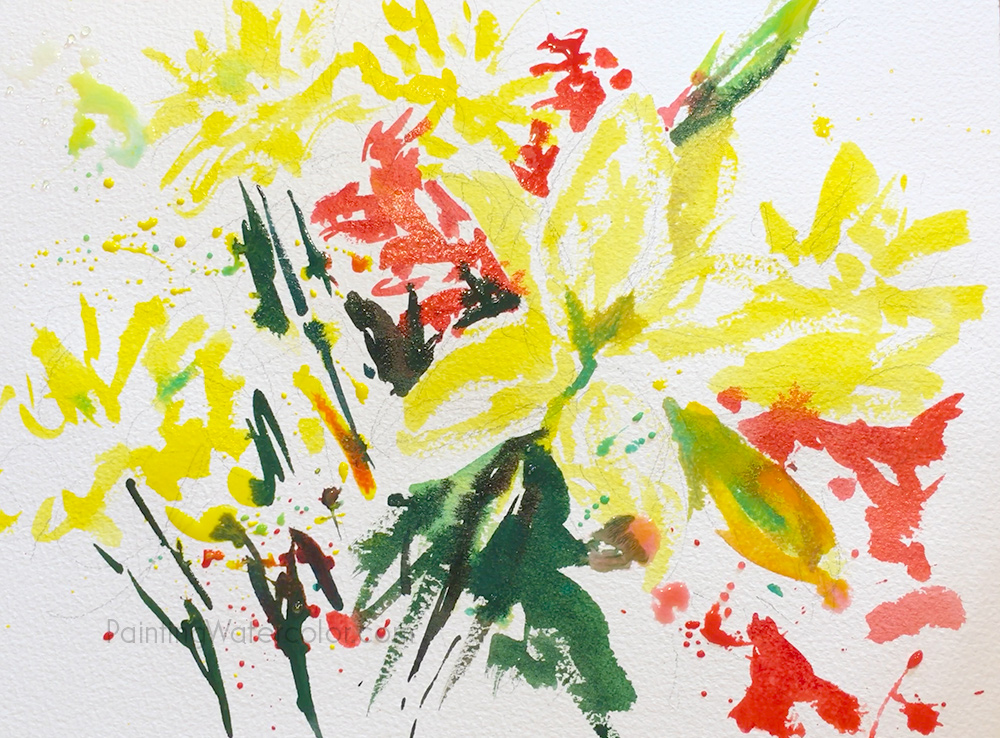
A few more darks using Van Dyke Brown, cobalt teal and quinacridone rust. Now it's starting to really take shape!
Painting Demonstration 5
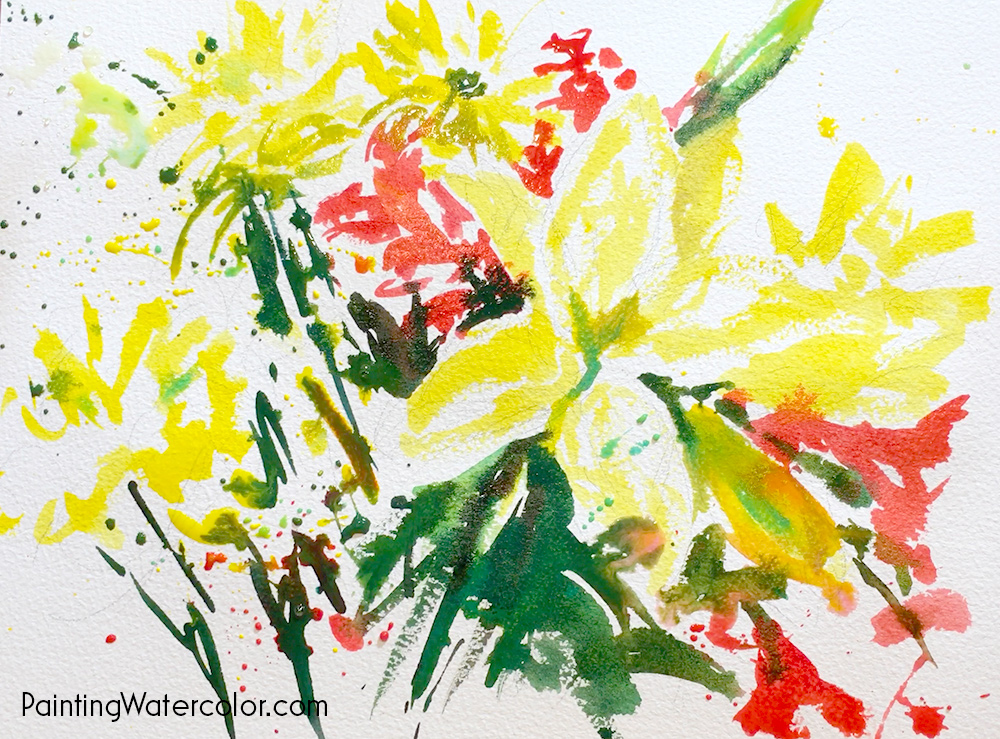
I loosen everything up with lots of splatter, both paint and water. This is a quick, unpolished sketch. It should look like that.
Notice the directions of the dark stem lines. Are they directing attention where you want it to go?
Painting Demonstration 6
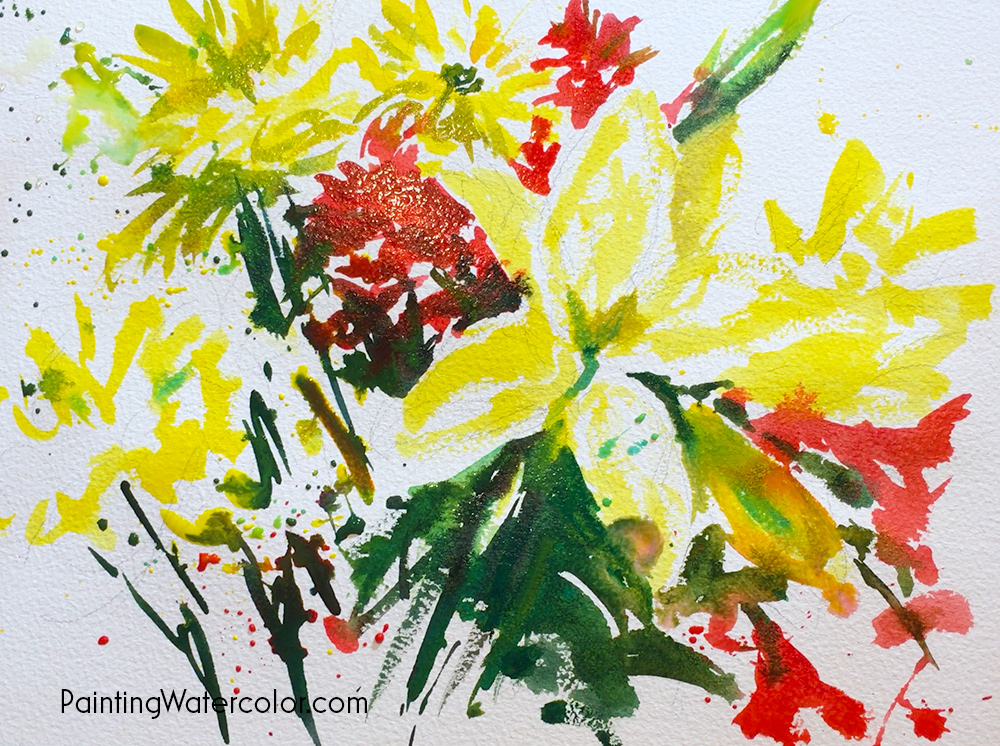
Really strong, juicy darks here. I'm still leaving whites in the most saturated dark space, though.
Painting Demonstration 7
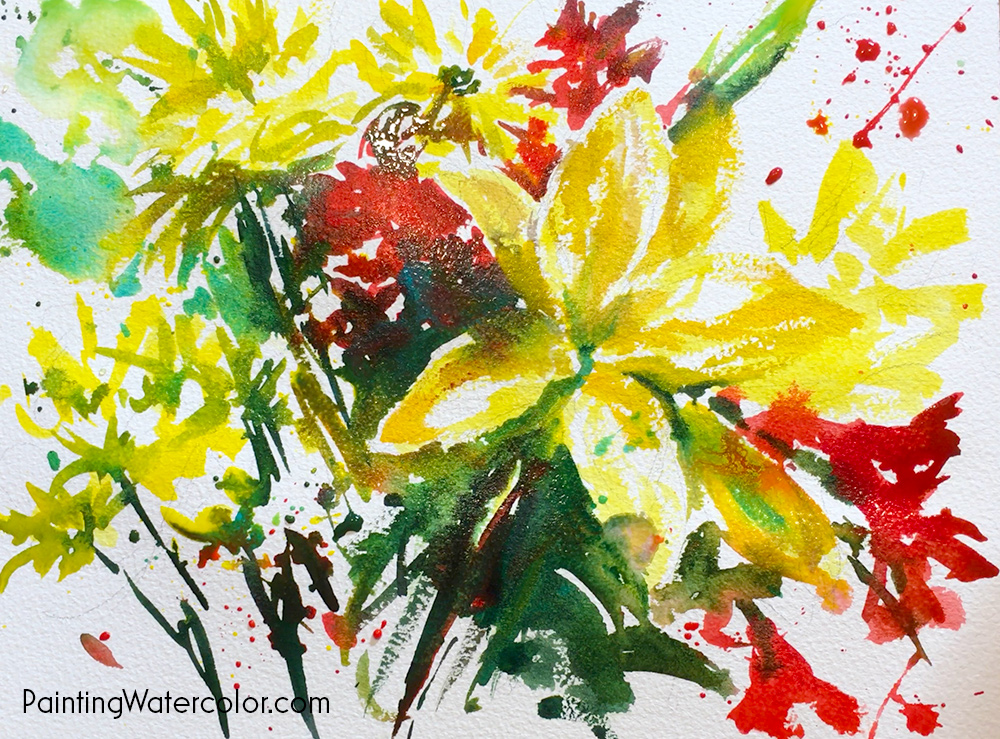
I add some opaque cadmium yellow on top of my transparent azo yellows. This gives it a bolder, more solid feel.
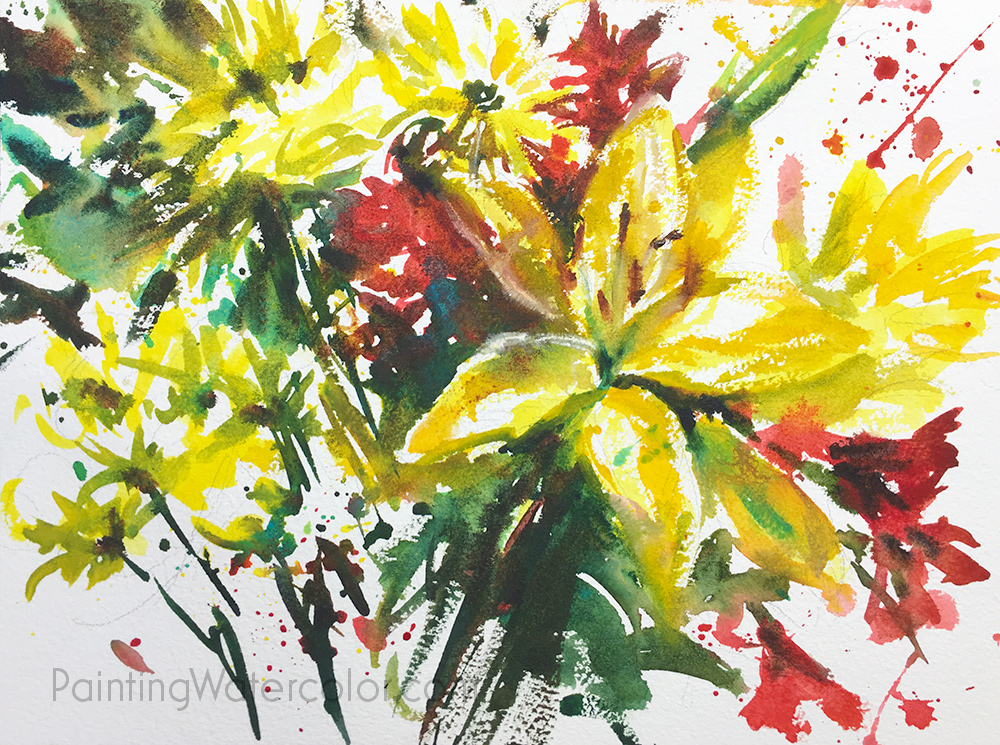
Final Watercolor Sketch!
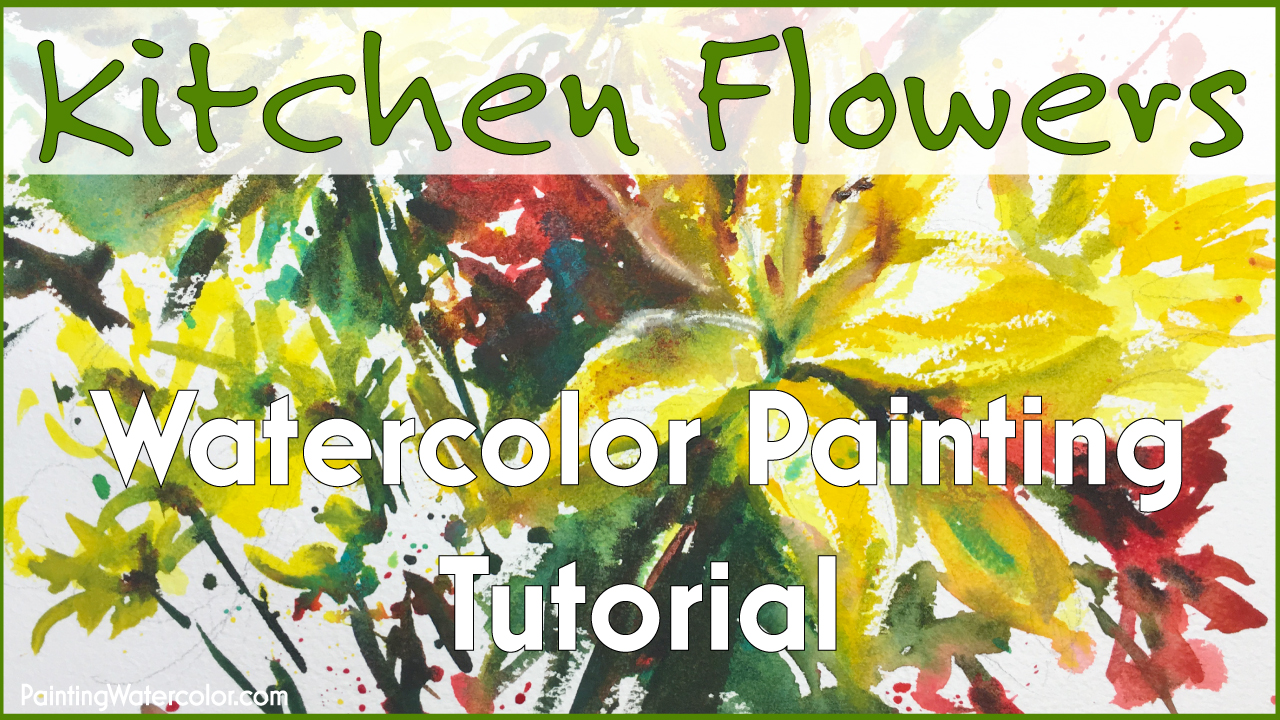
This was such a fun, quick sketch to paint! I kept it easy by using a block, all ready to go. I didn't want the proportions of my sketchbook for this one.
It took me 22 minutes, including drying time, for this sketch. It's not a finished piece, but I enjoyed exploring the translucency / opaqueness of the flowers quite a lot. I'd like to do another one on a cold press or hot press paper. I love rough press, but it's best for texture, not color.(Click for watercolor paper finish article.)
On the other hand, I really love the texture and earthiness of the flowers in this, so I have very mixed feelings. Probably what cold press is for, a happy medium.Using a different paper texture, size, pigments, viewpoints or proportions from what I would normally use is something I do pretty frequently on sketches. A sketch is a chance to explore different ways of doing things, not sink further into a rut.
Enjoy exploring everything about watercolor painting with your sketches. At the worst, you've lost a piece of paper and a few minutes. And even if you don't like what you've painted, you have always learned something new if you took chances with your painting.
I hope this inspires you to pick up some flowers on your next trip to buy groceries. Enjoy the small extravagance and paint them from evey angle possible this week.
Really look at the flowers. Smell them, really look at them in every light you see them in. Morning light is so different from after dinner light.
It's really the small everyday things that make our lives wonderful. Everyday painting helps you to remember those moments of joy and fully appreciate them.

Related Art Lessons


