Painting Demonstration 1
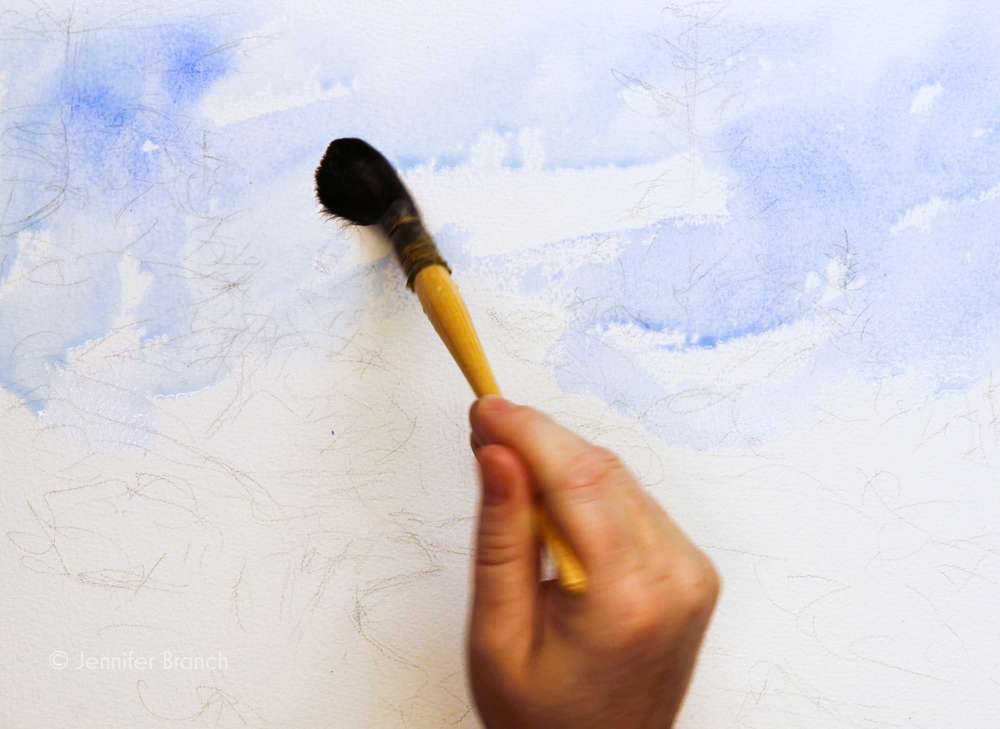
I begin with a loose wash of Cobalt Blue. I'm using my squirrel mop brush so it's very loose. I don't want much going on in the sky so it doesn't distract from the center of interest, the path.
Disclaimer: Jennifer Branch Gallery is a participant in the Amazon Services LLC Associates Program, an affiliate advertising program designed to provide a means for sites to earn advertising fees by advertising and linking to amazon.com. I receive a small rebate for your entire order (starting at 4%) if you choose to purchase through Amazon. Most items can be bought multiple places and I highly recommend local art stores if you have one! Any other recommendation links I receive no compensation for.
These referrals help me support this website, and I thank you for any purchase you make through them. I will never recommend a product I have not used frequently and believe is the best tool for the purpose!
Painting Demonstration 2
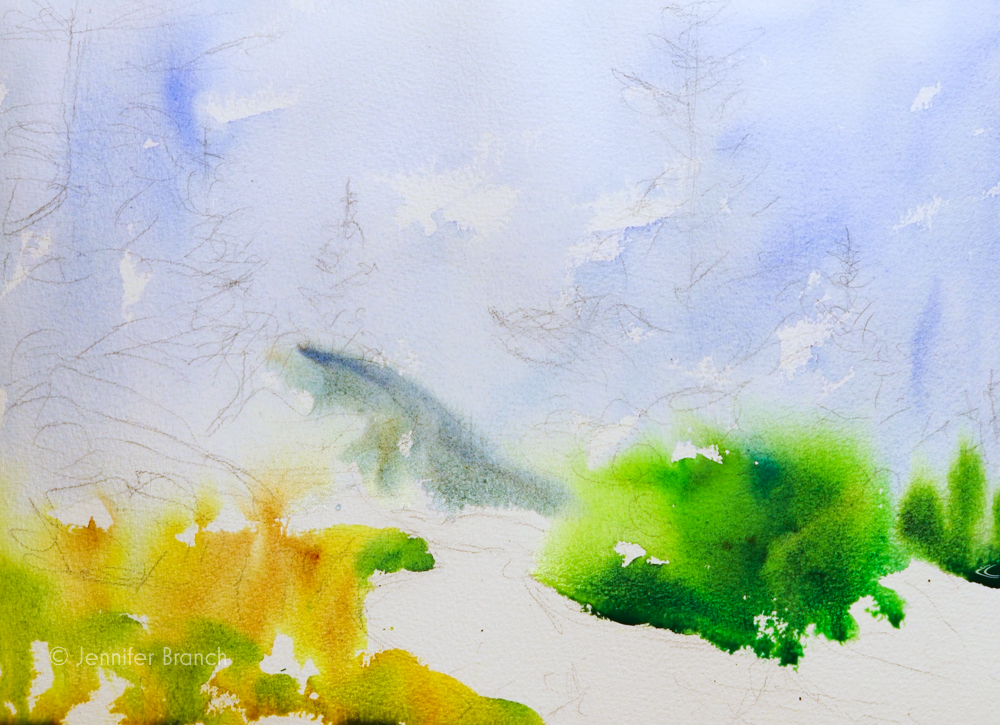
While the sky wash is still very wet, I bleed in some greens for the low trees, bushes and grasses. I keep a lot of pale yellows on the left side, where it's a sunlit tiny meadow.
I do a quick blur of the mountains in the distance. Most of the color will disappear, since it's light, but enough will show through the trees so it will look more pulled together.
Painting Demonstration 3
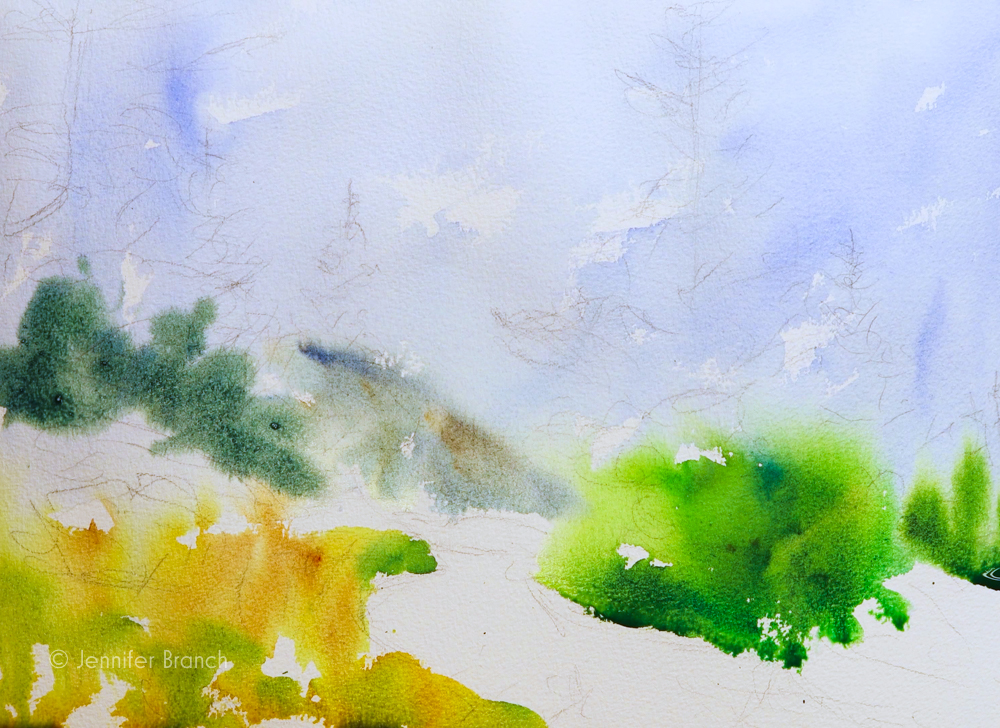
I'm using the same pigments in a very limited range, but I've come up with several distinctly different greens so far. It's amazing how a little more Cobalt Blue completely changes the bright greens of the right to the softer fir greens of the left. It just takes tiny variations to give you all the greens you could want!
Artist Tips
Blur most of your edges, only let a few be distinct.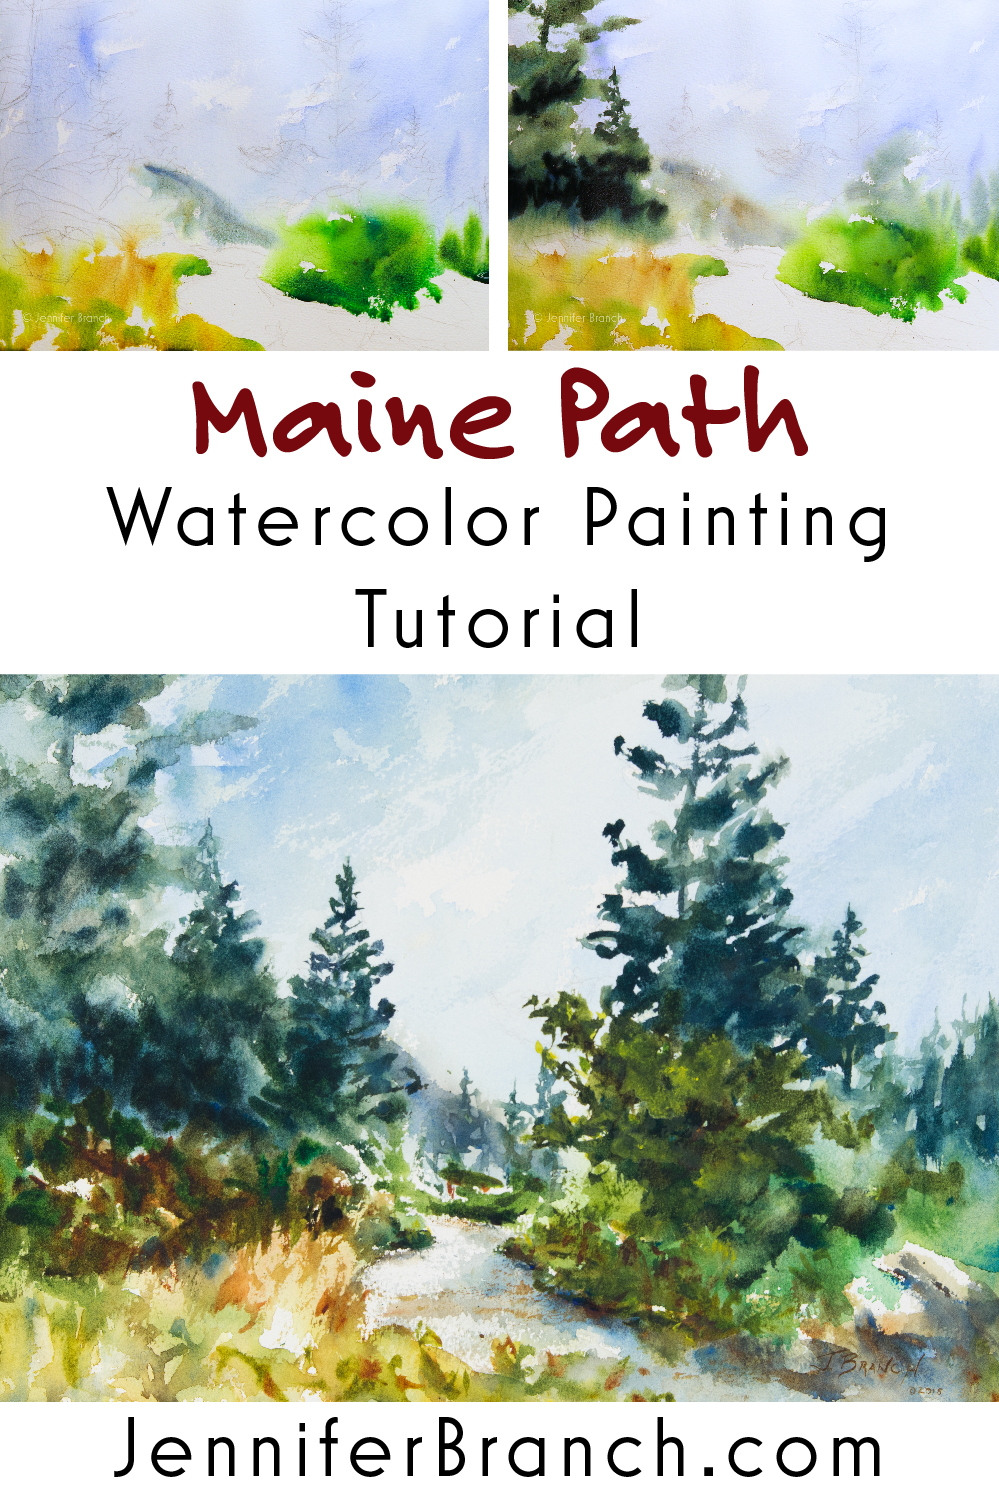
Painting Demonstration 4
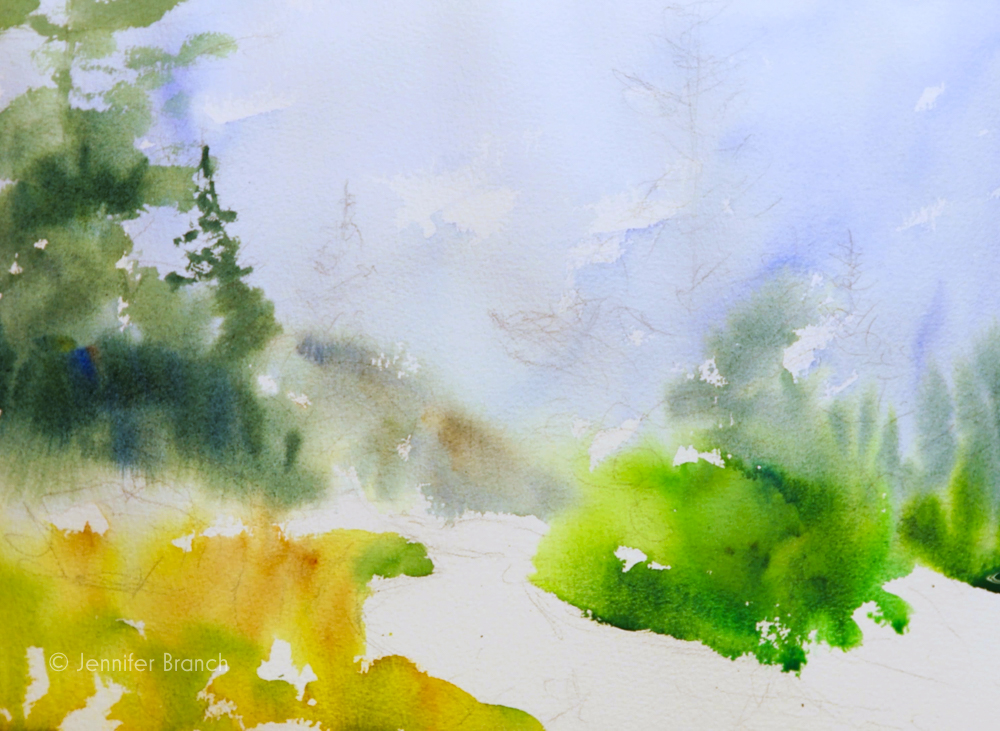
Now, we're getting to the fun part!
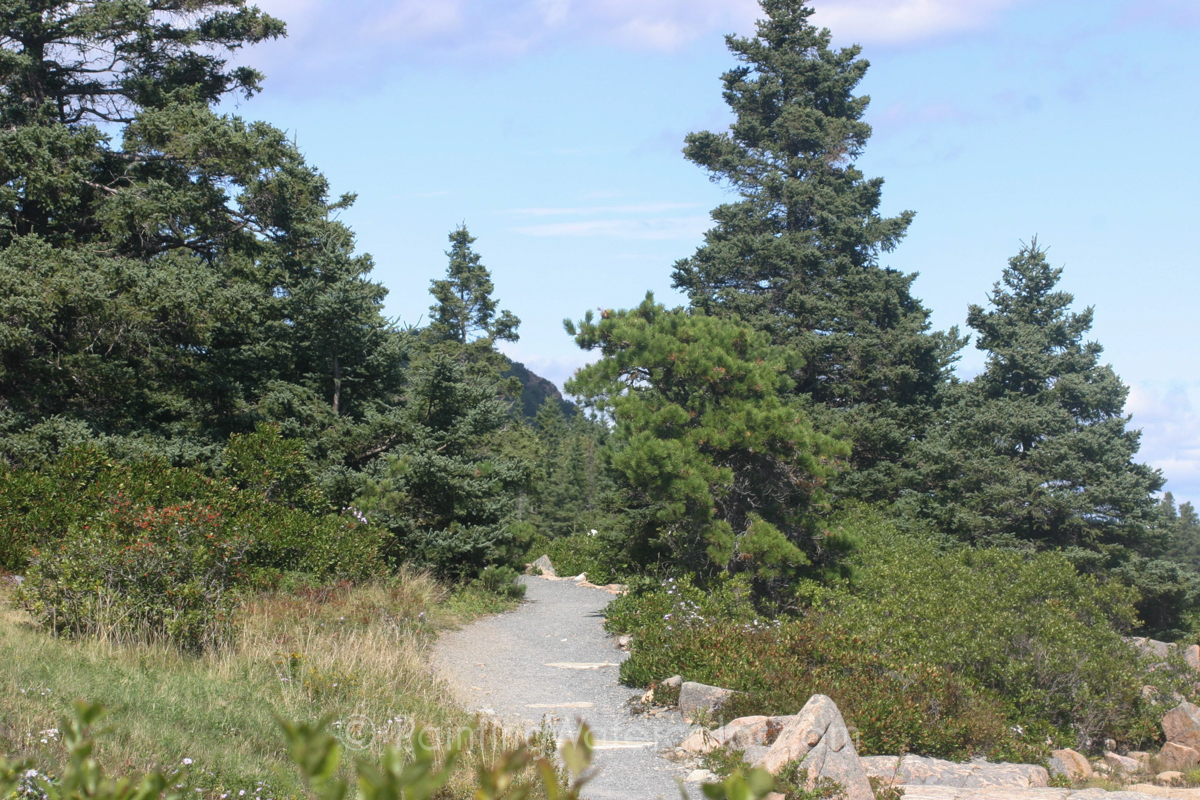
The balsam firs are amazing to paint. They're windswept and angled oddly from the ocean winds. The branches are either covered in clumps of leaves or bare, open to the sky.
I start painting with my #6 Mop brush, but I soon realize it's too big for the delicate traceries of branches against the sky. Every line shows!
Painting Demonstration 5
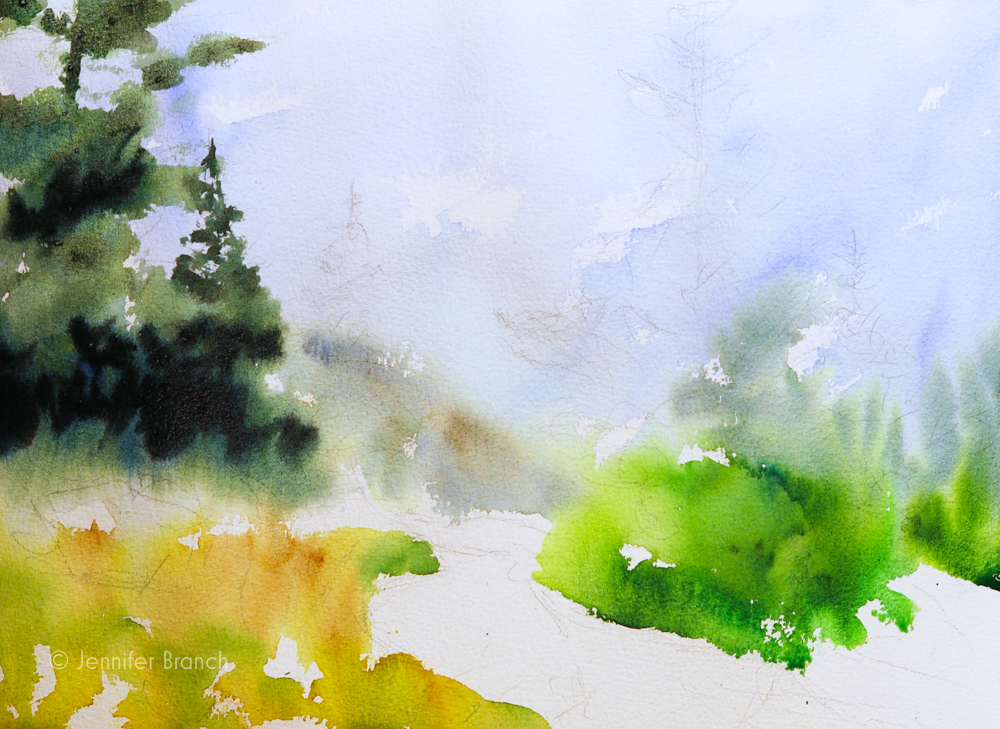
Going back in with my round sable, I can really start on these trees!
I'm adding some extreme darks with Ultramarine Blue and Quinacridone Rust. These dark shadows negative painting into the grass look a lot lighter. The painting starts to take shape with the addition of the darks.
Painting Demonstration 6
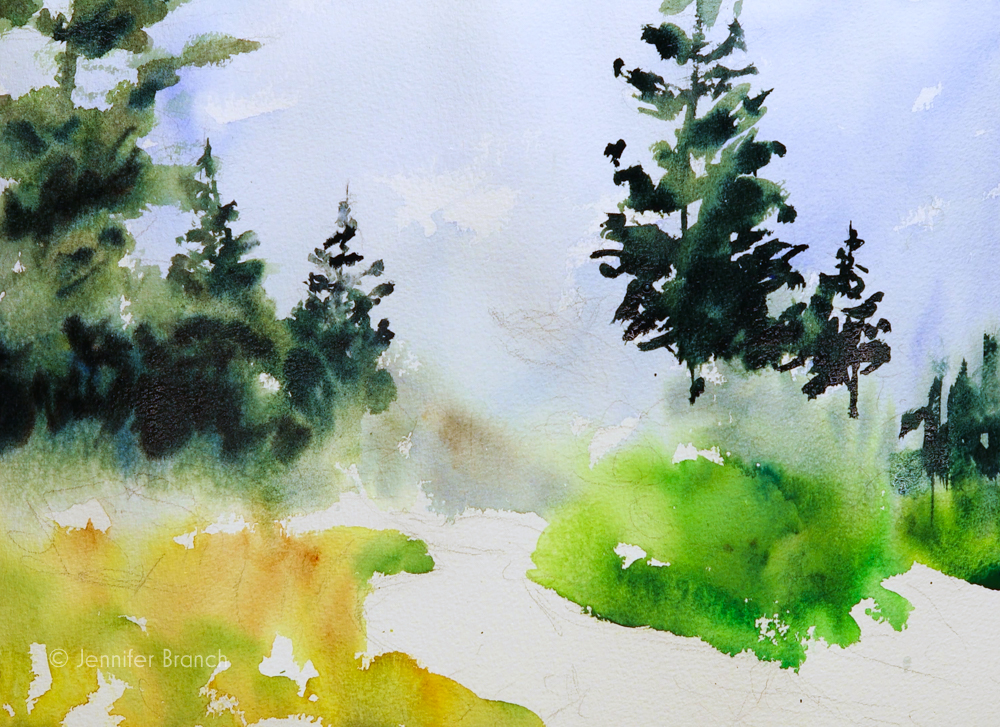
And now, for more strong darks!
I'm using either my #4 rigger or my round brush for the trees. I stick with the same Ultramarine Blue and Quinacridone Rust base mix, varying with a bit of Nickel Azo Yellow. Just varying the pigments slightly makes all the difference.
The edges of the trees are what make them recognizable as trees. So don't worry about the middles, concentrate on the edges.
Painting Demonstration 7
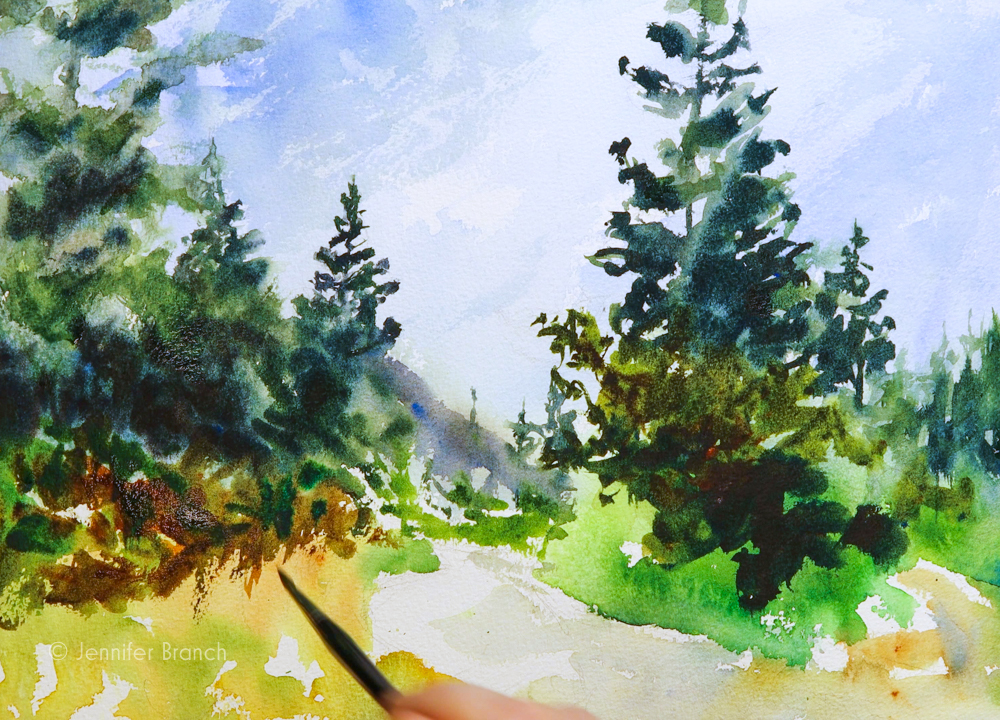
Even more varied greens are showing up now, but it's still the same basic palette.
I pull the grasses down a little bit, negative painting their edges. This creates a better line to the center of interest.

Maine Coast Path Painting Tutorial Final Watercolor Painting!
Finally, I paint the path. Deep shadows on the path make it come alive a bit more.
Now, I want to walk down this path!
This is a fun, simple painting to do. It shouldn't take very long to do, say half an hour. There's a ton of interesting textures and edges to paint. The variation in the greens makes it even better!
The best part about this painting is any path will do, even if it's a road!
Find an interesting path near you and plan your painting so the path heads off into the distance, around a curve. Throw in some trees framing the end of the visible path and you have a classic, simple composition for a painting.
I hope you paint a path near you this weekend!


