Painting Demonstration 1
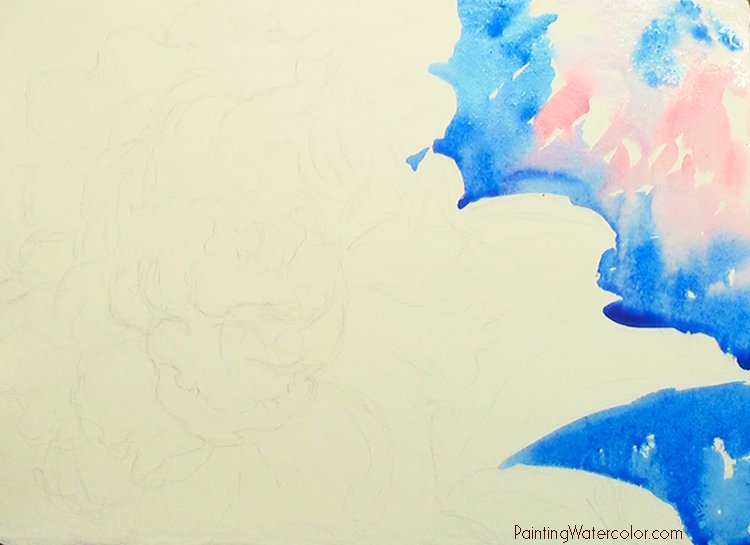
I begin by negative painting around the white peony. I want a slightly pastel background so I'm using cobalt blue and ultramarine blue. I don't want the gaura in the background to distract, so I'm using some quinacridone red to tone it down to a pink.
Painting Demonstration 2
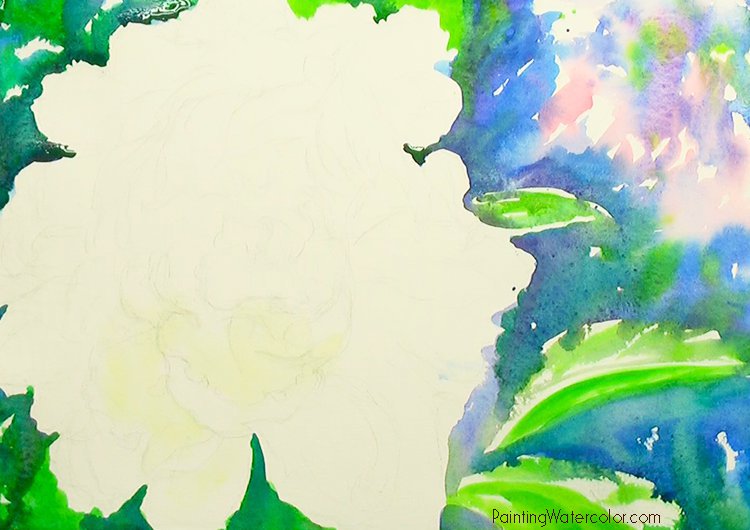
I have my soft background painted, blurred and out of focus. I want the leaves a little sharper but still reflecting white.
I'm ourlining the flower quite harshly as I paint the background. I plan on blurring it later so the focus is on my center of interest.
Painting Demonstration 3
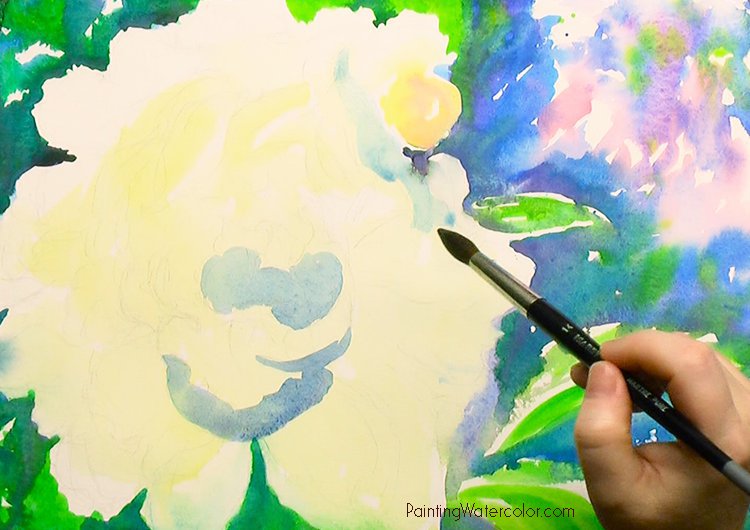
I paint a very light wash of yellow into the flower petals and let it dry completely.
Then I go back with cobalt dulled with a little quinacridone red. (Yes, I know, weird for me to premix! Guidelines are meant to be broken!) The peony needs to glow against the deep shadows on it so I need a dull, cool shadow. I lightly hit the shadows around the peony flower, blurring as I go.
Artist Tips
When you scrub the paper with a rag, you ruin the texture of the paper. Save this step for near the end!
Painting Demonstration 4
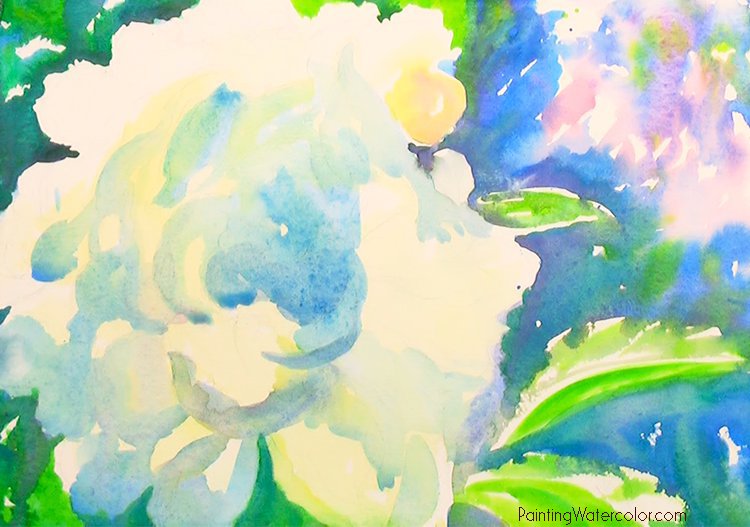
I paint the petals very sofly in dulled blues. I use tinges of ultramarine blue and pthalo blue. I use a lot of water, letting the color float and blur softly at the stem side petal edges while having sharp edges on the outer petal edges. I want to keep the colors varied and softly lit.
After this has dried, I paint bright azo yellow tinged with quinacridone gold at the center of the flower for that glow.
I then let this dry completely. White flowers always involve a lot of layers and drying in between layers. That's why I rarely paint them on location. It's much easier to paint 15 minutes, then let it dry 15 minutes in my studio!
Painting Demonstration 5
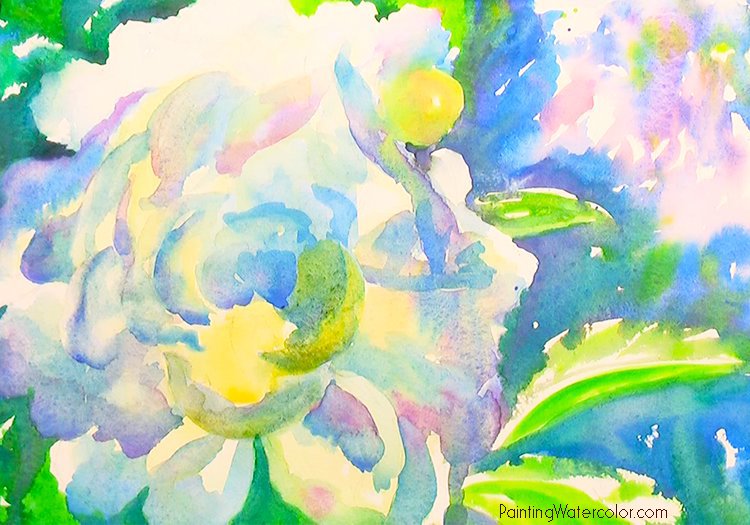
Here's the fun part! I continue letting colors blur in and out of each other. The trick to doing this without a muddy mess is to keep a limited palette in any 1 wash. I'm getting the lovely glowing effect, but the pastel background just makes the whole thing look wishy-washy.
Painting Demonstration 6
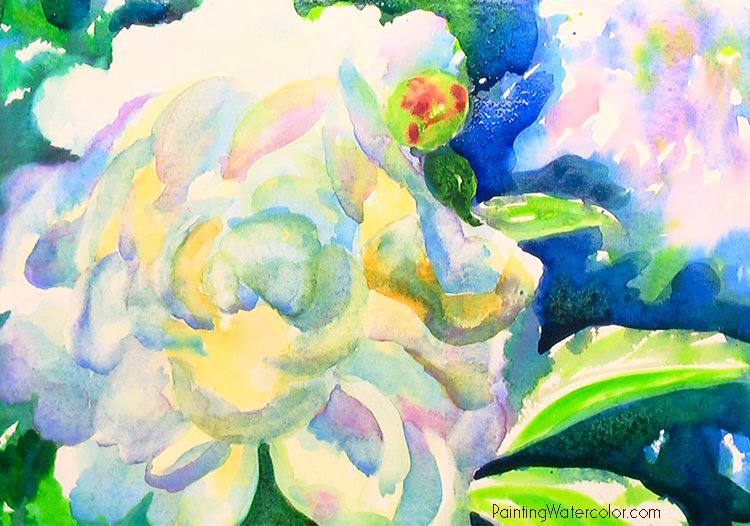
To give a bit of boldness I go in the background again and darken the wash. Notice how the dark background turns the flower from a bit insipid and dull to a glowing flower.
I carefully paint the flower bud, pthalo green, azo yellow and a few drops of quinacridone red. I don't touch it again! Fussing would mess it up.
Let this dry completely!
Painting Demonstration 7
 " alt="White Peony Watercolor Painting Tutorial 7">
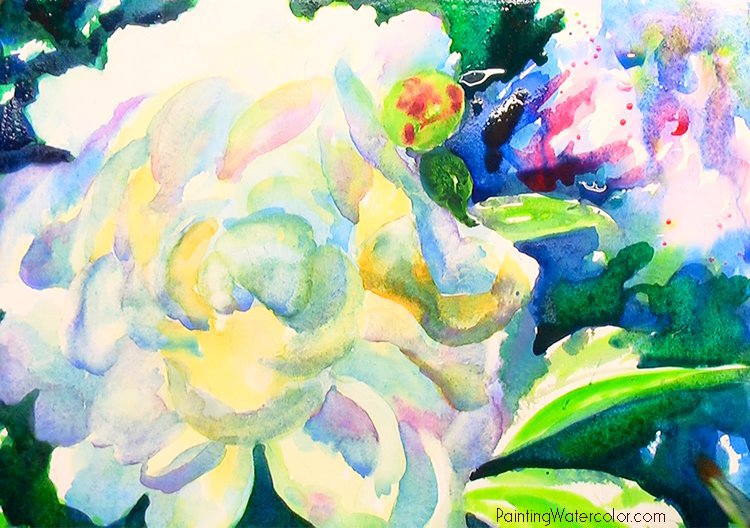
I like the darker background so much I darken the rest of it! Always adapt watercolor paintings as you paint them and NEVER paint your darkest dark until the end of your painting.
A little bit of splatter paint livens up the painting a bit. I paint a few darks and blur the gaura a little.
I'm blurring a few edges with a clean wet rag in this stage. I love the softness that gives to flower petals.
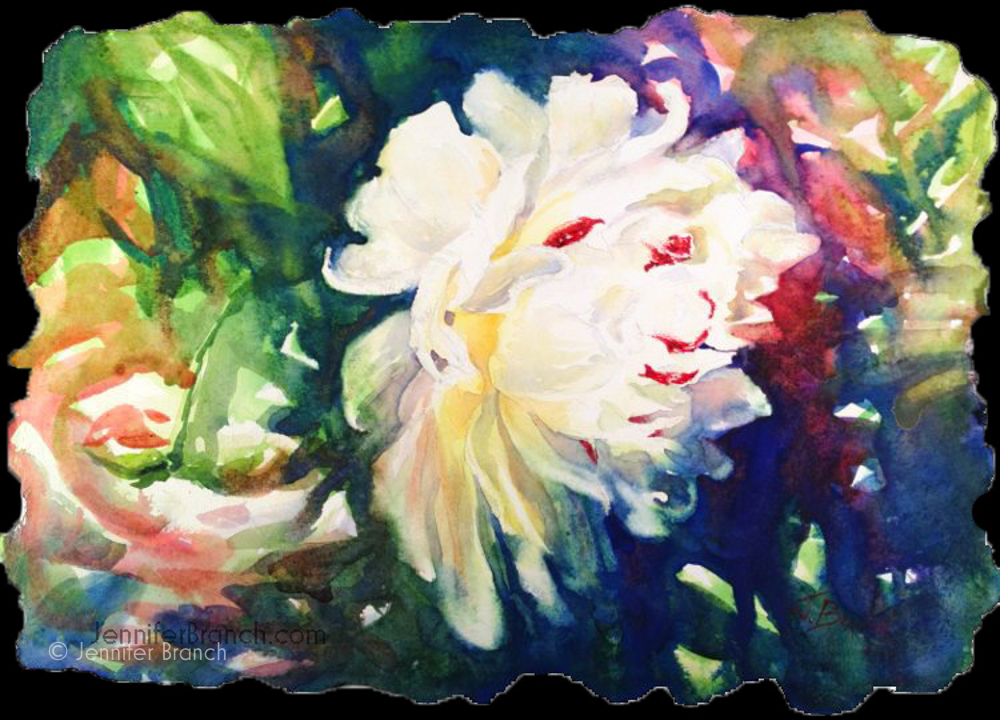
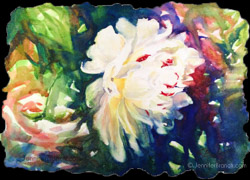
White Peony Final Watercolor Painting!
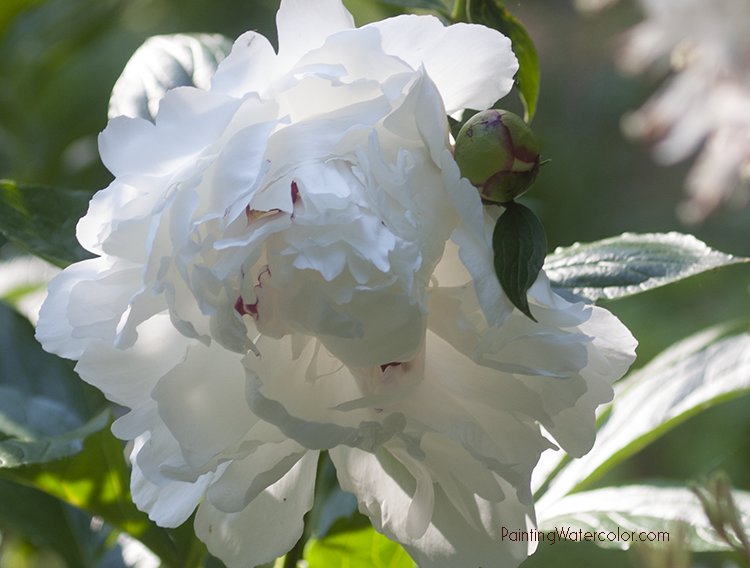
I will probably paint a white peony every year they bloom. Considering how long peonies bloom, I should have quite a few paintings of them! There's always something a little magical about peonies. And some years it rains or they simply don't bloom well for one reason or another. I have a few pink peonies that remind me of cotton candy, but the white peonies with the dashes of red steal my heart.
I strongly recommend painting white flowers. They are more interesting the more you paint them! (And possibly a little more difficult the more you know...) White flowers are one of the best ways to sharpen your painting skills there are.
Please instagram your white flower paintings (or other paintings inspired by my website) #paintingwatercolor ! I'd love to see what you paint next! On a side note, does anyone know what this variety of peony is? I'd love to know!


