Painting Demonstration 1
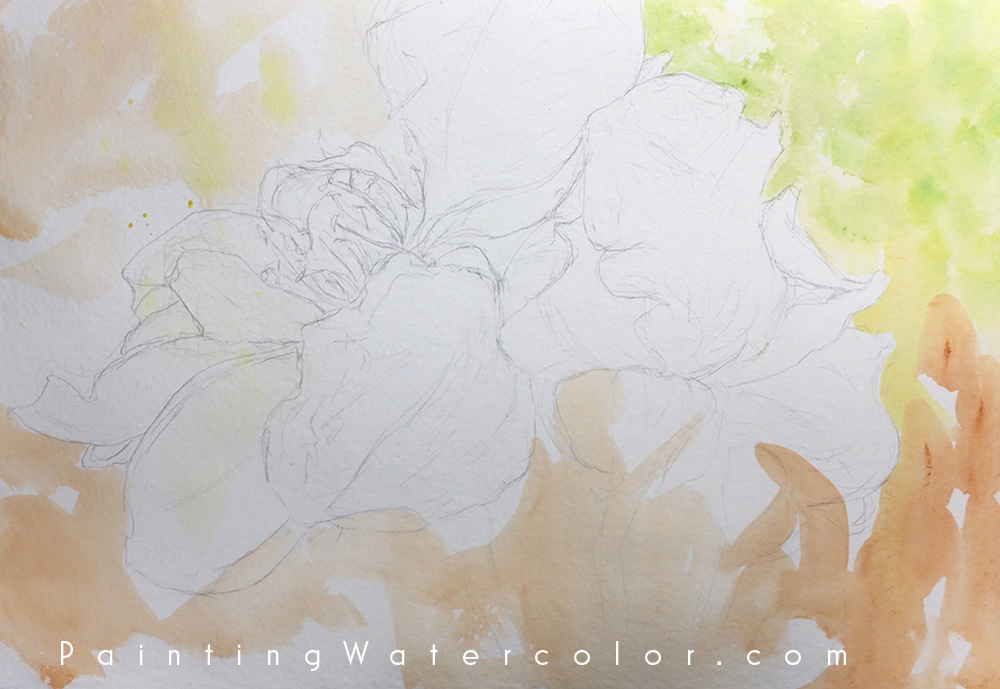
I begin with a pale warm background. I'm using bright greens mixed with cobalt teal and azo yellow on the upper part of the painting and quinacridone rust and nickel azo yellow on the lower part of the painting.
Painting Demonstration 2
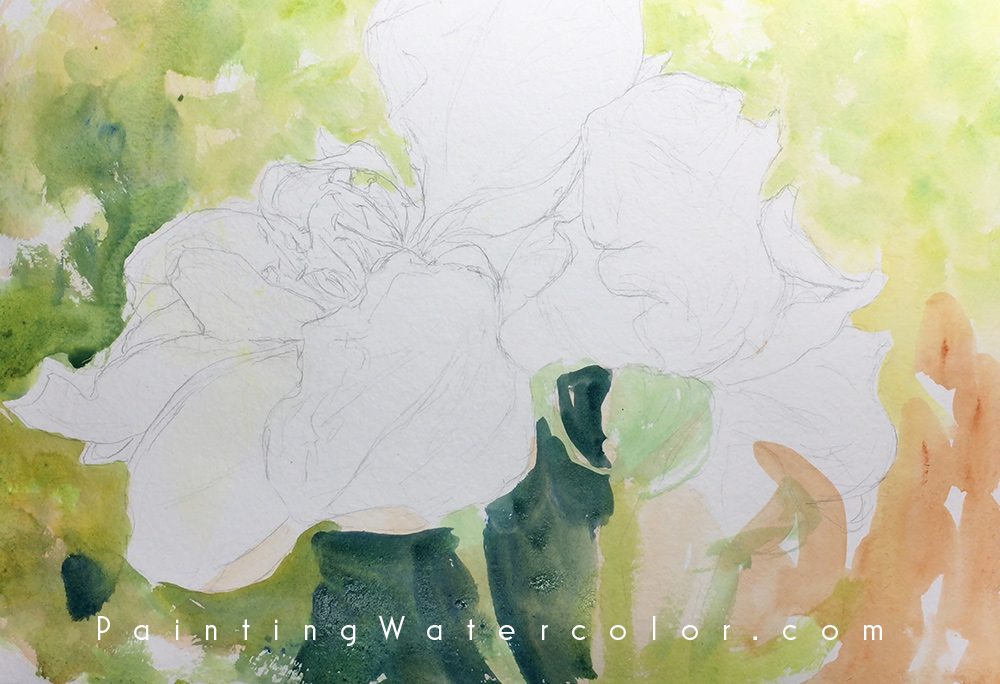
While the painting is drying, I continue working around the background. I add some deeper cool blues to the warm background with ultramarine blue and cobalt blue. I want lots of contrast between the background and the rose.
Painting Demonstration 3

Now I can start pulling out a few lights in the background, almost a bokey effect without being distracting.
Artist Tips
Use the same colors in the flowers as the background. It will pull the painting together.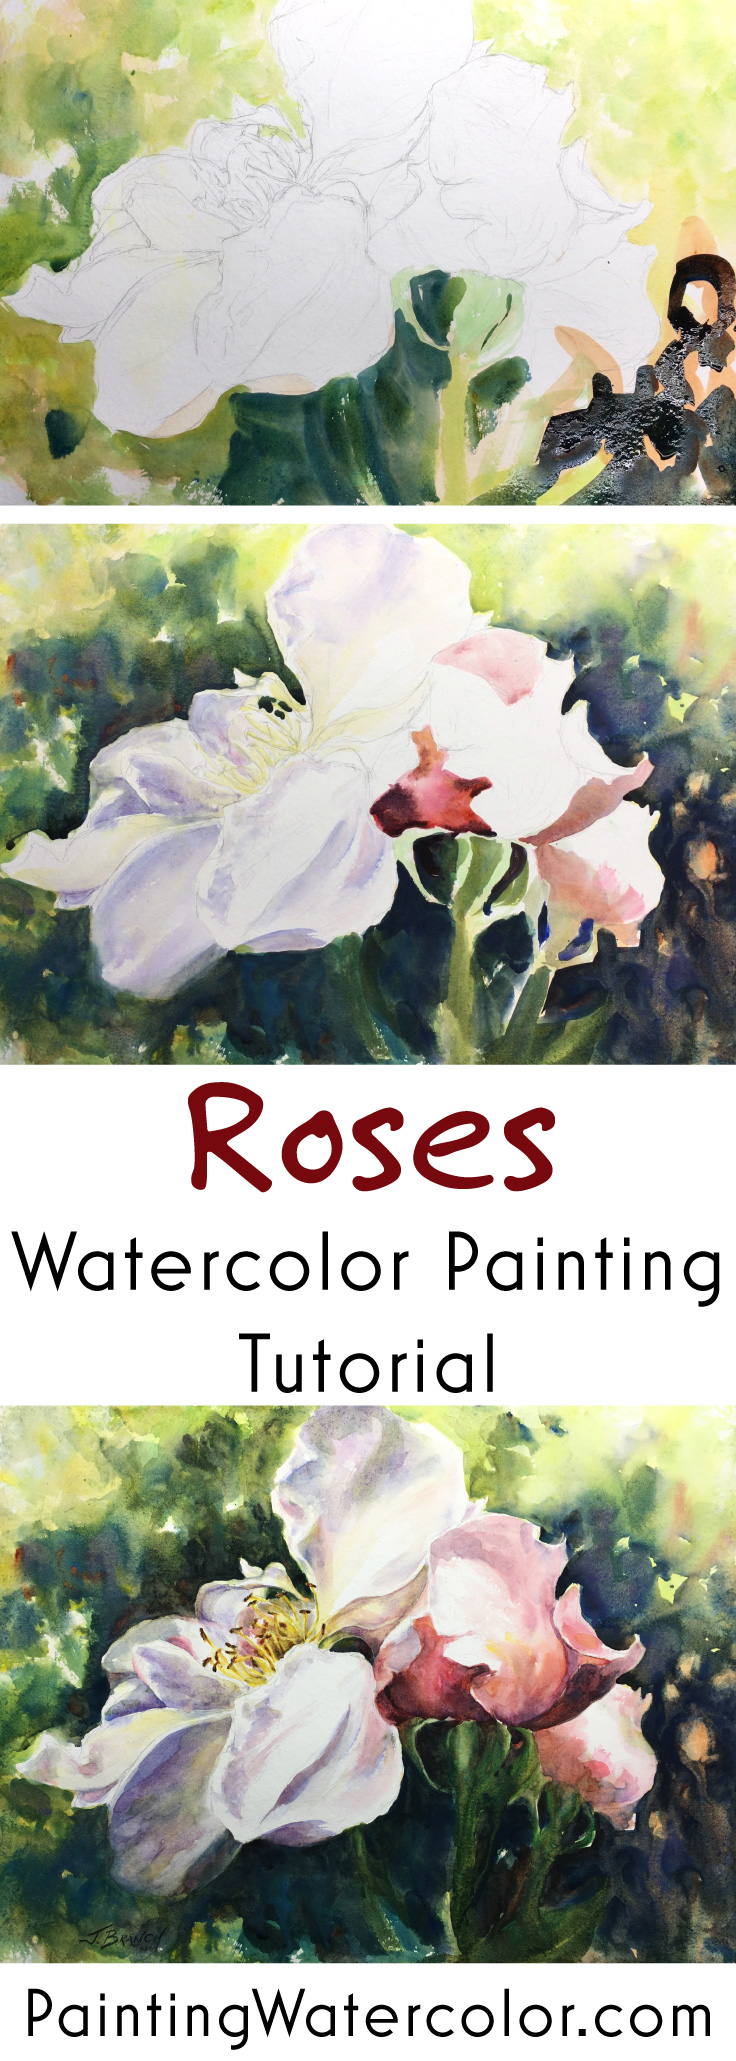
Painting Demonstration 4

I'm pulling in a lot of pigment from the background into the roses, but it's more distinct than I usually paint flowers since the petals are fairly opaque.
The pink is a very subtle mix of quinacridone red and cobalt violet with touches of quinacridone rust. I'm building up slowly in layers.
Painting Demonstration 5
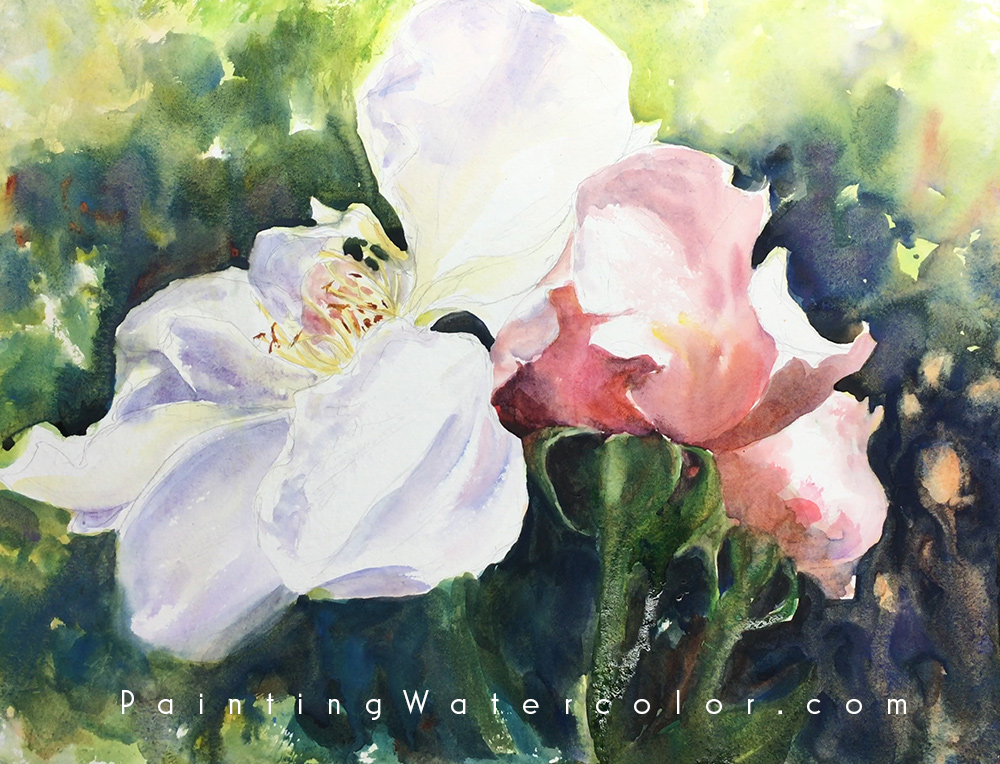
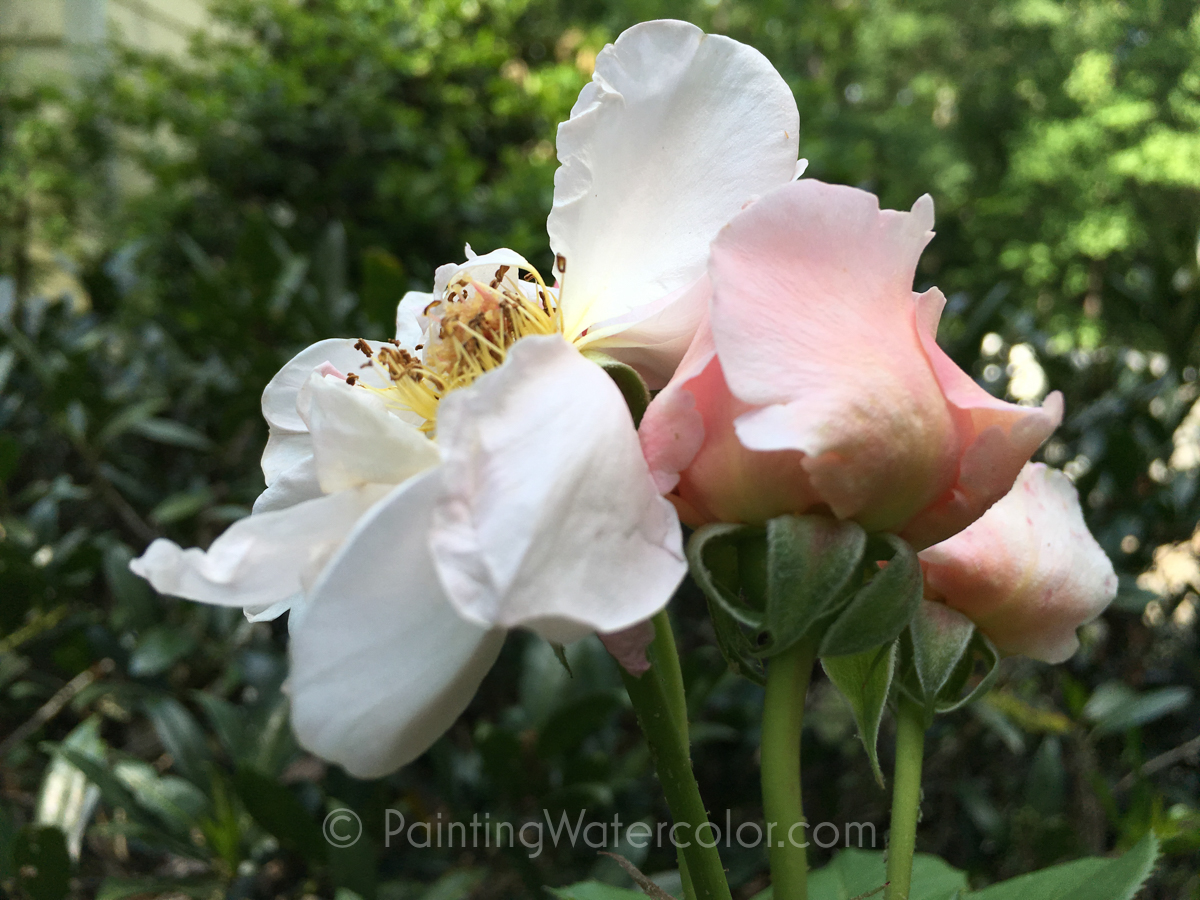
Surprisingly, the difficult part of this painting is not the delicate pink or the white golden shadowed petals. The difficult part is the very delicate stamens. Too much contrast in the delicate filaments and the entire painting becomes heavy and photographic. I actually tried one version using gouache for the filaments. The painting was ruined from the lack of transparency and general heaviness.
So practice the stamens, at least drawing them in charcoal, on a separate piece of paper. I never feel bad about doing a painting twice, but it does feel frustrating too. The stamens are deceptively difficult, at least for me!
Painting Demonstration 6
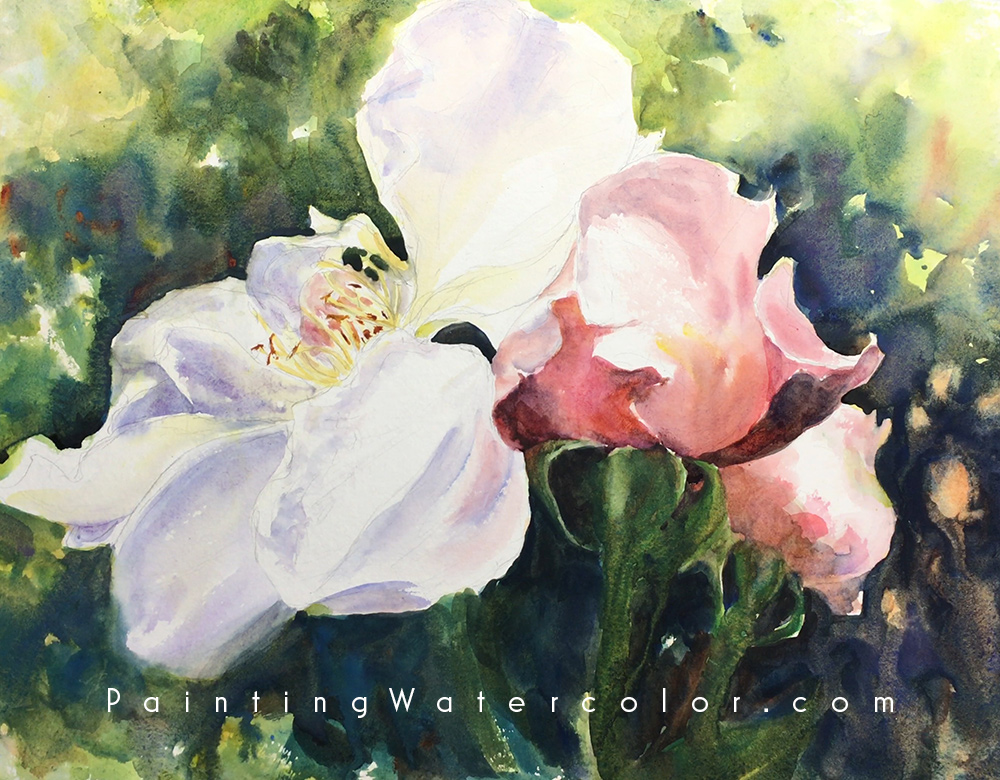
Leave the highlighted edges of the petals white paper if possible. It's such a delicate flower that too much gouache or wax will overwhelm it.
The background was not weighted well so I added some darks behind the upper petals. More contrast is good, but I'm still avoiding a cutout look.
I I continue to build up layers very slowly.
Painting Demonstration 7

The wonderful sinuous curves of the petal edges move into the warm shadows between the roses. This is a bit tricky with reflected color from the rose buds, but cooler shadows as well. And it's in layers, each a bit different. So build this up slowly.
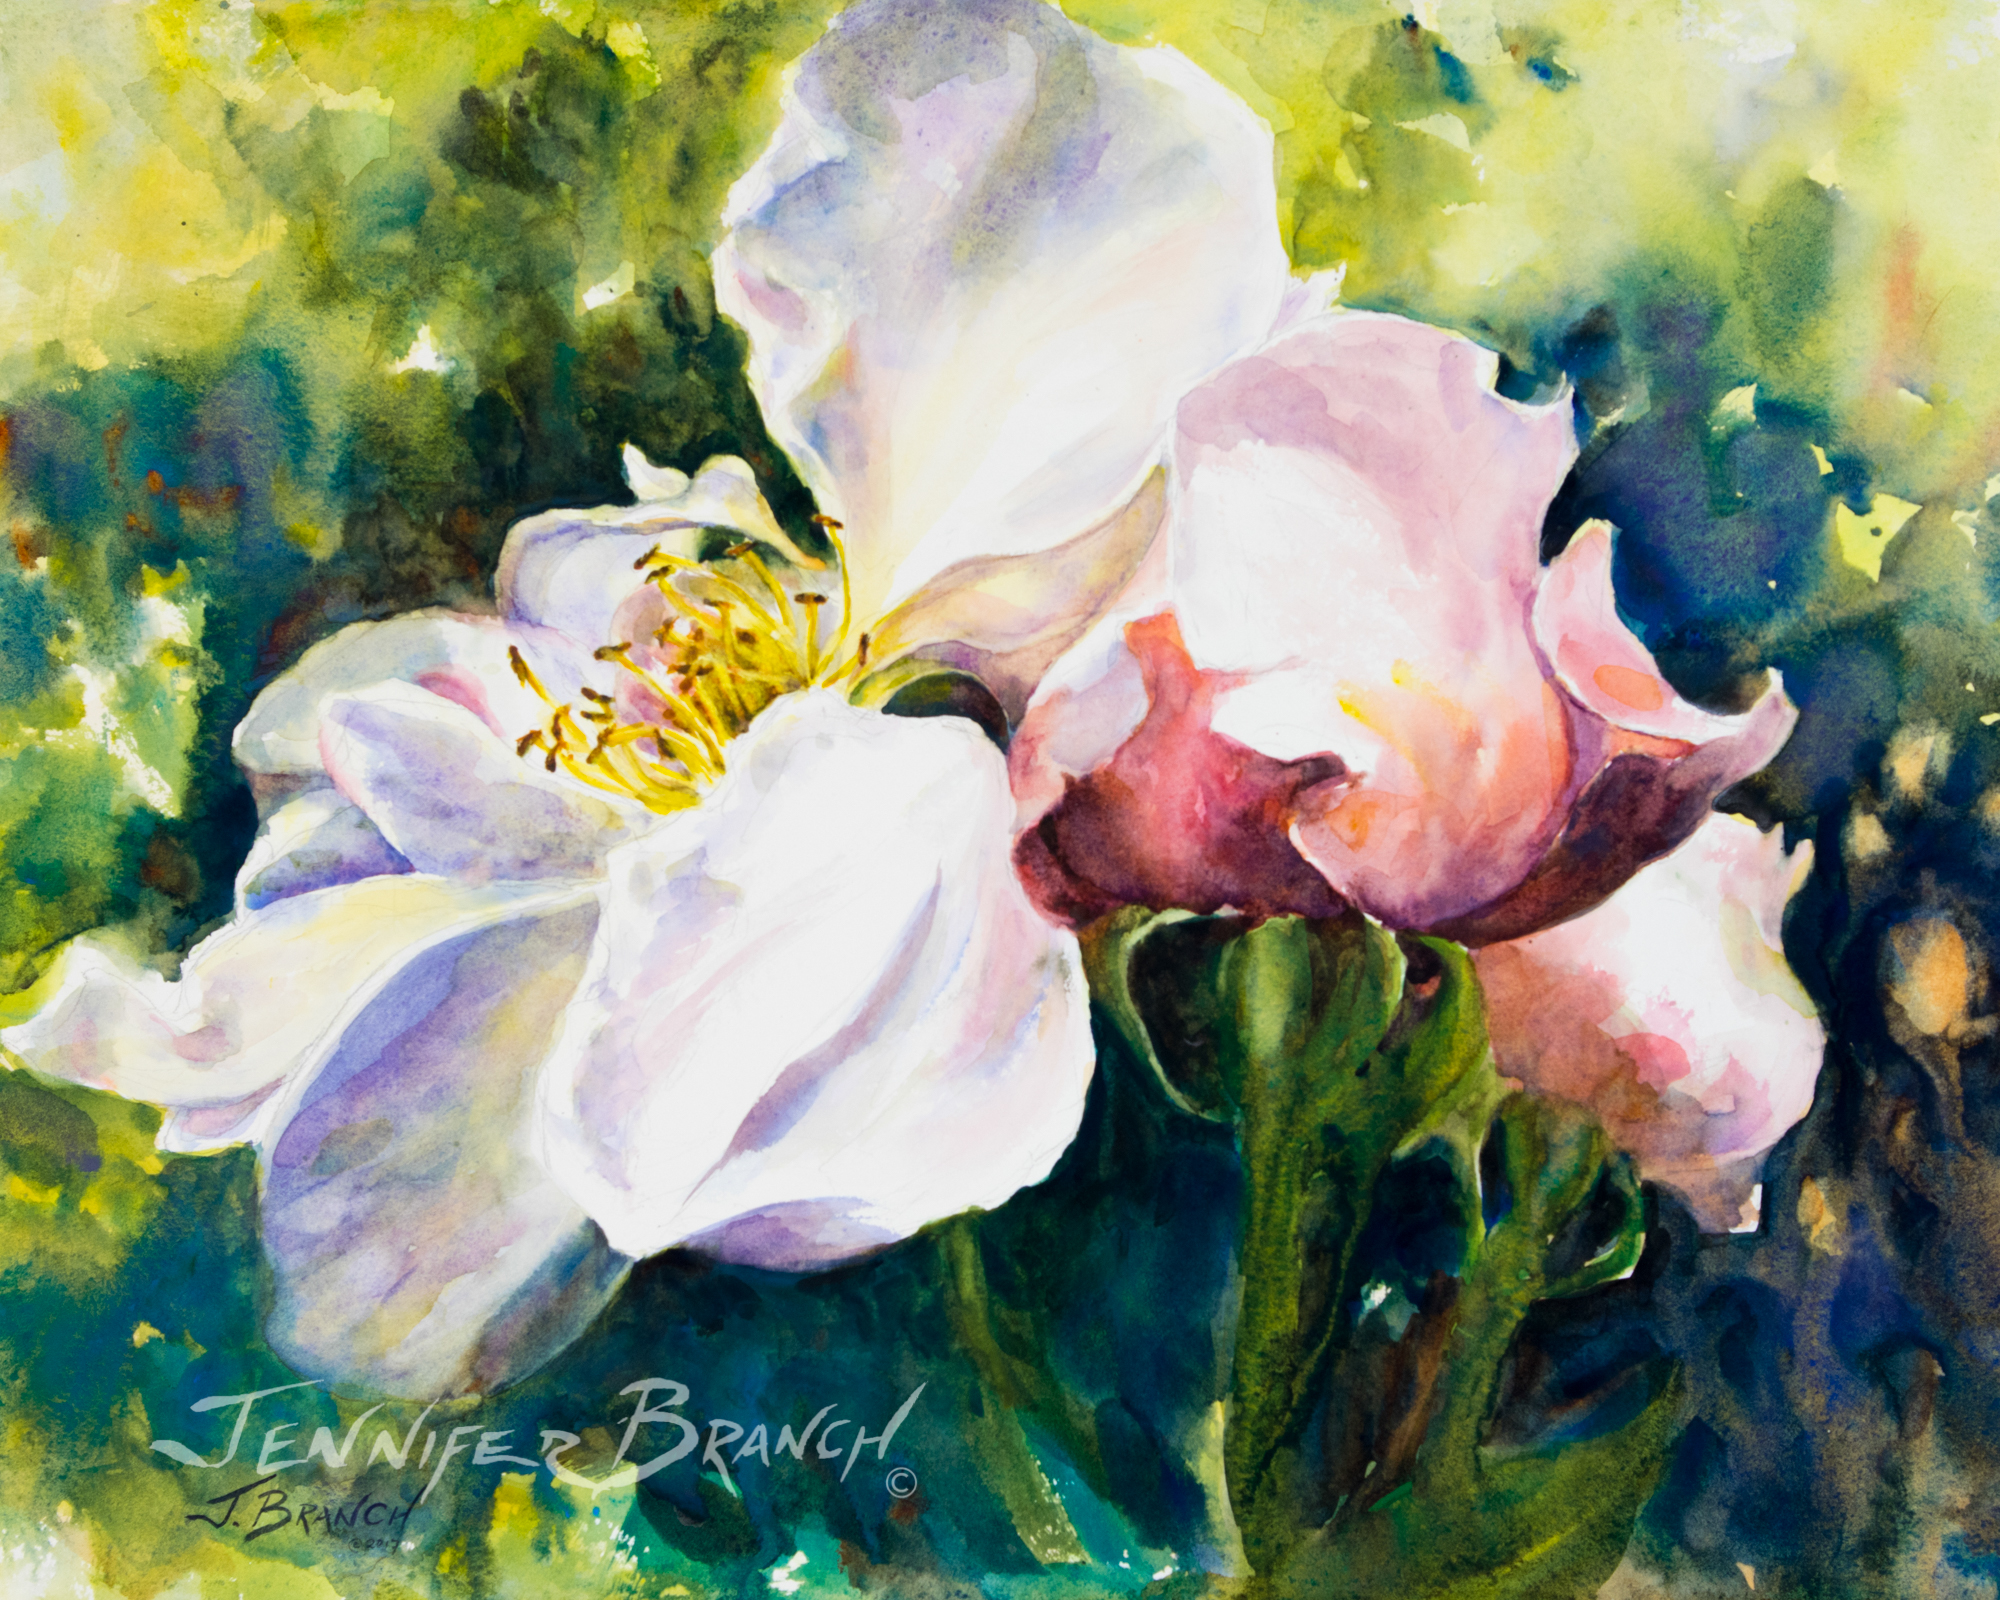
To purchase Roses Watercolor original watercolor painting, please click!
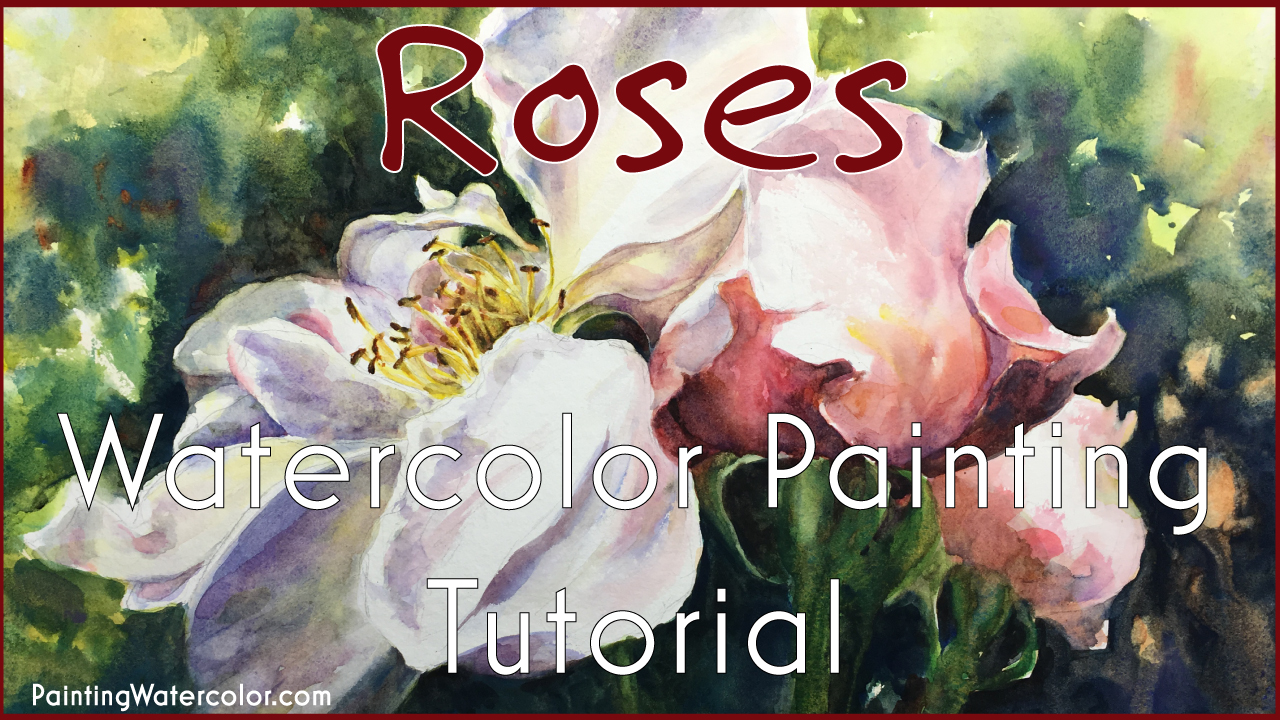
Roses Watercolor Final Watercolor Painting!
I loved painting this painting! Roses are one of my favorite flowers - I have a collection of about 30 bushes, mostly David Austin's. I would be the first to admit roses don't do their best in the humid heat of Georgia. I have discovered mulching heavily with bark and compost makes a big difference. I haul wheelbarrows around the garden all winter... so I obviously love my roses!
I painted this painting twice. It really makes a huge difference to do that in watercolor paintings. With oils, you can scrape down to canvas in a tricky spot or simply slather pigment on it. But I think in any medium, you can over work a painting. You lose that first vision and start focusing on stamens instead of the entire painting.
I love the immediacy of watercolor. This painting took about two hours to paint. But I can't tell you how many sketches it took. How many hours in the garden trying to capture the fleeting evening light. And the previous painting that didn't quite work out.
Painting isn't a paint by number sort of thing. Watercolor painting, especially, builds on every previous layer. If I didn't have the warm underlayer as my first layer, the later background would have been too cool. If I'd added warm over layers, it would have been too warm.
Would the same thing be true for every backlit painting? Of course not. So when you're painting, look at the edges of the lights and shadows and think of the order of washes.
I hope painting these roses makes you think of warm summer afternoons and the sweet smell of roses. Thank you for painting with me in my garden!


