Painting Demonstration 1
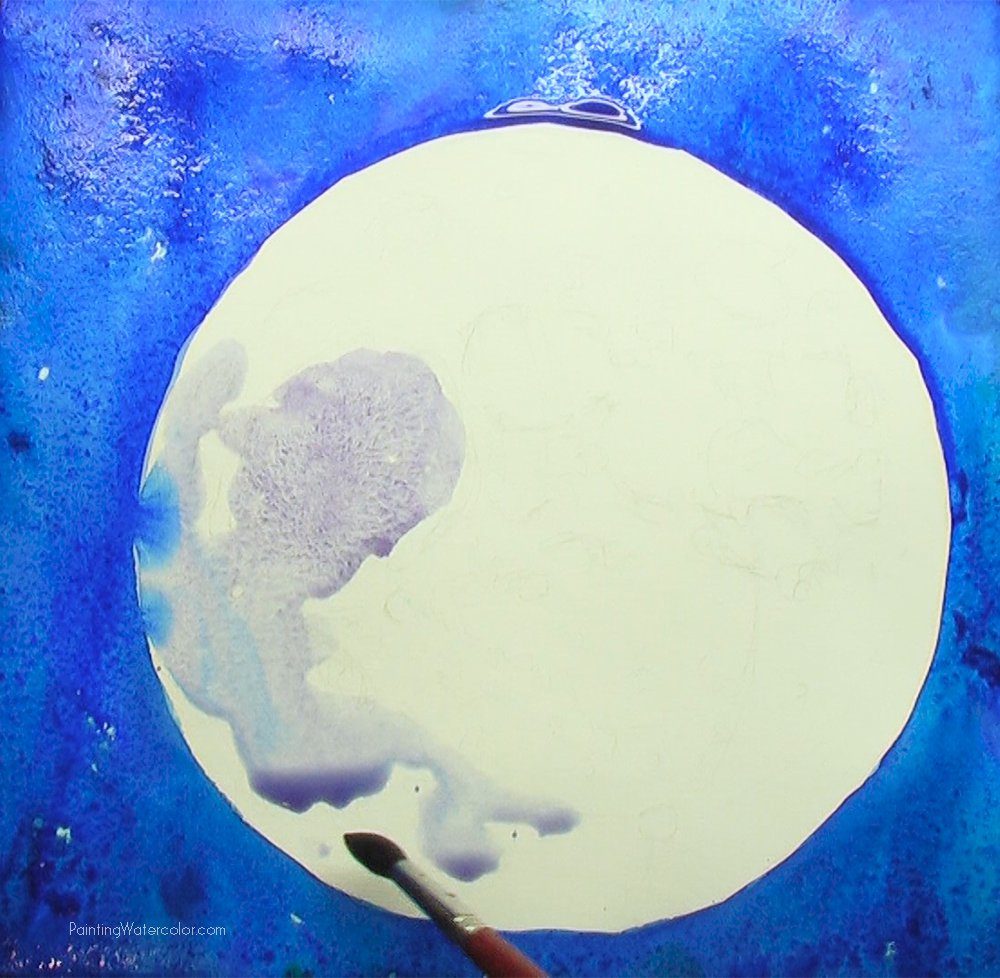
I start with a loose wash of pthalocyanine blue and ultramarine blue in the night sky. I leave a few holes for stars, some of which I reserve with a wax crayon. I also reserve the whites of a few craters.
I start painting the moon with cobalt violet. I am letting the background bleed into the moon. The shadows and light on the moon are full of reflections, after all!
I took a lot of time drawing out the various features of the moon. It's like a portrait - everyone recognizes the moon! While I start extremely loose, I do want to define those features fairly accurately later on.
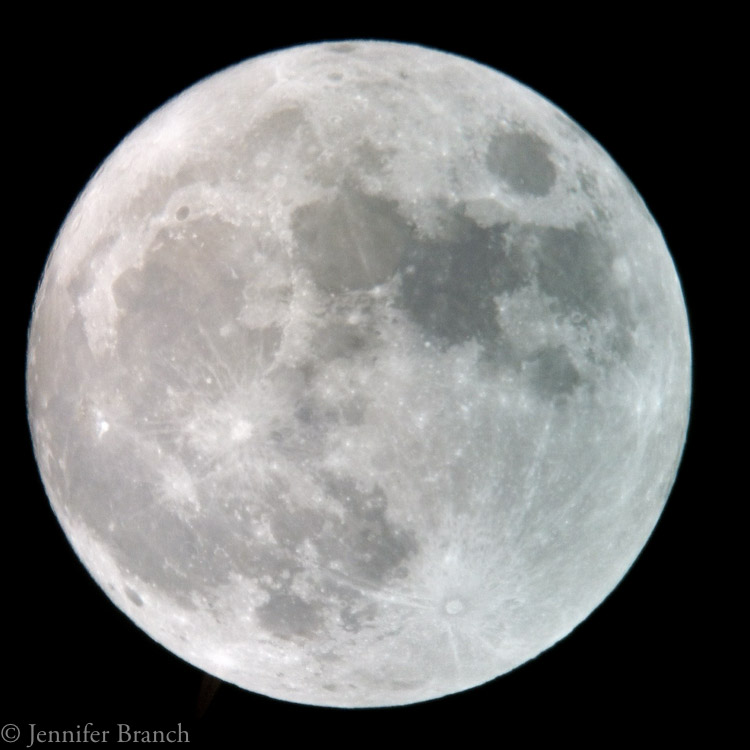
Wonderful photo taken by my husband!
Can you believe this was with an iphone 4 just held up to the eyepiece? We really need to get some good telescope camera mounts!
Painting Demonstration 2
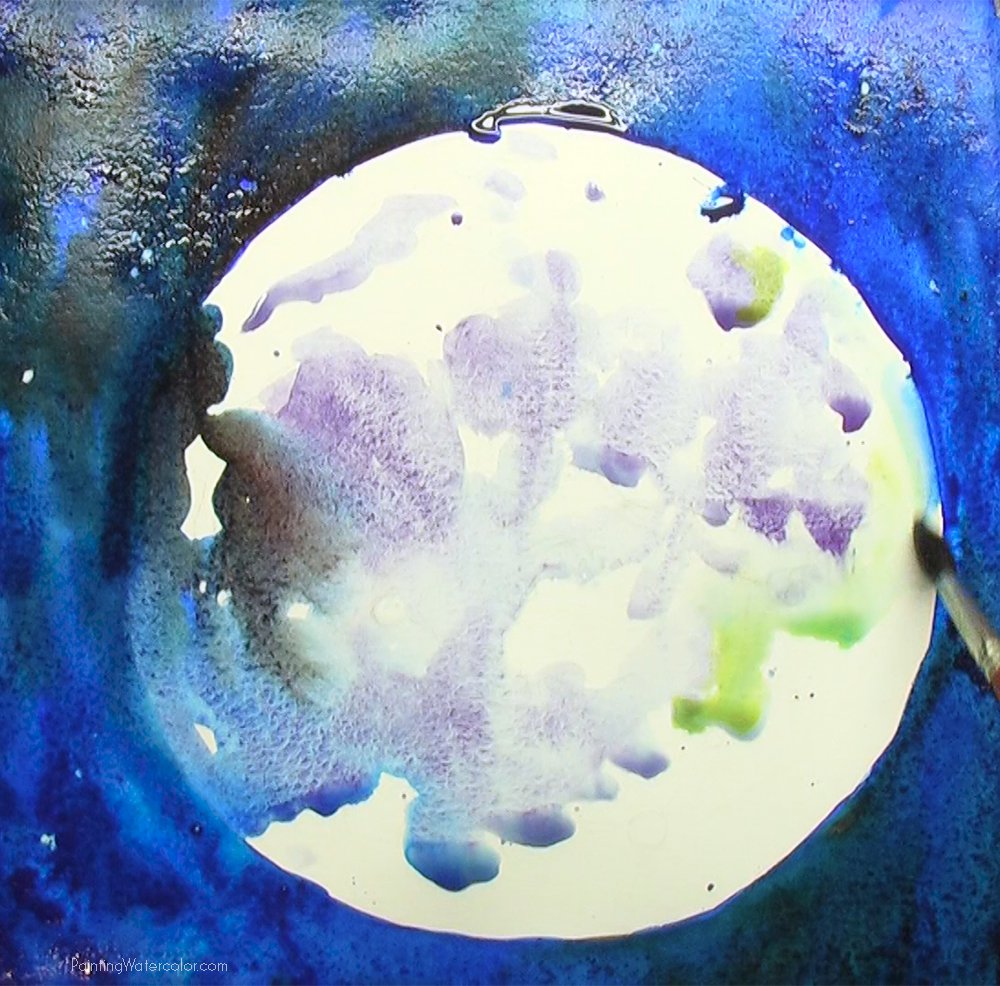
I let the night sky blur into the moon. I'll go back and redefine it later!
I let this dry completely!
Painting Demonstration 3
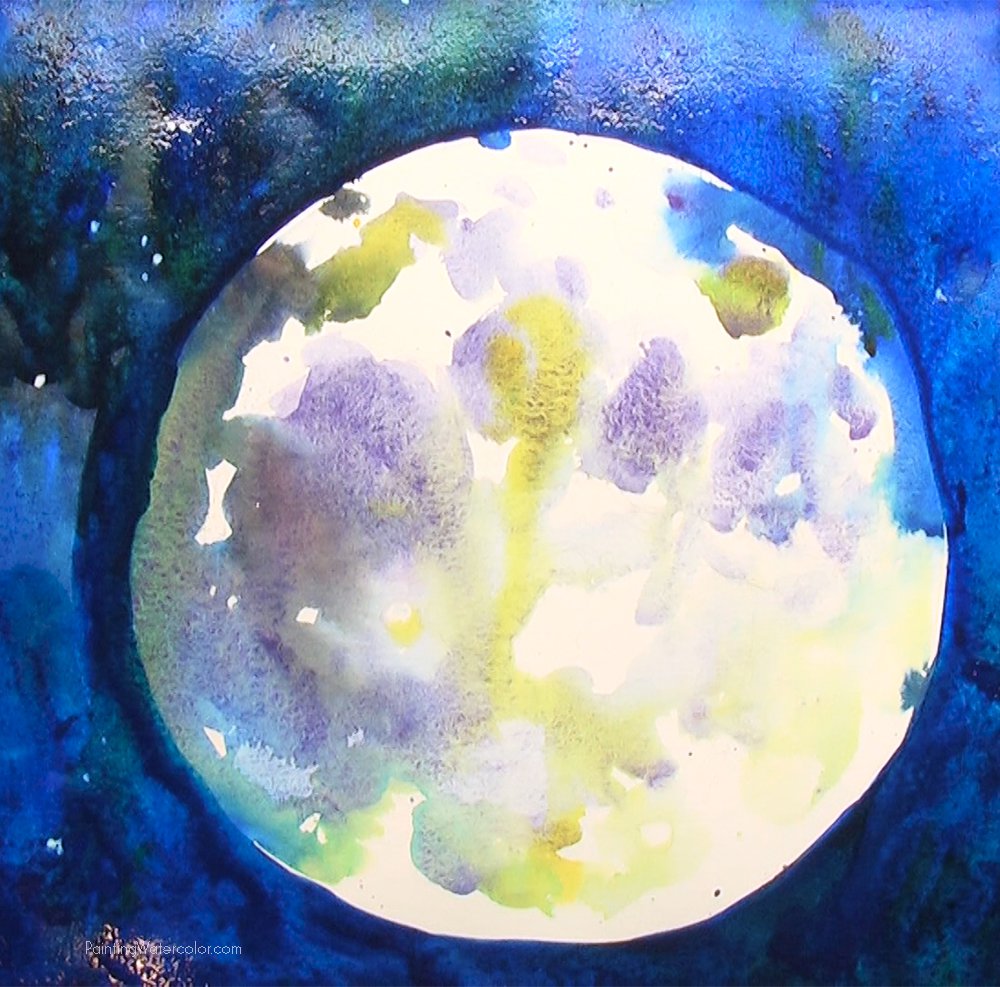
I paint another layer on the night sky. The wax reserved areas are really starting to show up!
I use maroon perylene in the background to get a deep dark that's still transparent. Burnt sienna would be too grainy and opaque.
Artist Tips
Paint twice as dark as you think you need.It will dry lighter!
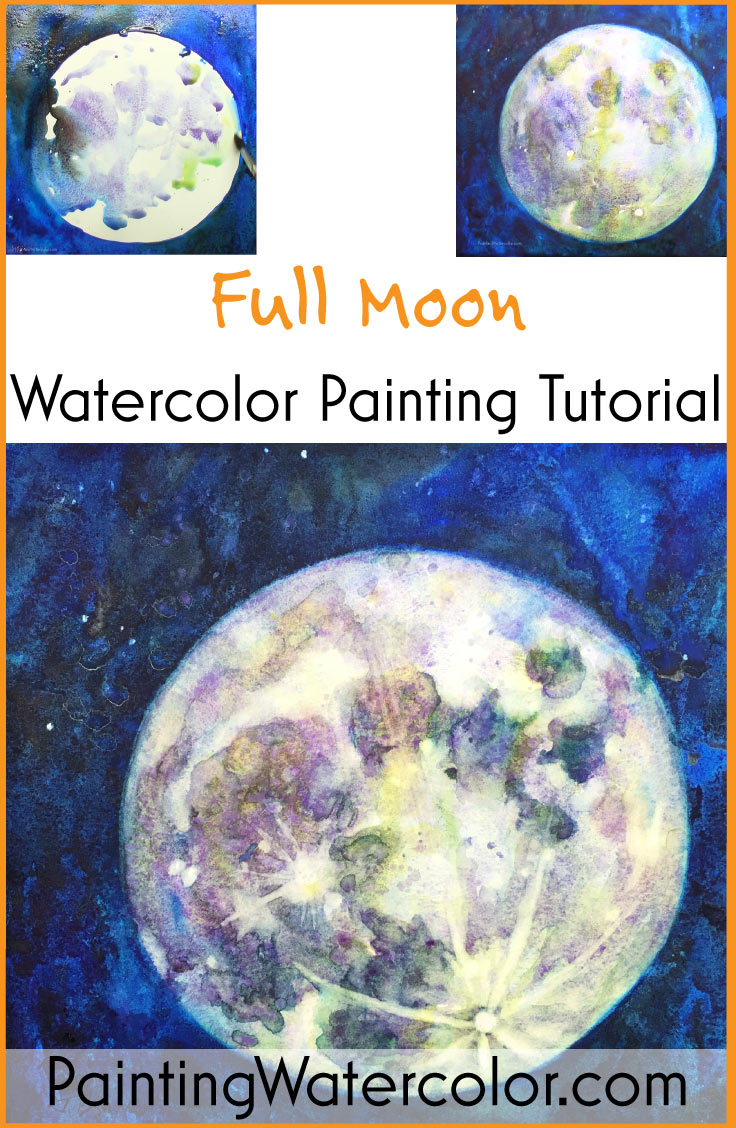
Painting Demonstration 4
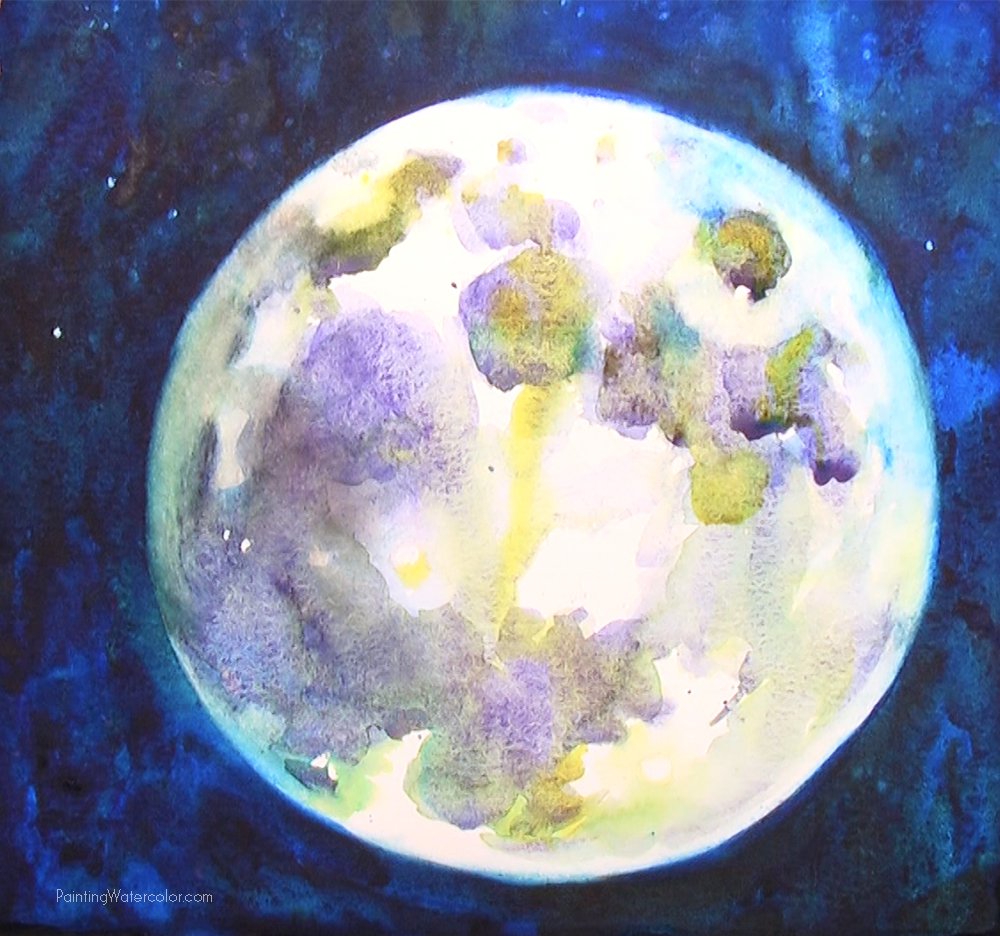
I've pulled out some of the color and blurred the edges. I want them less defined since it is such a bright object against something so bright.
I use cobalt violet and nickel azo yellow, with touches of pthalo blue to paint the craters. Everything is still very loose.
Painting Demonstration 5
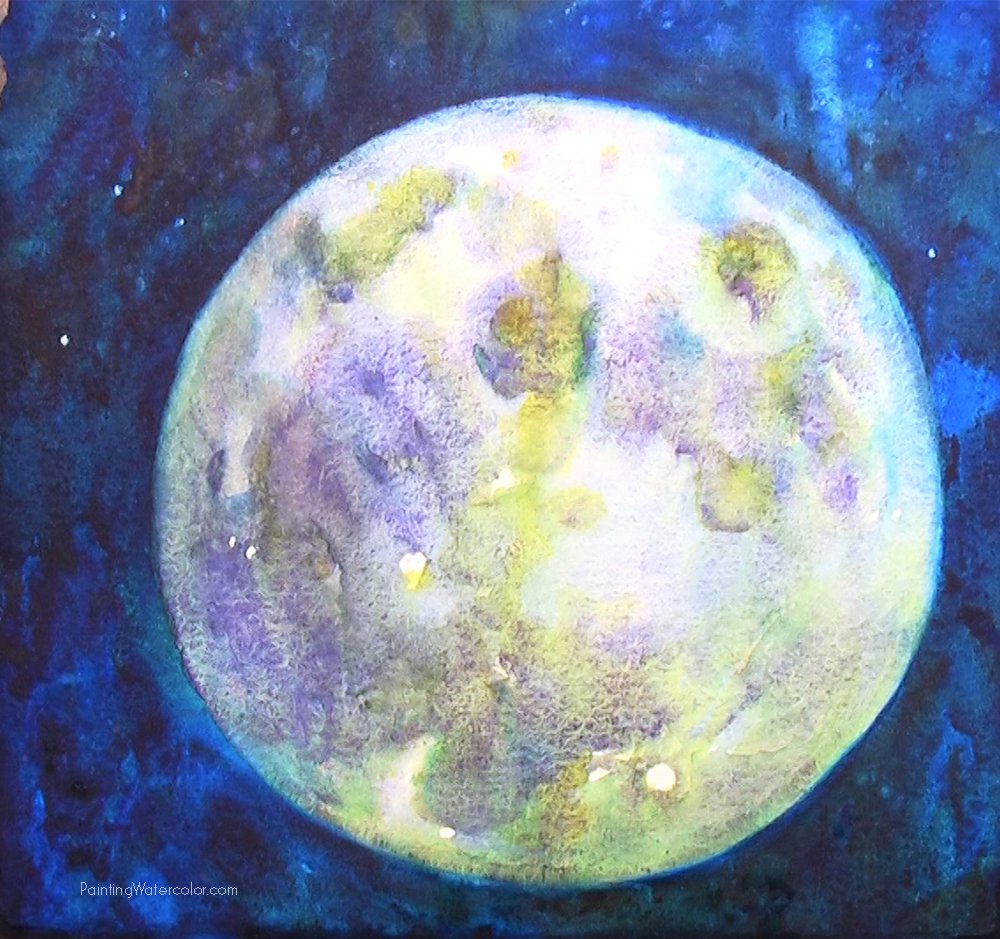
Oh I had some fun pulling out paint with a clean wet rag here!
Always let the painting dry completely after you've scrubbed at it. Letting the paper dry completely is how you avoid damaging the paper so you can do more washes.
Painting Demonstration 6
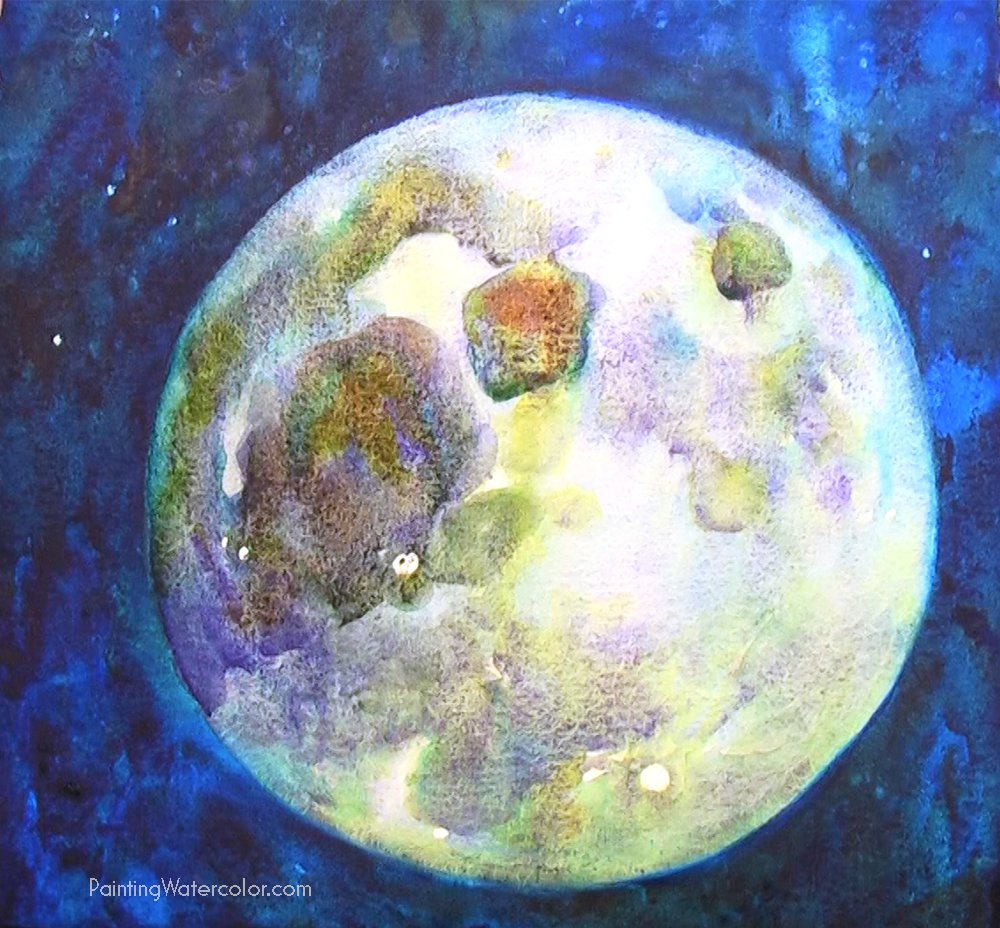
Now I go back, doing more layers. This is a paint and wait to dry sort of painting with a LOT of washes.
I'm starting to define the craters a bit. Keep in mind the light direction when painting big holes. The almost black and white photo helps with that!
Painting Demonstration 7
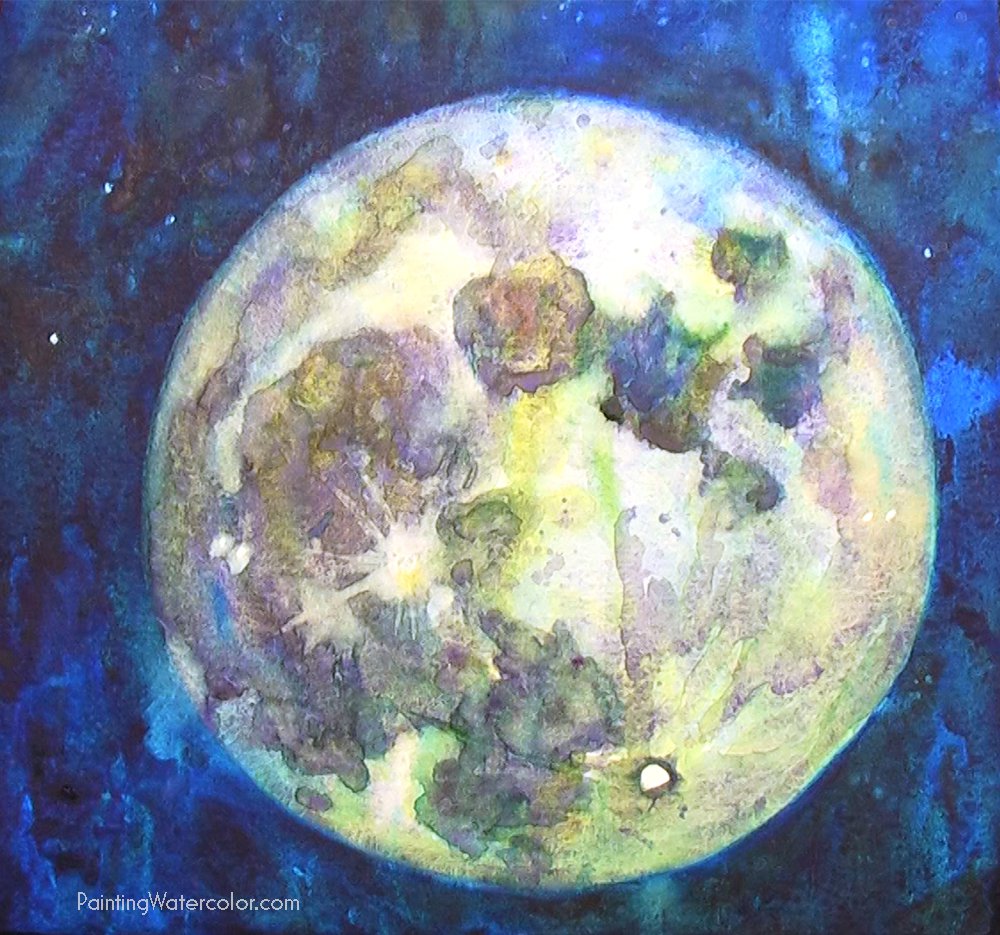
After several layers of paint and wait to dry, I let it dry completely. Now it's time to start pulling out big impact craters. I start with Copernicus, let that dry. The last crater I pull out with a clean wet brush is Tycho, since it rays across the surface cover everything else.
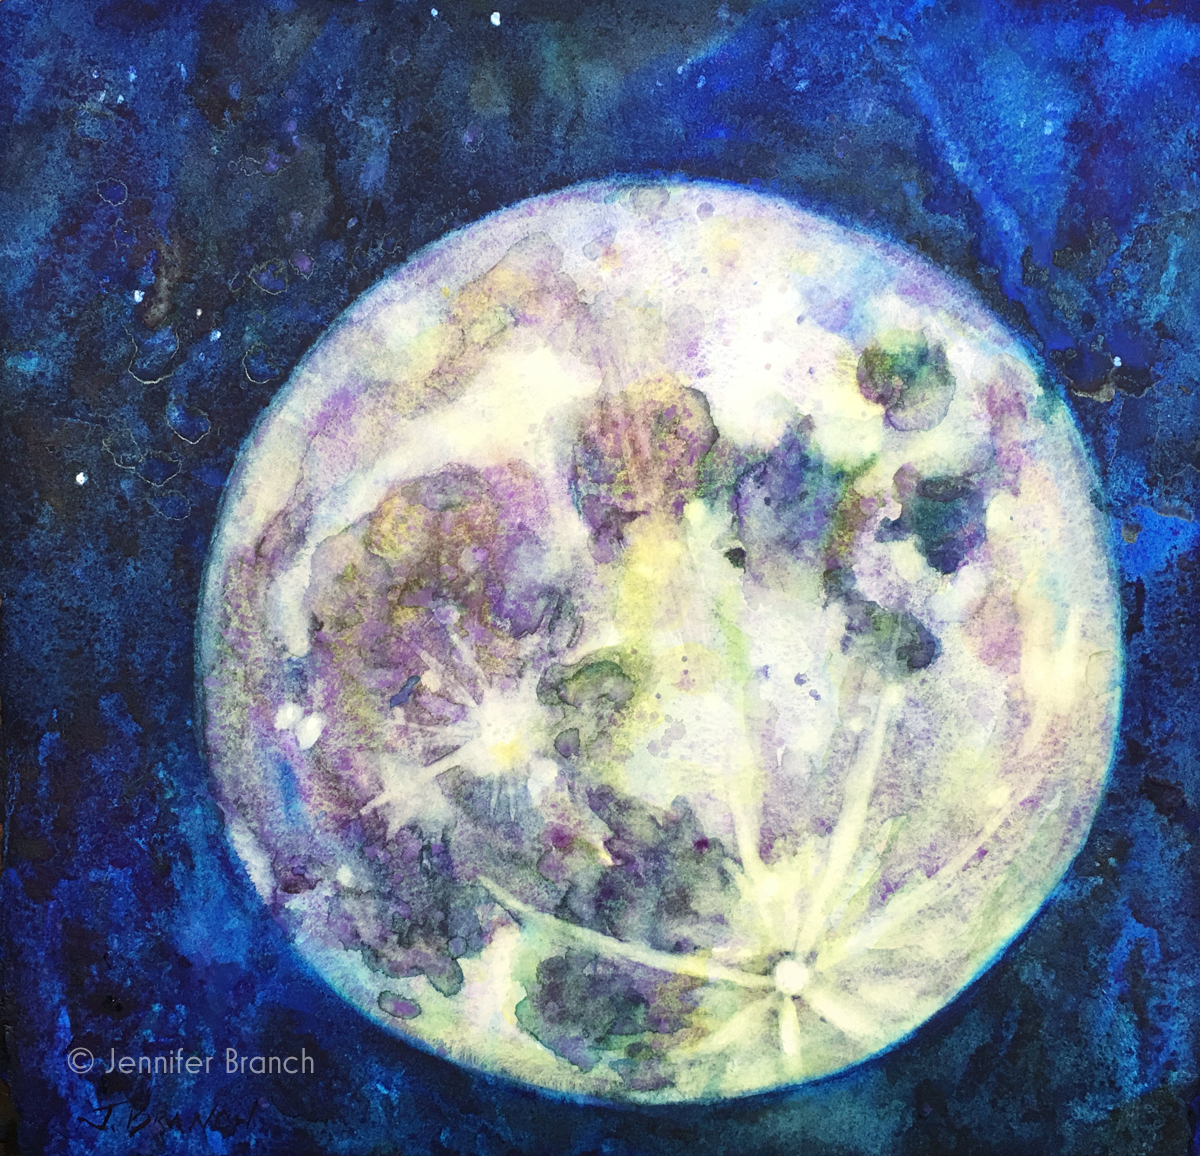
To purchase How to Paint a Full Moon original watercolor painting, please click!
How to Paint a Full Moon Final Watercolor Painting!
This was such a fun painting to paint! I love looking up at the moon at night. It's always so awe-inspiring.
This was also a complicated painting, which is also always fun!I'd like to add a side note of caution. I painted this on Twinrocker paper for a reason. Handmade paper stands up to washes and layering and scrubbing that mouldmade artist paper will not. This is why. Do not try to paint this on cheap paper. It simply won't work. I highly recommend Twinrocker as the best paper I've ever used. At the very least, go for a 300# Arches or Saunders! Your painting will be so much better!
Some paintings you can get away with any old paper. Paintings with strong darks, lots of scrubbing, pulling out or more than 3 washes, cheap paper is not worth painting on. Cheap paper is perfect for sketching, practicing brush strokes or exploring your pigments. The right tool for the righ job makes life easier!
I hope this inspires you to paint the night sky! My next wish list on that is the Aurora Borealis, which I've never even seen! I'd love to see what paintings this inspires!
I'm taking next week off to work on my next big project!
Related Art Lessons


