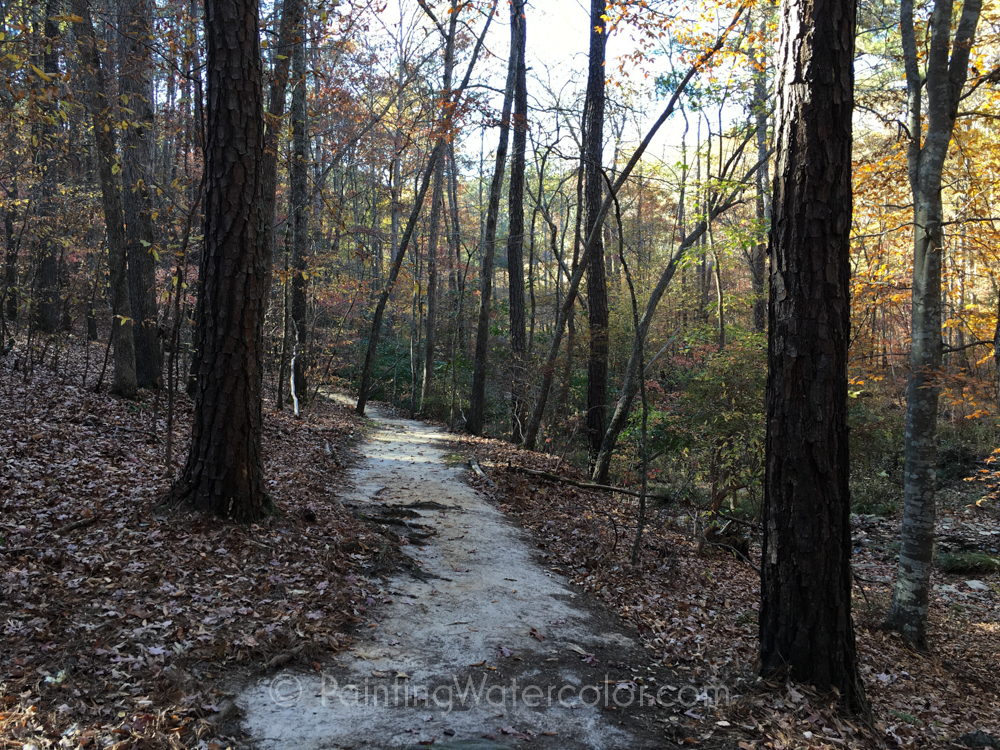
Painting Demonstration 1
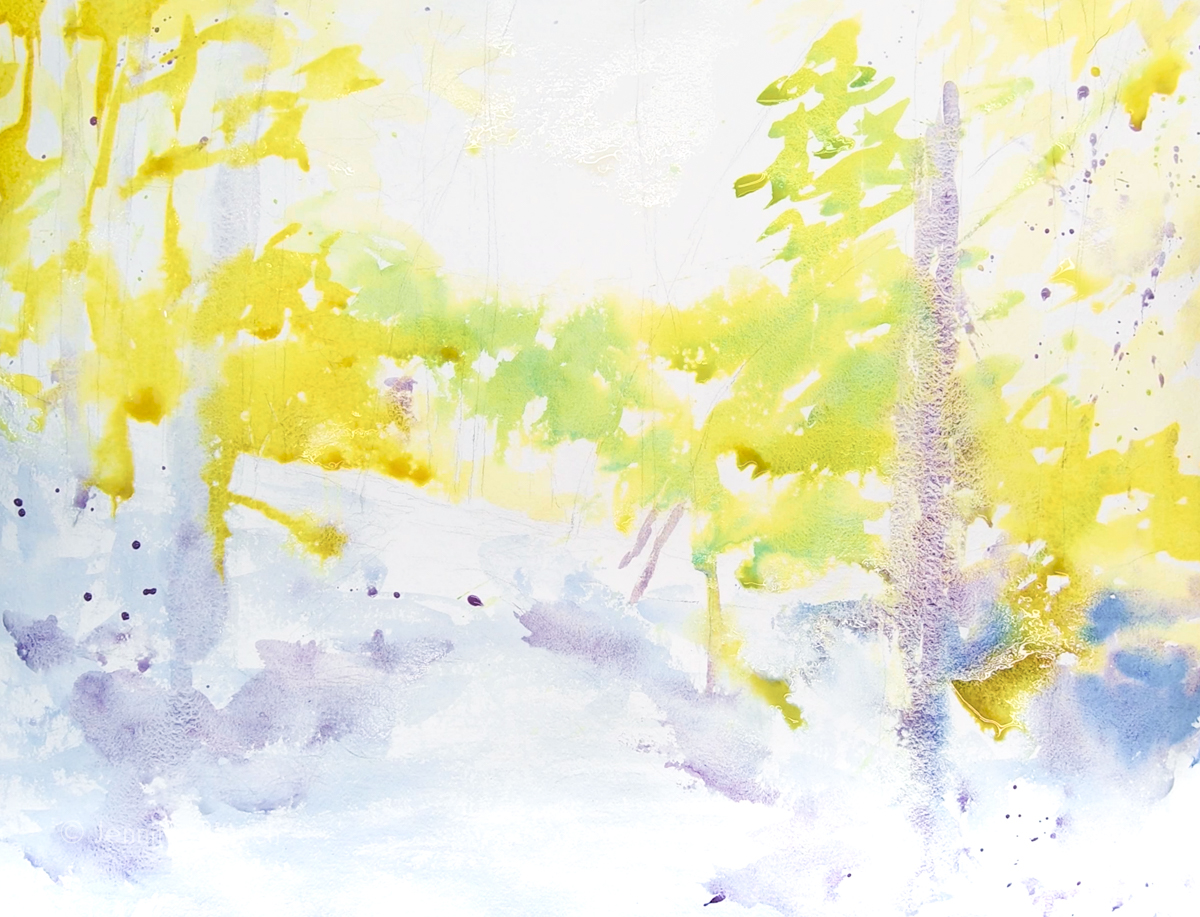
I begin with a pale golden loose wash on the upper part of the painting. I want the backlit area to glow.
I paint a cooler, cobalt blue and cobalt violet, wash on the lower part of the painting. This area will be shady woods.
Tree trunks connect the two areas.
Painting Demonstration 2
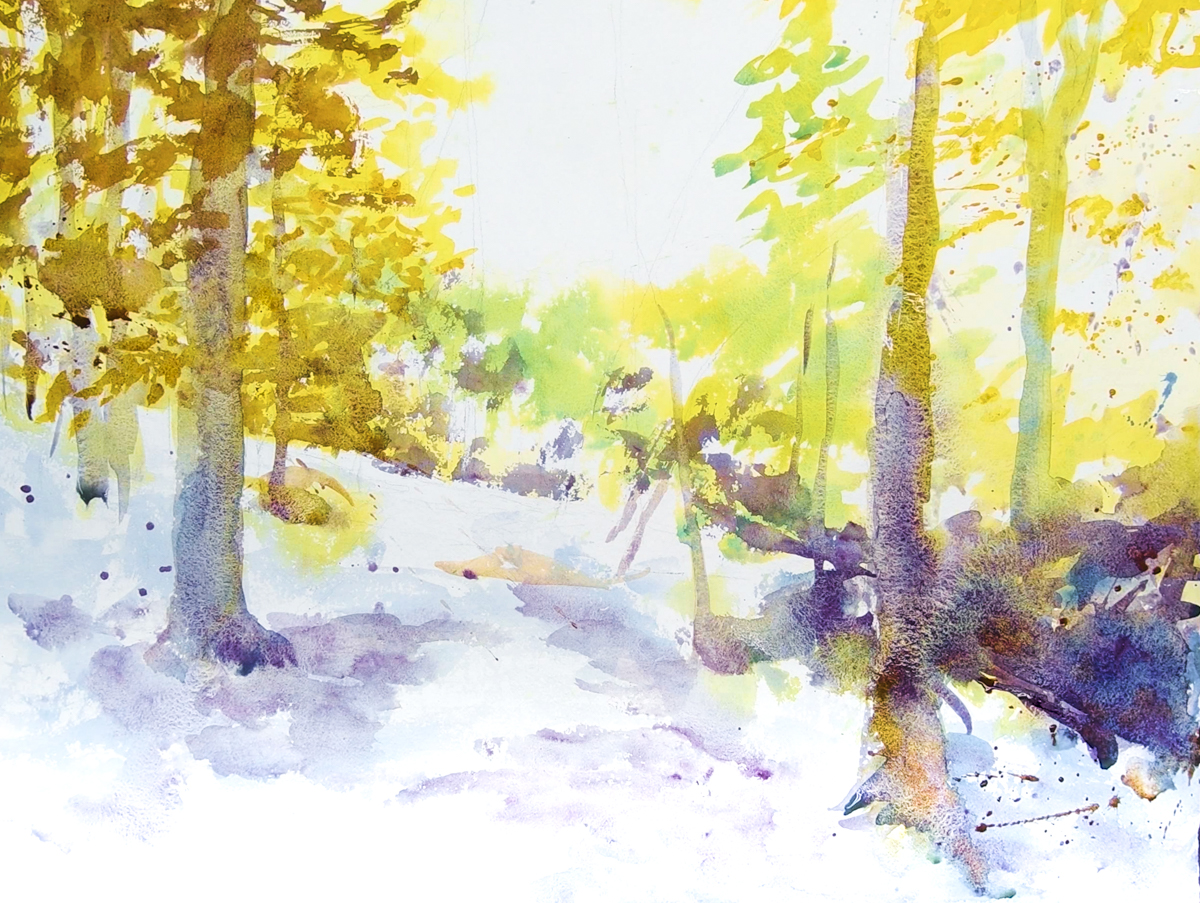
After it's dried slightly, I start with the first of many texture layers. The woods have wonderful dappled lights and shadows, layered on each other. So I need to paint many layers to achieve that texture.
I loosely paint the tree limbs and leaves in the correct shapes, but I'm more worried about texture and warm, rich colors at this point.
Painting Demonstration 3
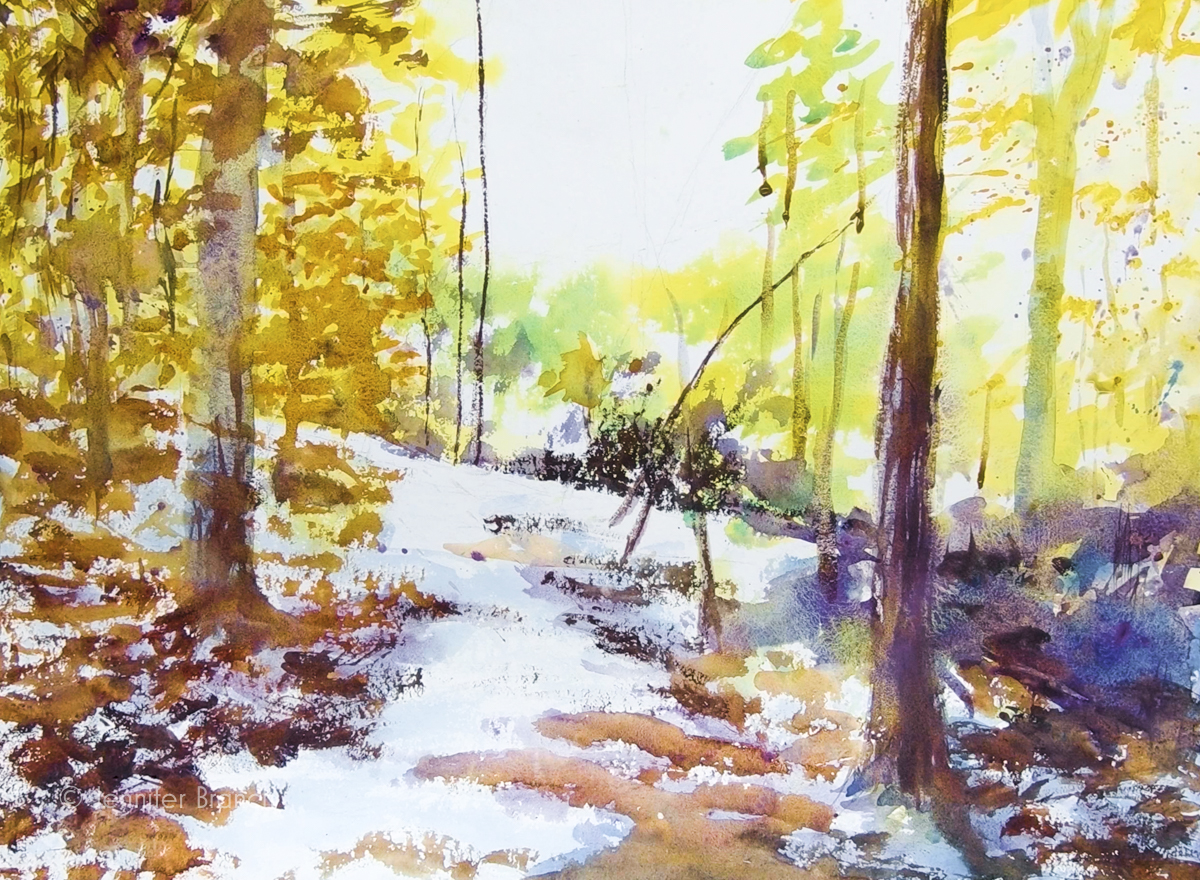
I'm starting to add a little detail and some more intense darks in this layer. Notice how the cool, luminous tree trunks connect the cool and warm areas of the painting.
A lot of the tree trunks and leaves in this layer are more detailed, but a lot will be buried under later layers, so this isn't the time to get fussy. Just keep the bottom area cool colors and the top part glowing golds.
Artist Tips
Build up texture in many layers.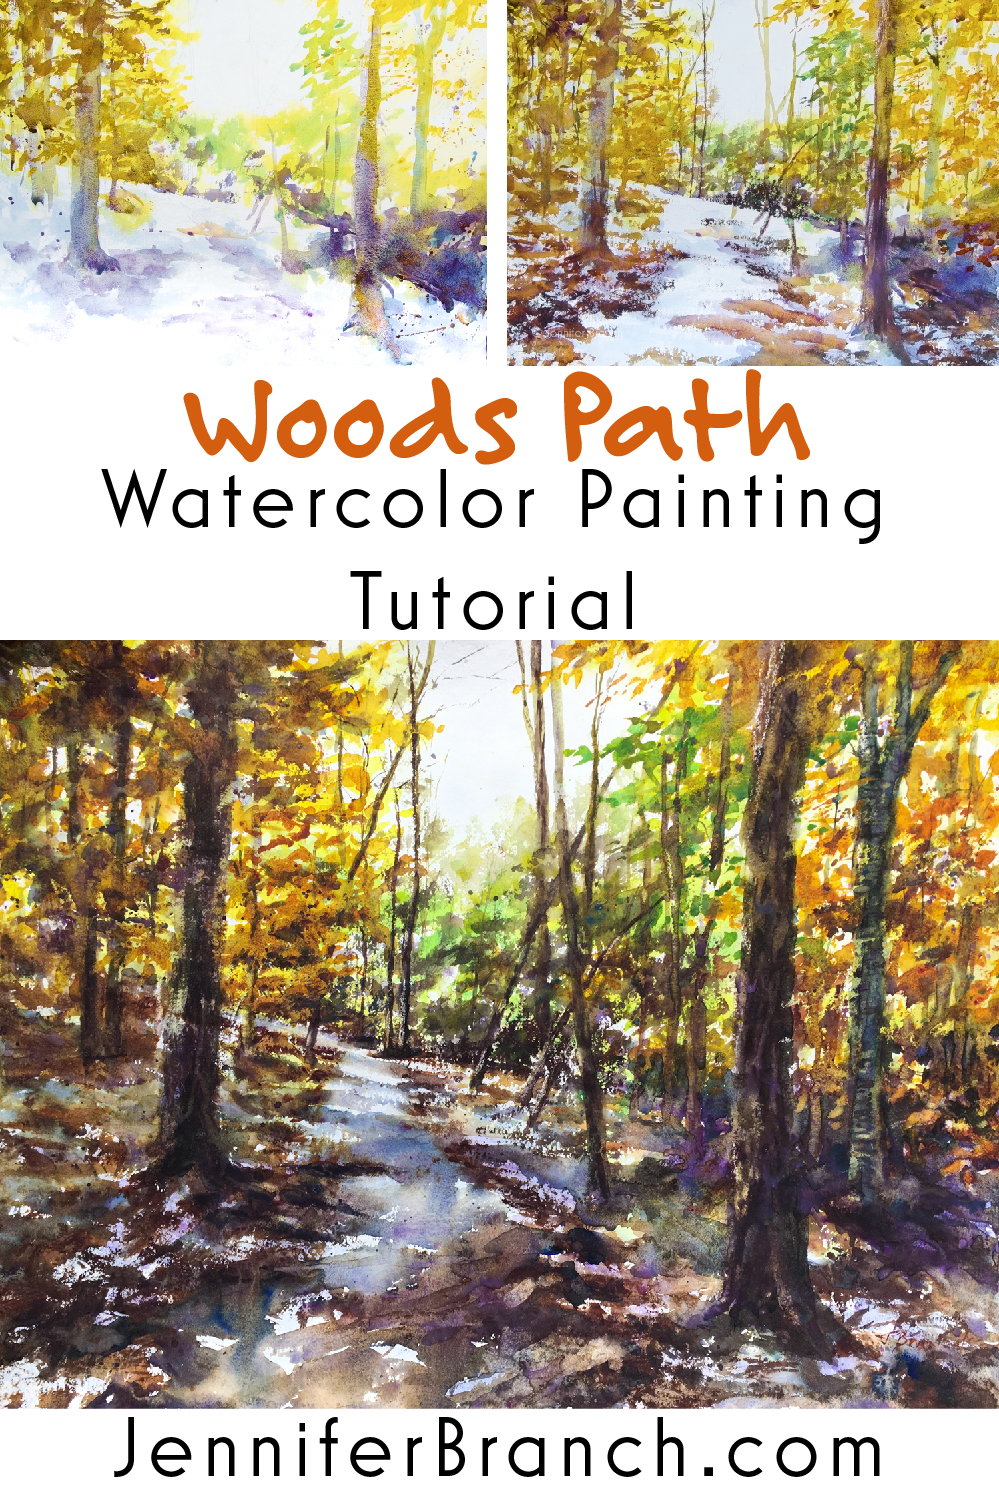
Painting Demonstration 4
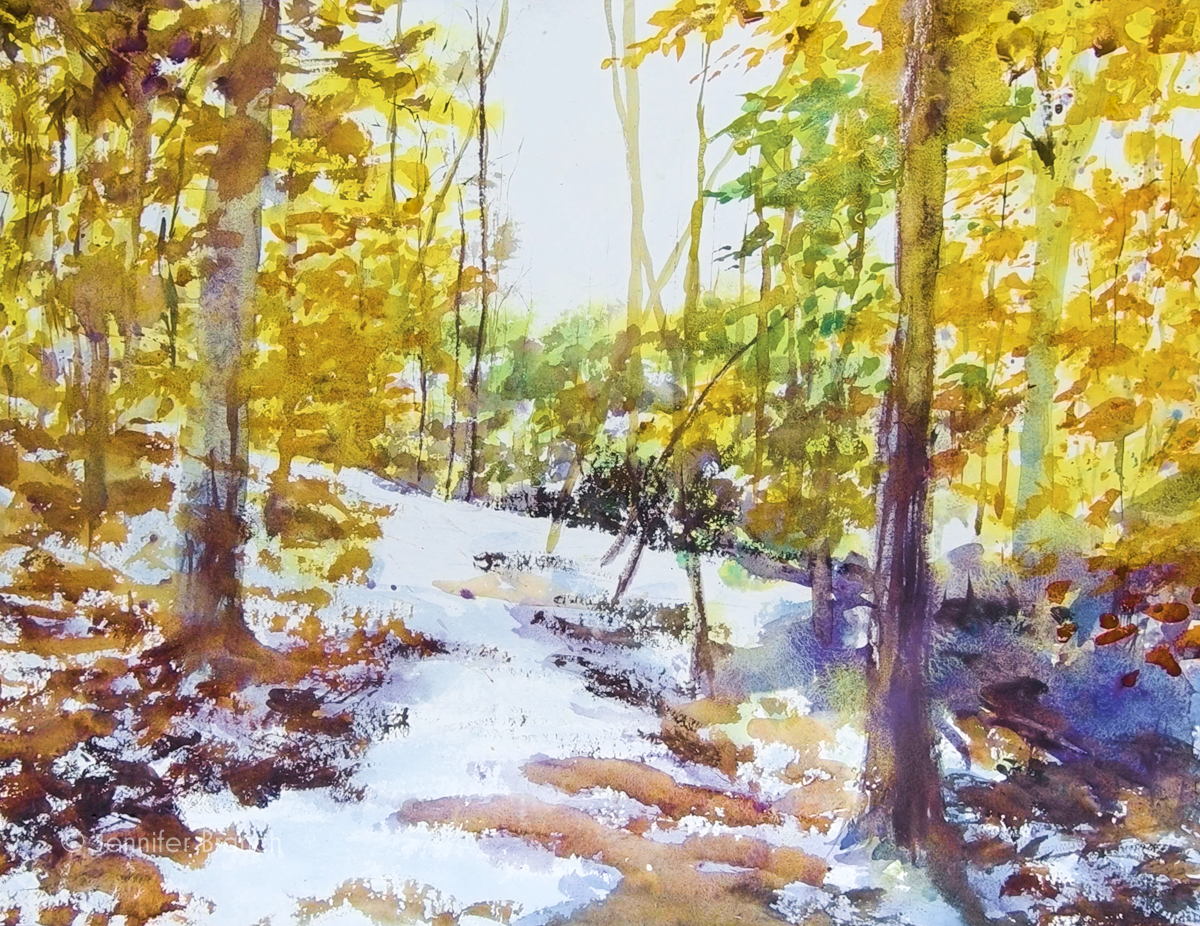
A few more darks in this layer. I want more texture and contrast at my center of interest. The edges outside that area should blur a bit.
Painting Demonstration 5
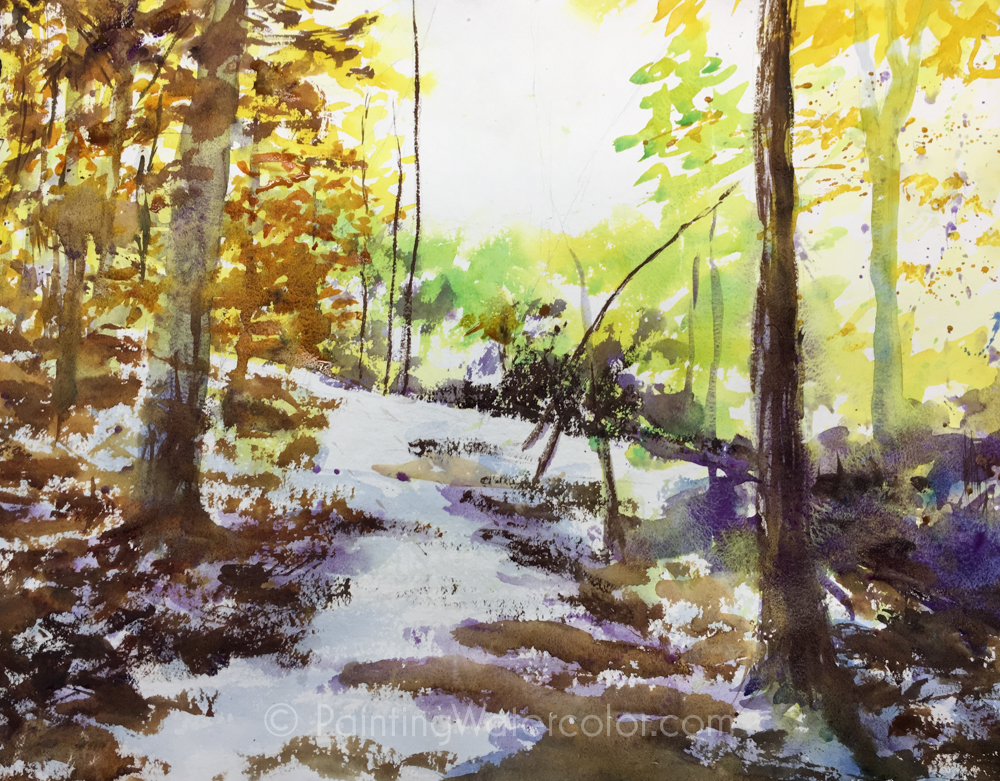
A few of the darks have been softened here, as I planned. The layers of the beech leaves and a few lingering green leaves are getting deeper.
Painting Demonstration 6
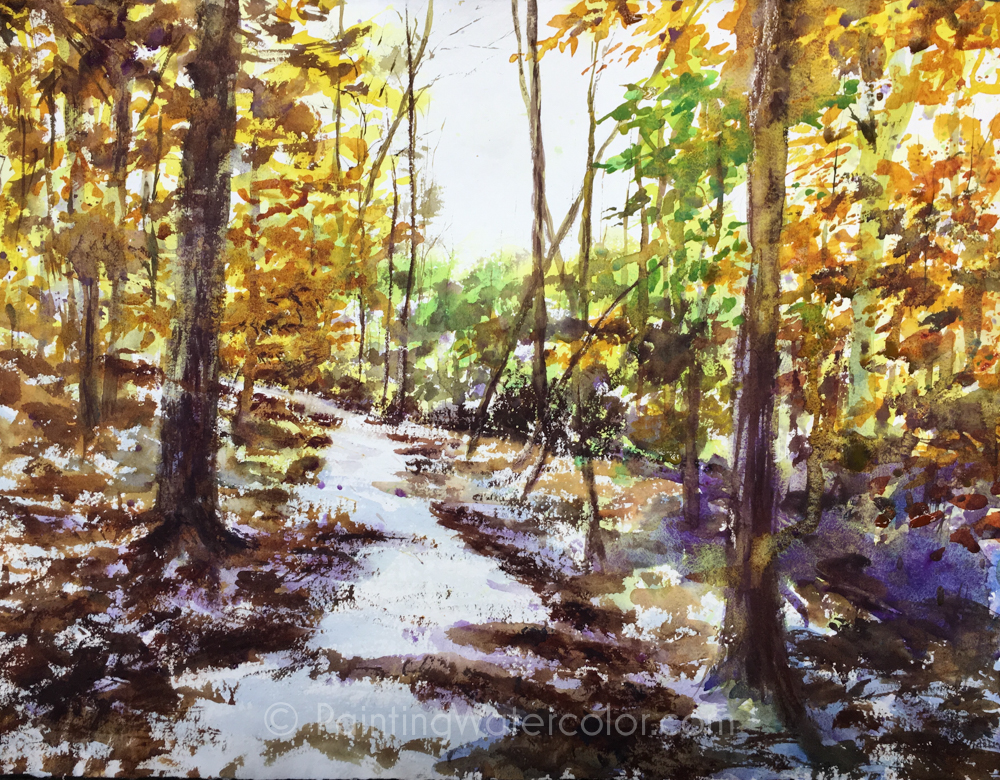
Loblolly pines reflect a lot of what's around them. The flat plates of their bark act like dull mirrors. So I need a lot of hit and miss texture to get the rich darks - but with reflecting planes.
Painting Demonstration 7
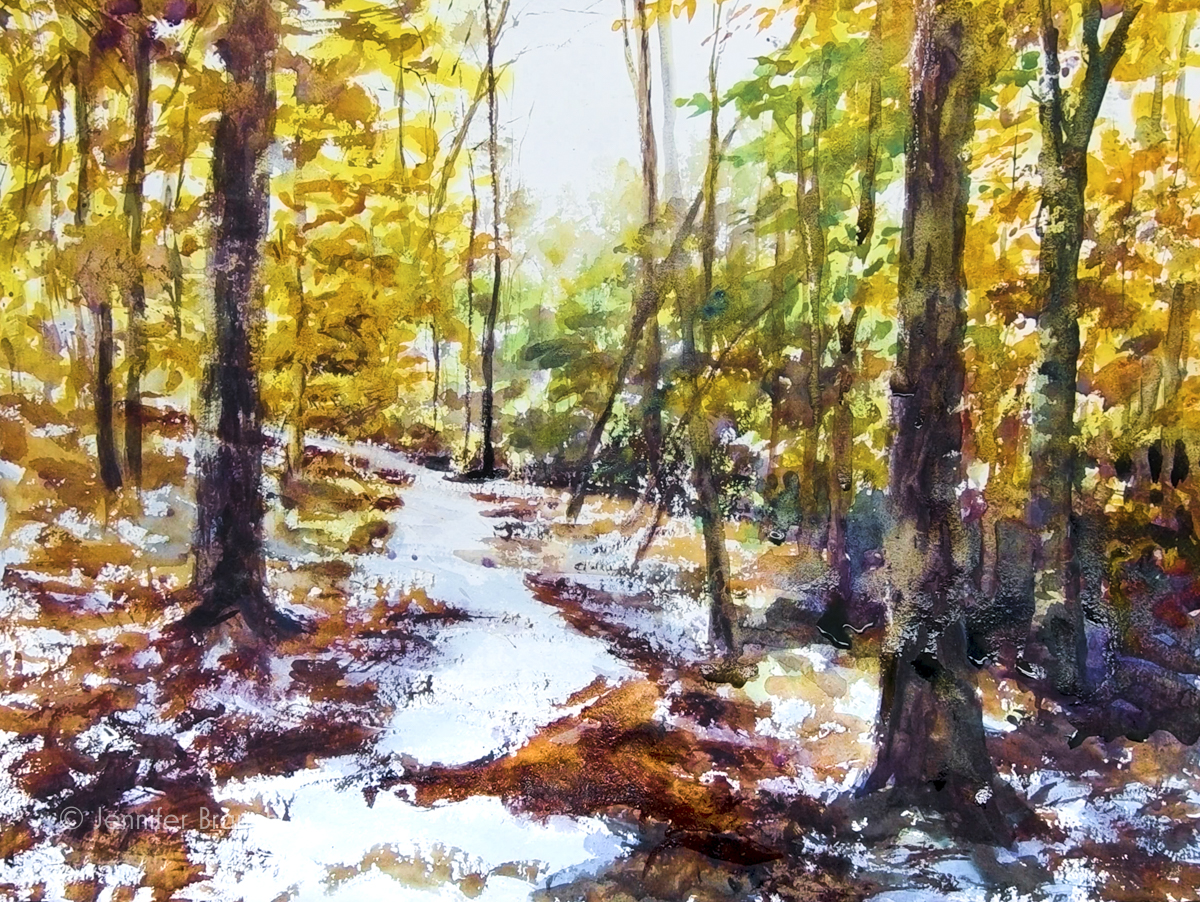
Time to finish up the path with a lot more texture and detail at the far end, since it's my center of interest.
I want deep, horizontal shadows across the path, but I don't want them to misdirect the viewer's path through the painting. The answer is a lot of texture and hit and miss strokes to break them up slightly.

To purchase Woods Path Painting Tutorial original watercolor painting, please click!
Woods Path Painting Tutorial Final Watercolor Painting!
This painting really takes me on a path through the woods. The areas of dappled light and shadows and the rich tapestry of the leaves are just what I wanted.
I live in a house in the woods. I could paint them all day, every day, and always find something different and lovely to paint. I urge anyone near woods, even a small grove of trees, to sketch them. It doesn't matter whether they're snowy firs or palmetto fronds. You will learn something new and wonderful every time.
I think I'll go hiking with my sketchbook now!


