12 Days of Christmas Cards
2015-11-19
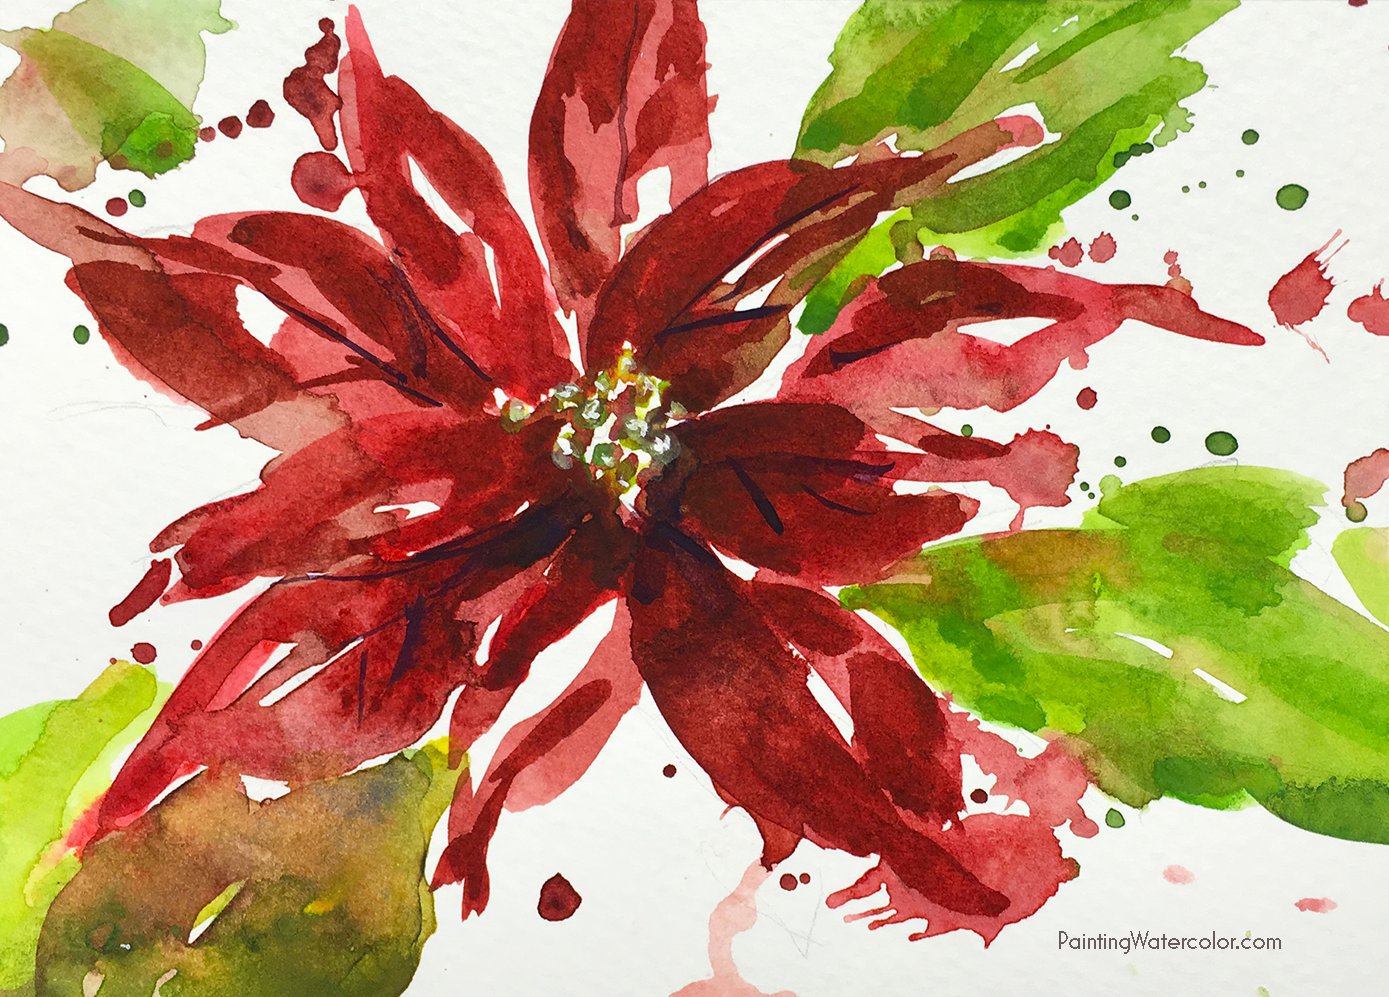
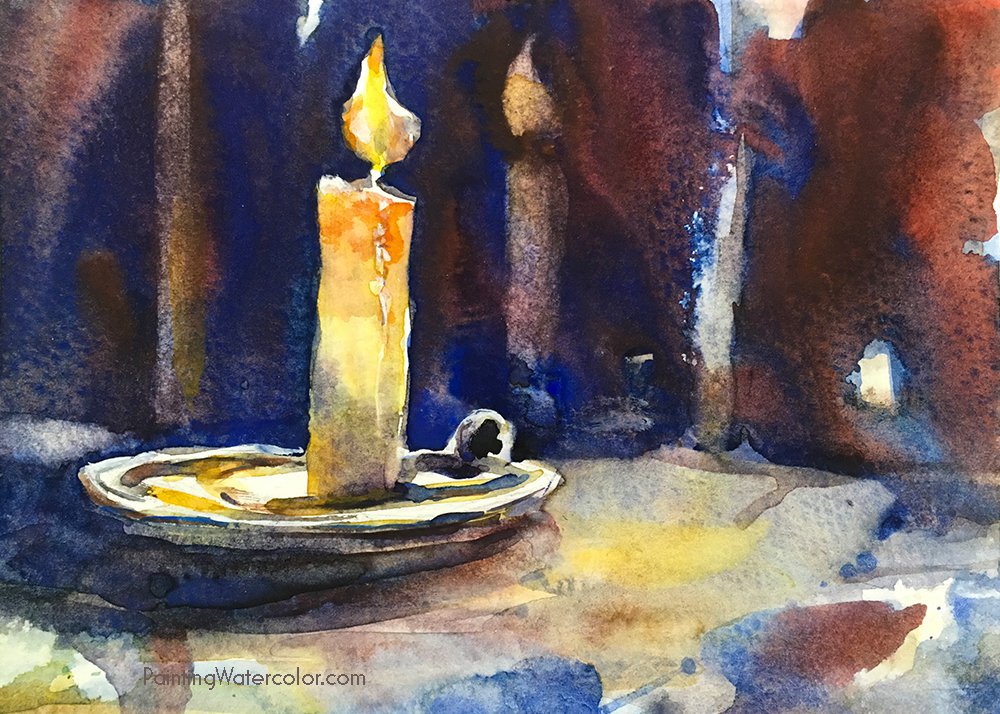
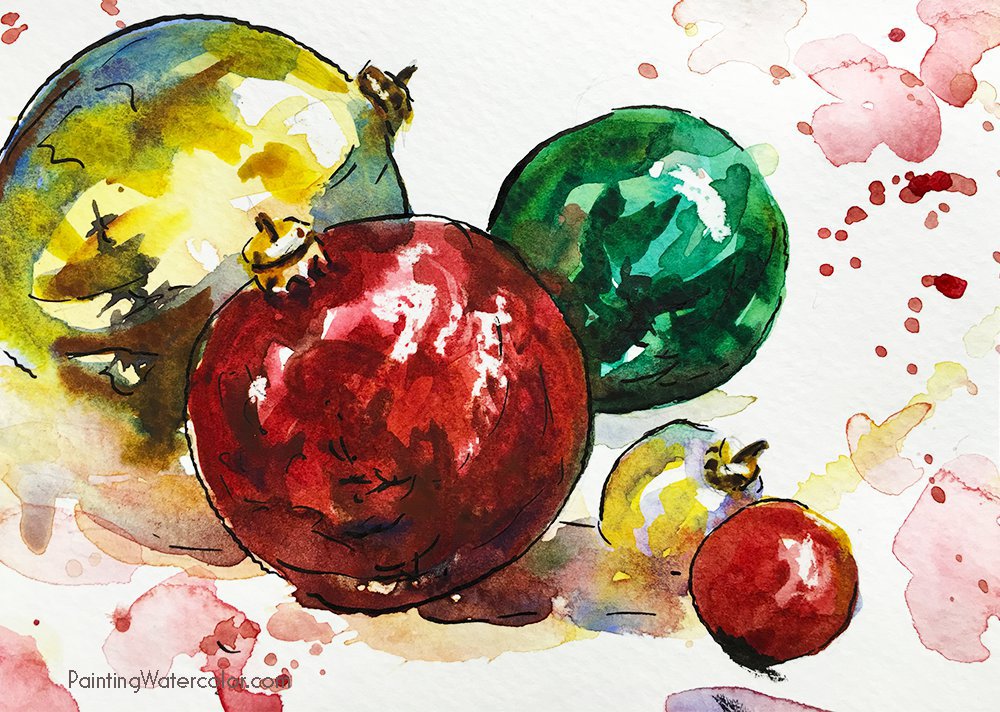
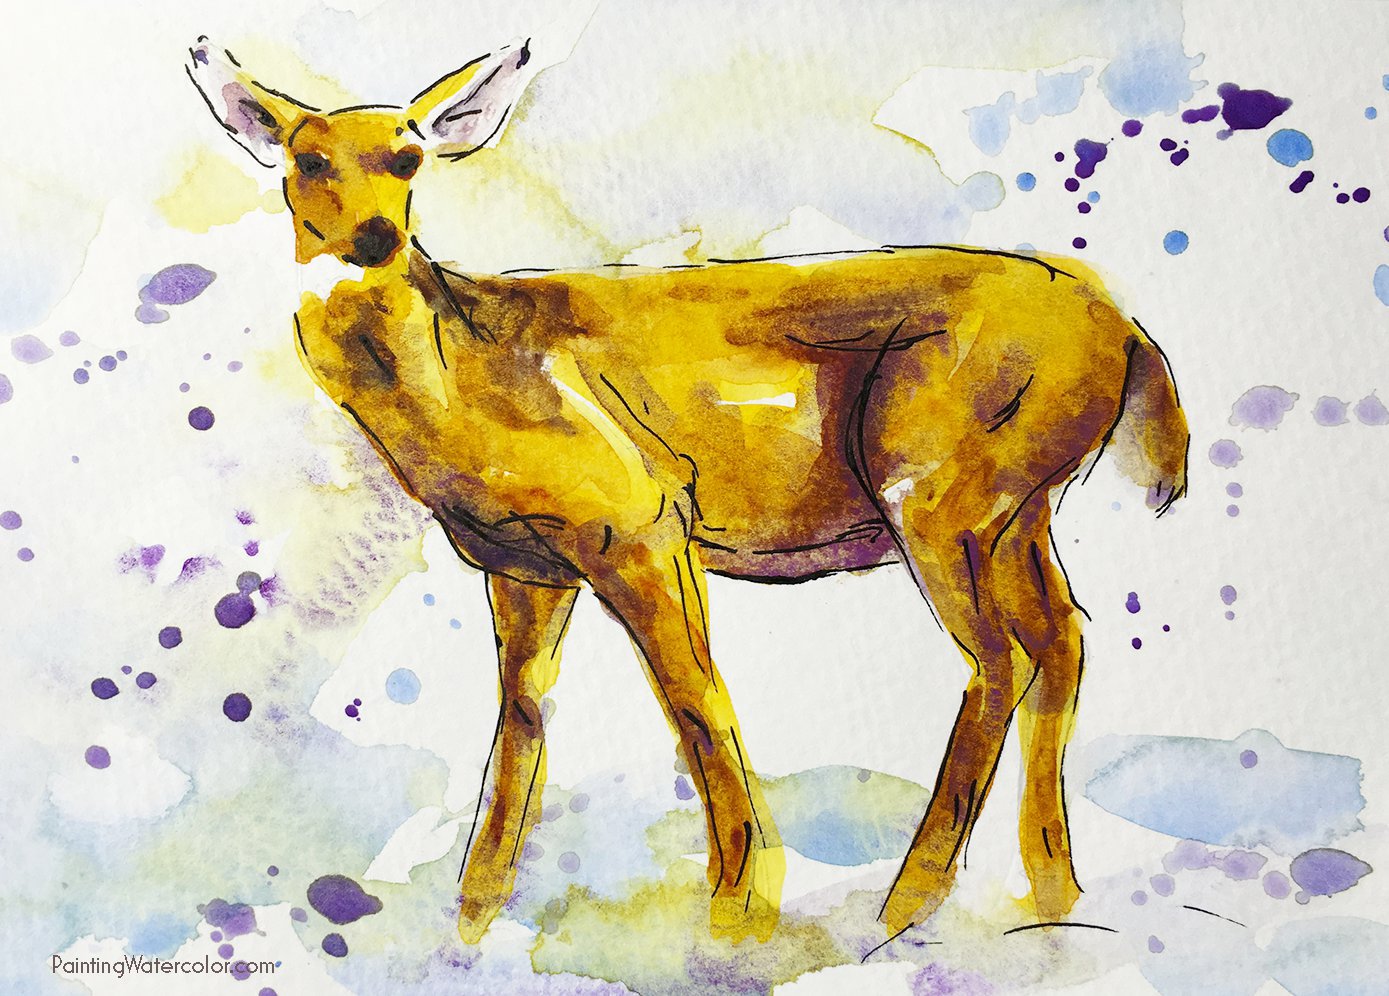
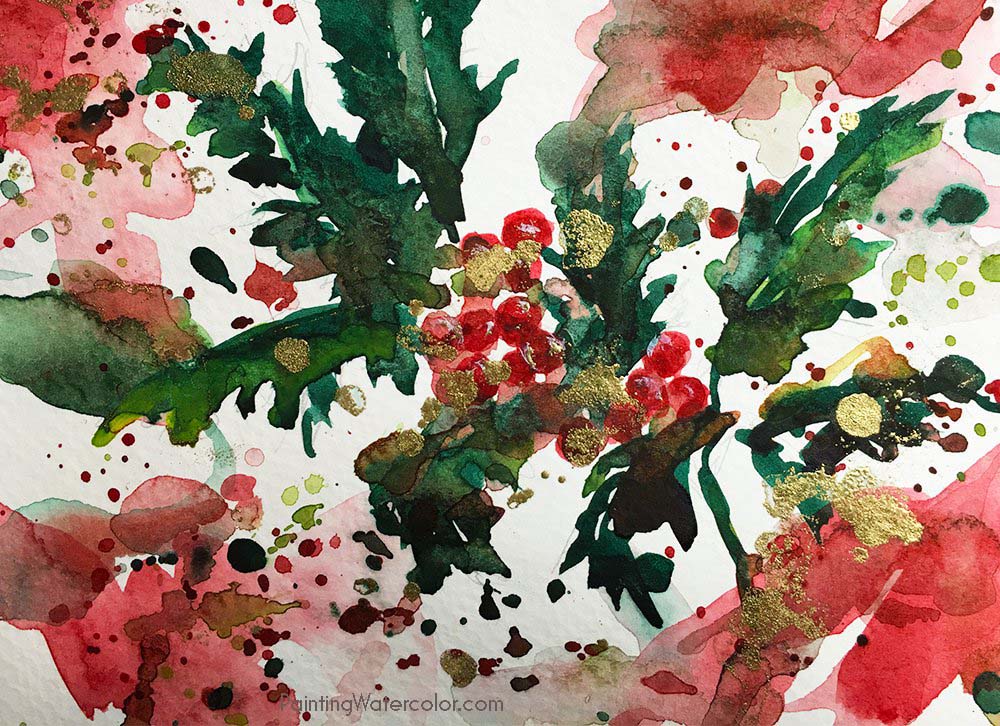
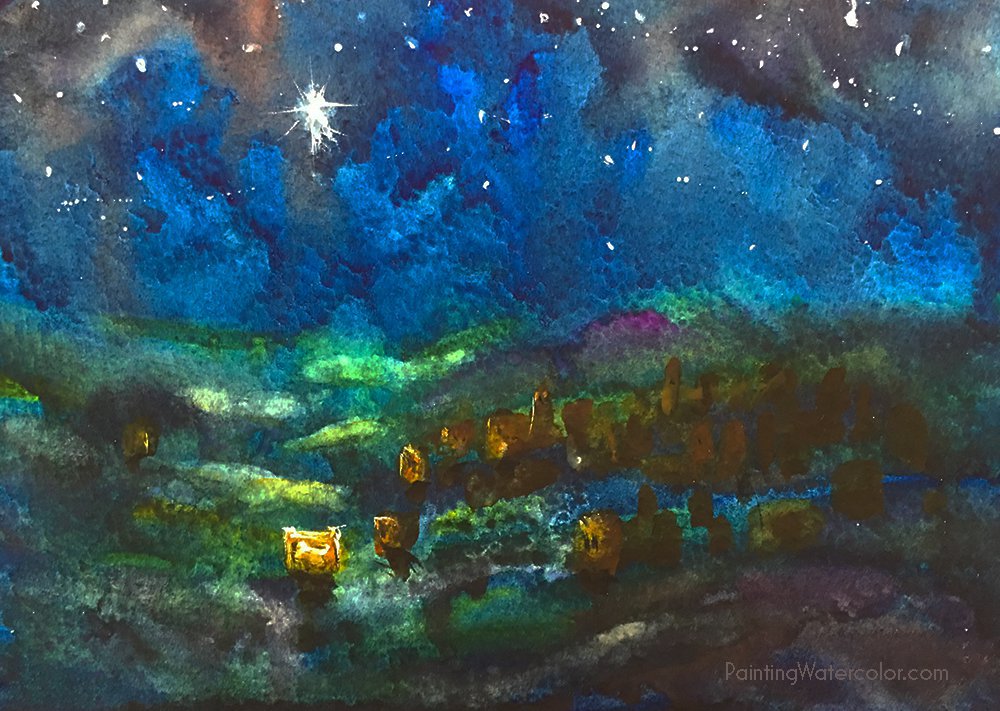
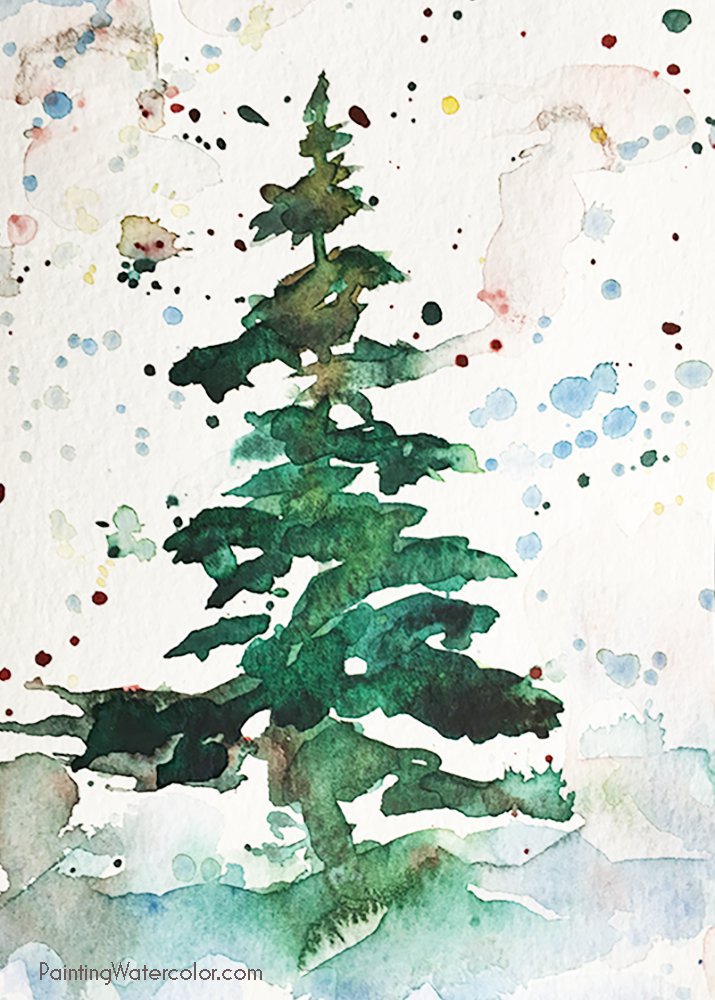
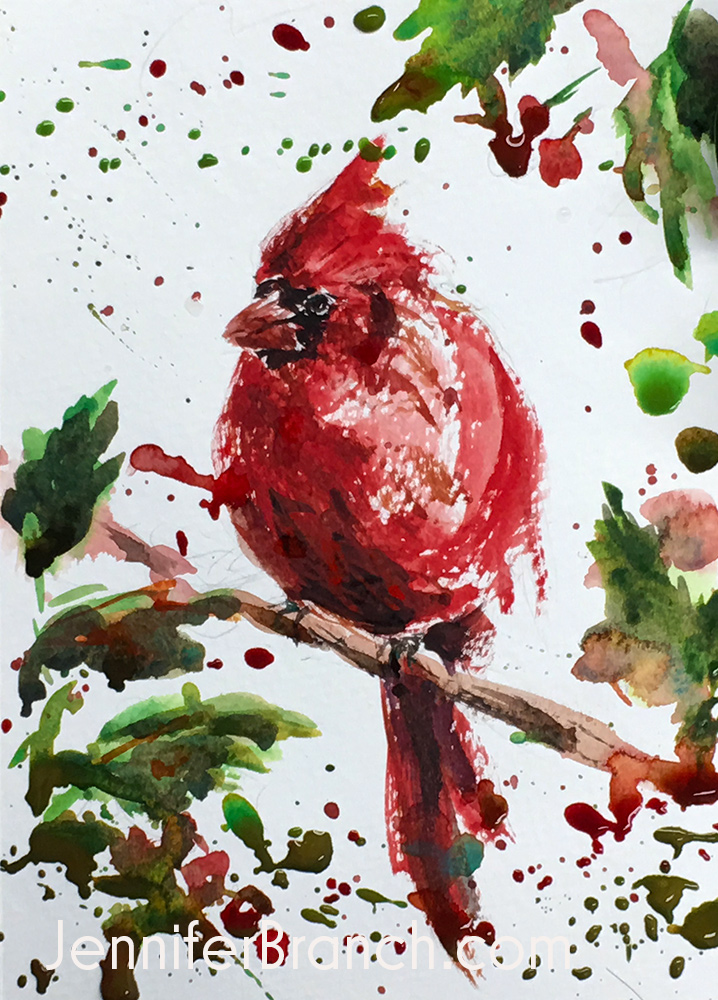
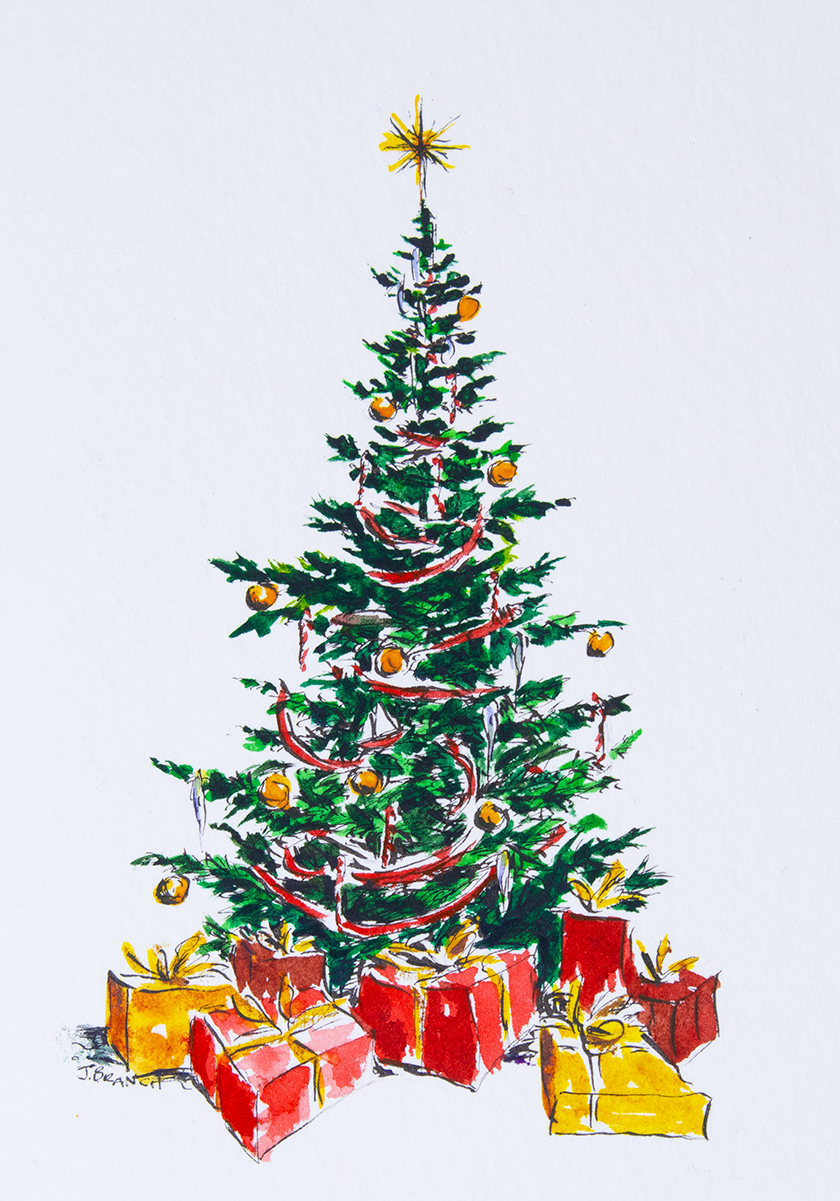
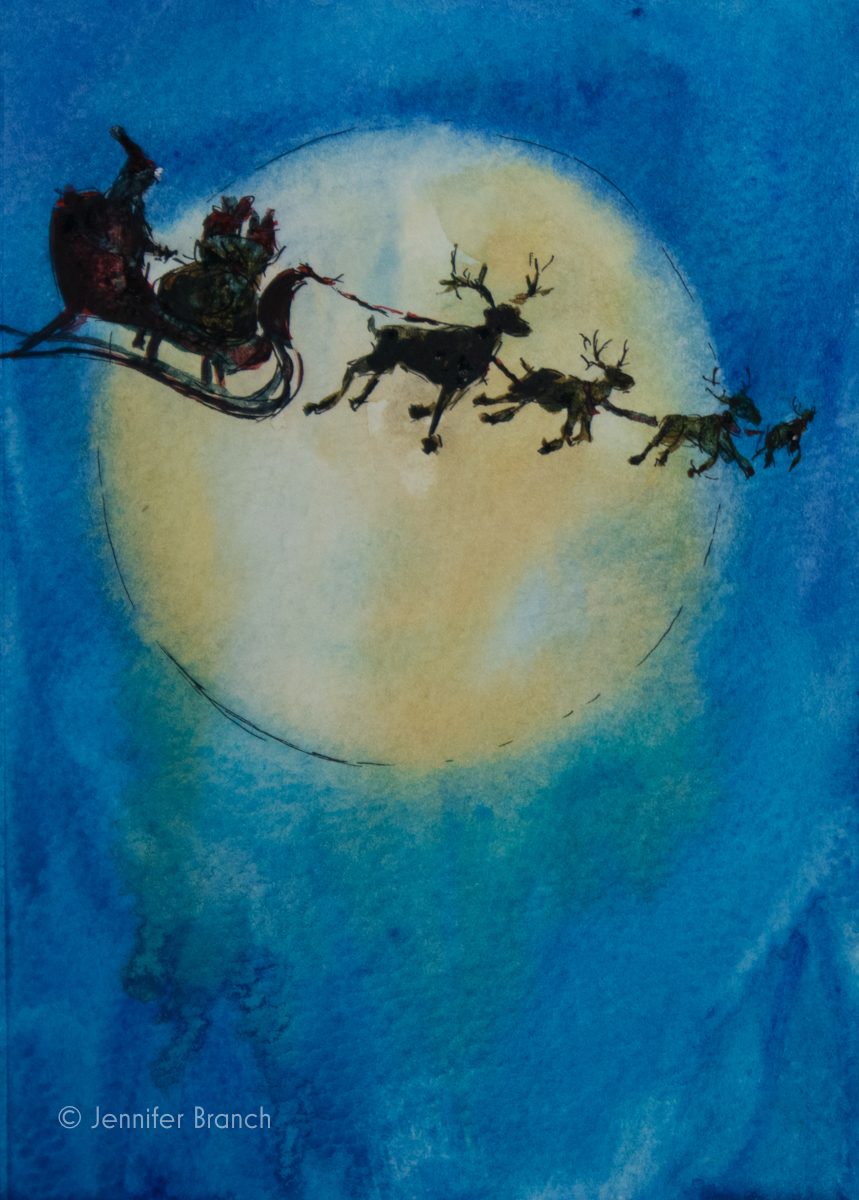
Painting Christmas cards for your cherished friends and family is a wonderful way to celebrate the holidays! There is no more special gift than something you made yourself for someone you care about.
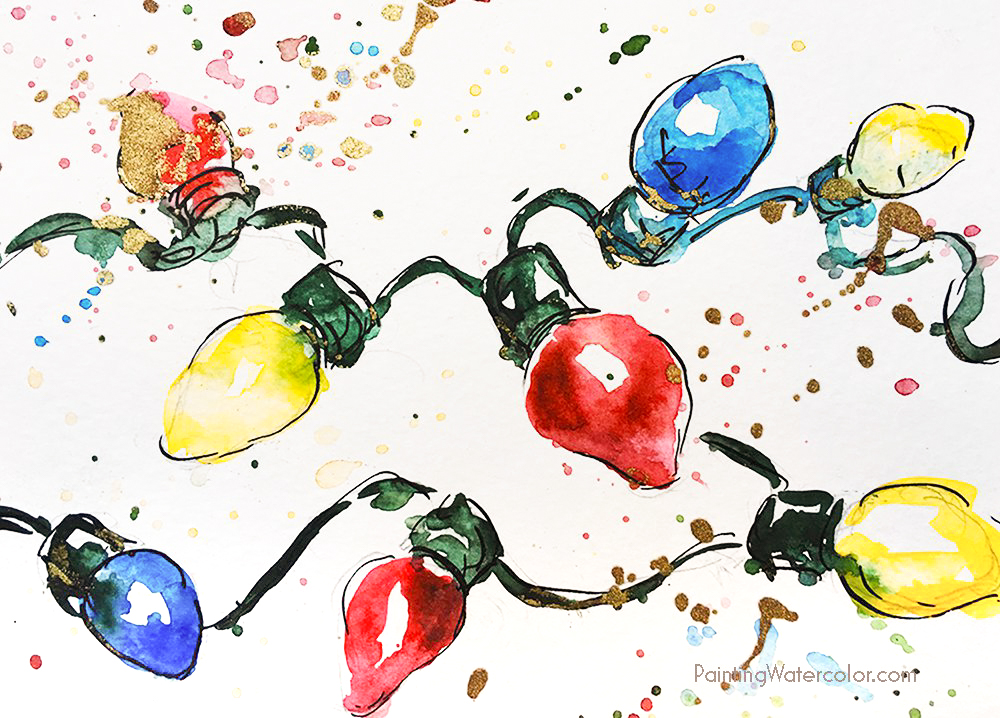
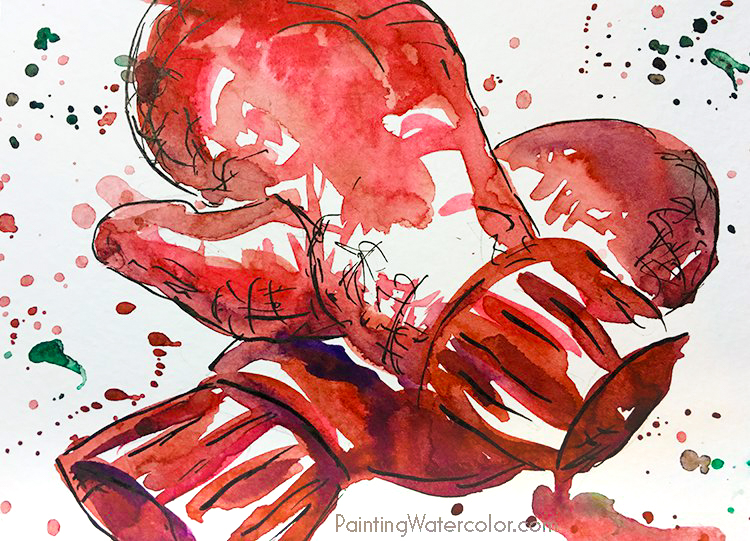
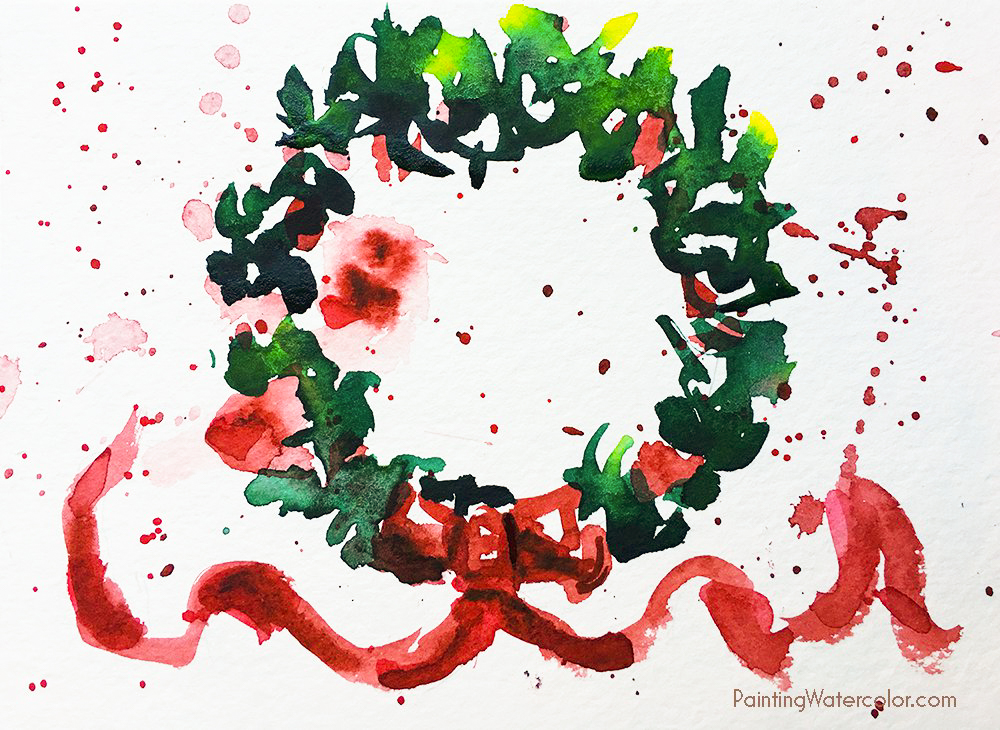
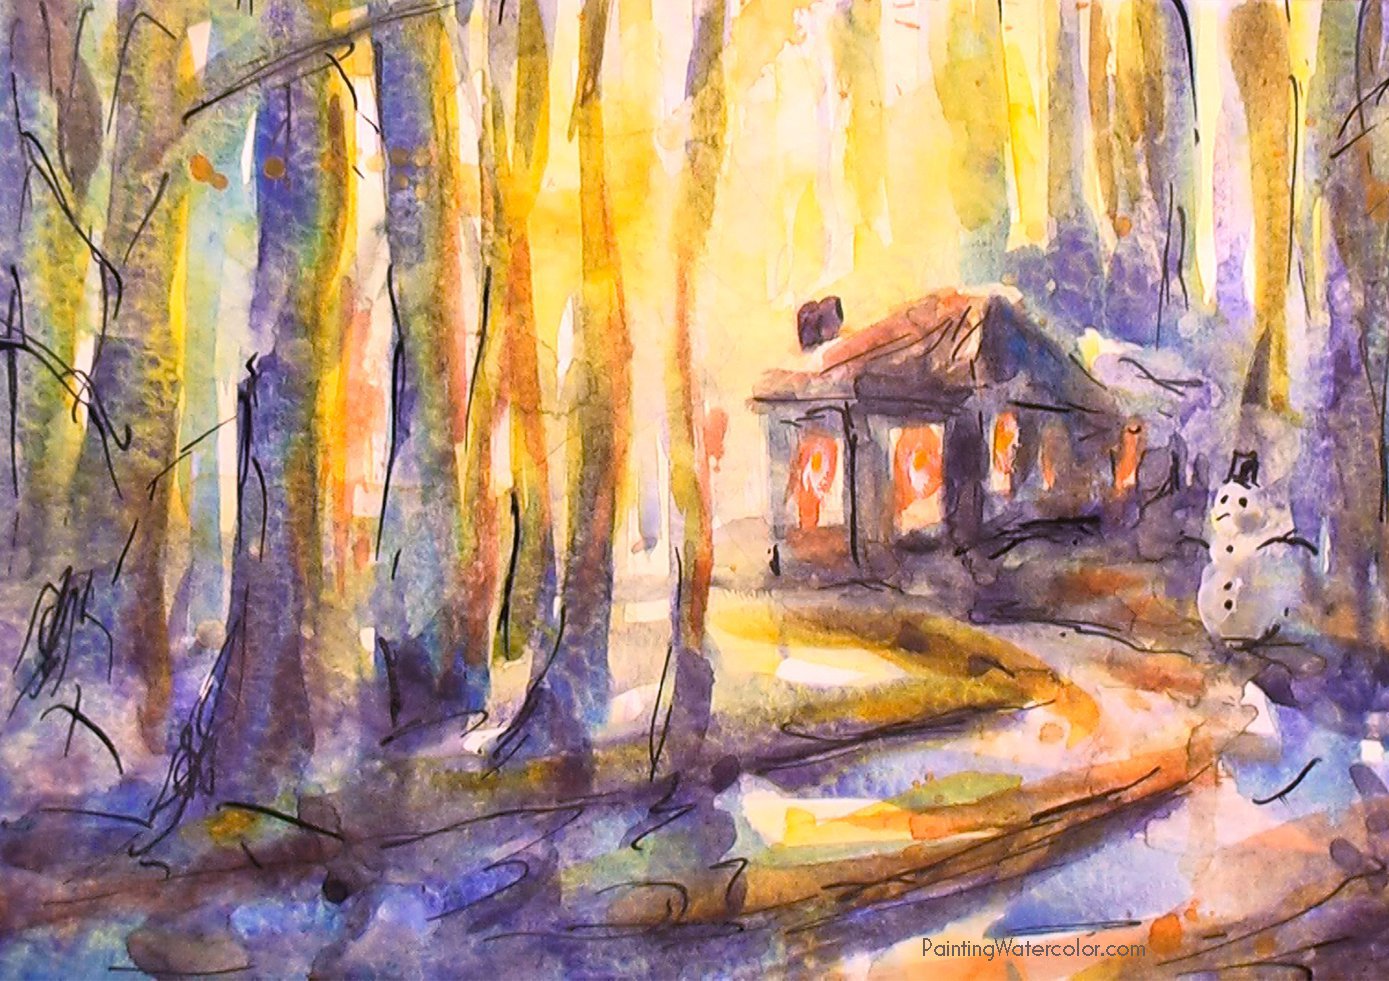
Over the next 12 days I'll show you 12 different Christmas cards you can paint. There's a YouTube painting tutorial for each one card, but I'll list materials and give a few tips on this website.
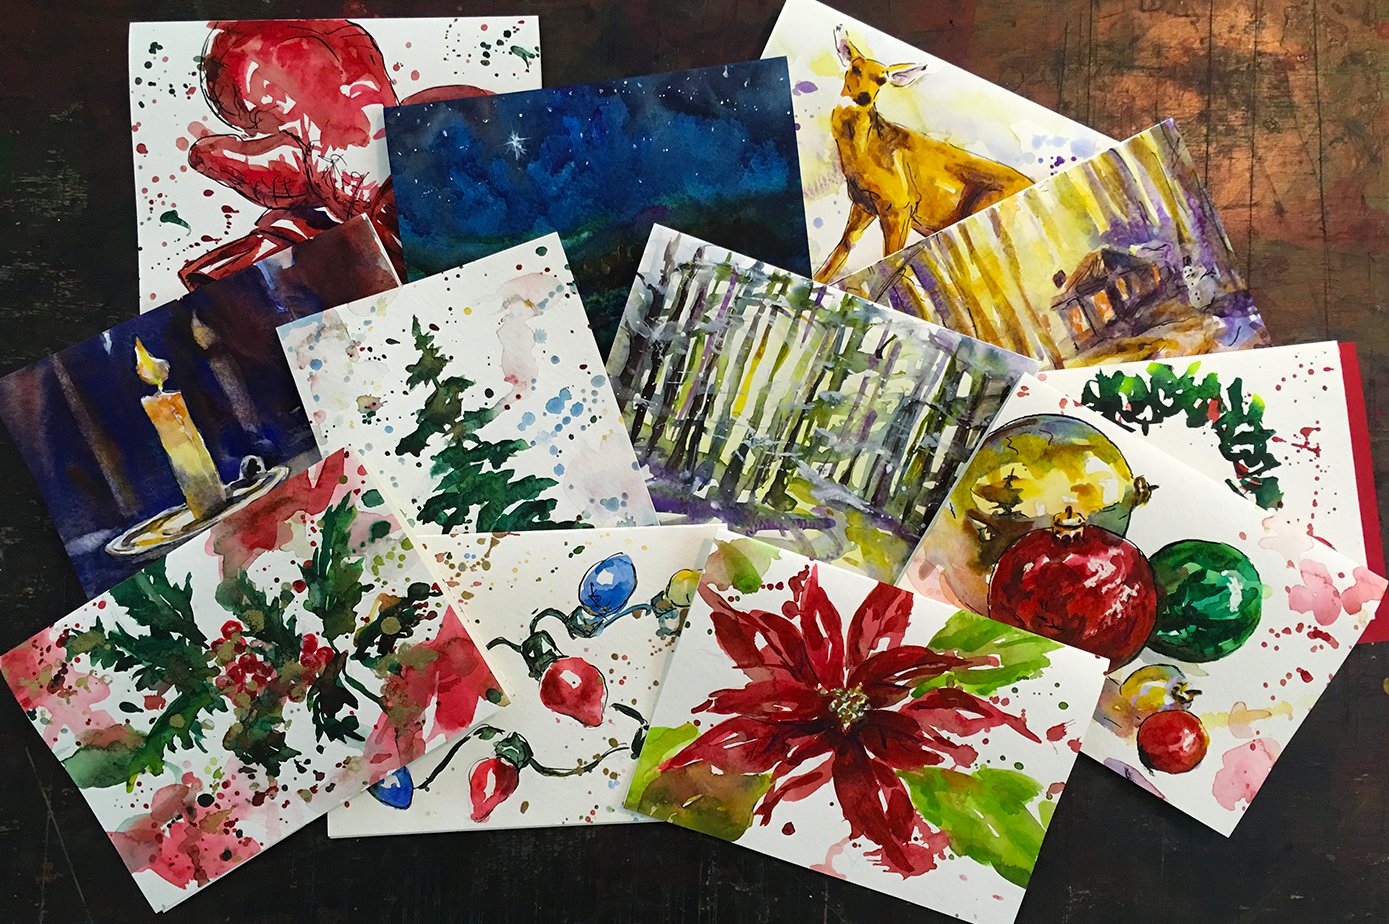
Watercolor painting makes the most beautiful Christmas cards!
Most of these cards are very easy and will take 5-10 minutes to paint. All of them can be done in under 20 minutes of painting time!
12 Days of Christmas Cards
-
Materials
Cards
Disclaimer: Jennifer Branch Gallery is a participant in the Amazon Services LLC Associates Program, an affiliate advertising program designed to provide a means for sites to earn advertising fees by advertising and linking to amazon.com. Other links I receive nothing on. Most items can be bought multiple places. PaintingWatercolor.com is supported by affiliate and advertising links.
5" x 7" Strathmore Watercolor Cards
You need to use watercolor paper for these painting tutorials, however there are many choices as long as you stay with a heavier weight paper. Strathmore makes the least expensive premade cards that are watercolor paintable. They come with envelopes which makes 50 cards for $21 a good deal!
For a gorgeous but more expensive option, Twinrocker makes exquisite cards and envelopes. Twinrocker personal notecards and envelopes are $3.75 for the set. This is a great little card for a special someone! (And about what you'd pay at a card display.)
One of the best options is to cut and fold your own cards from a sheet of watercolor paper. You can buy (or make) envelopes in practically any shape and color. Definitely get the envelopes before you cut!
I usually return to the Strathmore watercolor cards just because they are easy and look good!
I used these Strathmore watercolor cards for all my tutorials this year.
They come in a variety of sizes and amounts. This is the one I ordered even though my box is red.
Pigment List
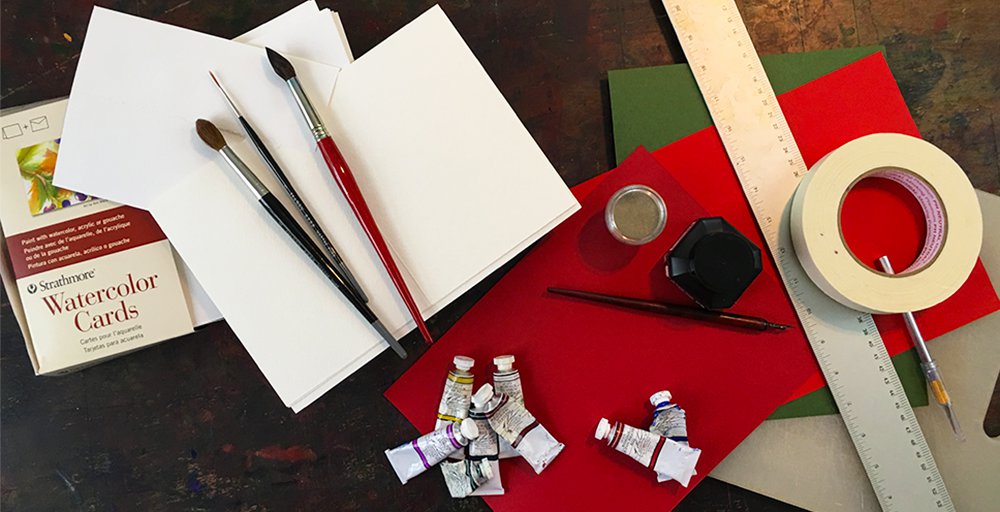
All paints I use are M. Graham transparent watercolors, except white gouache. Other brands I recommend are Daniel Smith and Schminke.
- Cadmium Yellow
- Azo Yellow
- Nickel Azo Yellow
- Burnt Sienna
- Cadmium Red
- Quinacridone Red
- Maroon Perylene
- Cobalt Violet
- Cobalt Blue
- Ultramarine Blue
- Pthalocyanine Blue
- Pthalocyanine Green
- White Gouache
So I'm using most of the pigments on my palette! You don't need to run out and buy all of these unless you're doing all the cards. Some of the paintings have limited palettes of 3-5 paints, some use all of them!
Brushes
I use an Isabey #14 sable round, an Escoda #14 squirrel round, an Isabey #1 sable rigger, and a Cheap Joes #1 rigger.
All you need is a #12-14 round and a small rigger, both with good points.
Fun Stuff!
Pen and Ink
Dip Pen Holder
Dip Pen Nib, Hunt or Speedball Crow Quill Drawing Nib #102
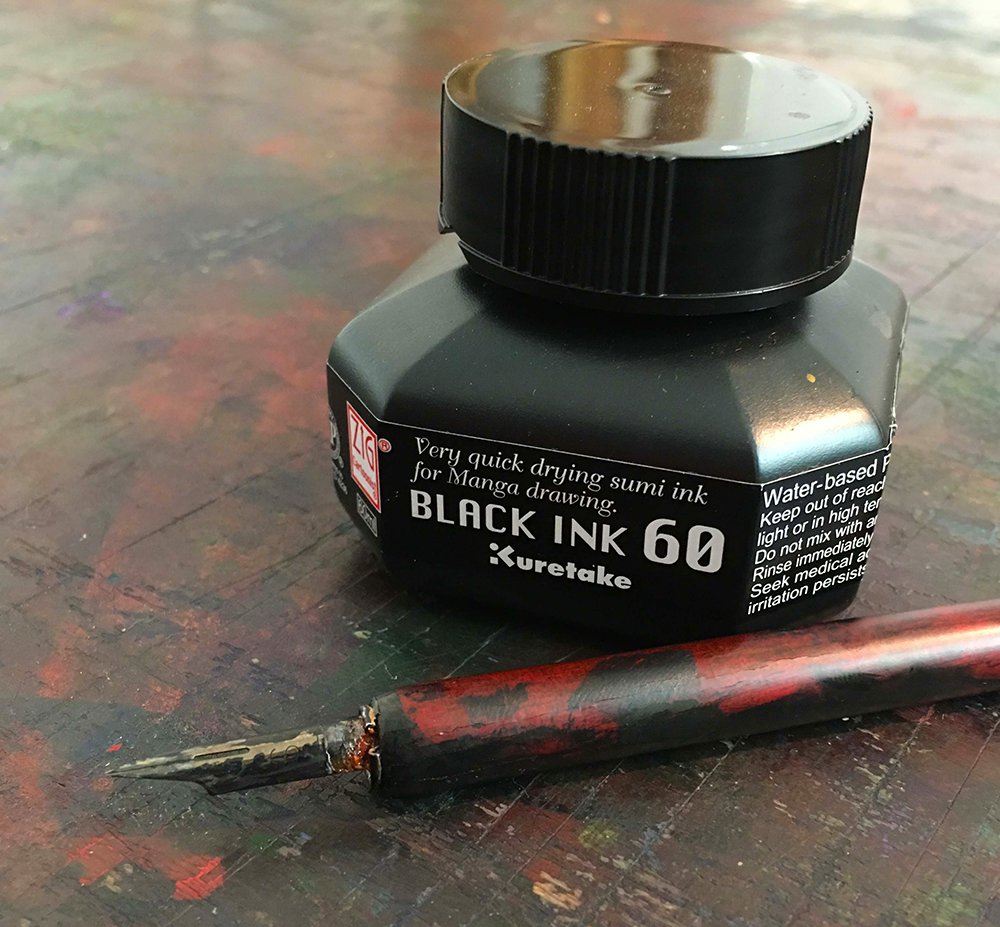
Zig Cartoonist Highly Opaque Pen Ink, Black
I use pen and ink to finish several of the cards.
The dip pen ink I use.
I love dip pens and ink! You get a lovely undulating line with the varying pressure you use on the nib. It's a perfect finishing touch to many sketches.
The drawing nib you use is highly personal to you. Different artists put different weight and emphasis on the nib so the stroke changes with the artist as much as the nib. And of course, different nibs are good for different things! I recommend buying a mixed pack at your local art store and getting a lot more of the one that fits your style. They only cost a dollar or two so it's worth trying them all!
Always let your painting dry completely before using ink on it. It will make a muddy mess if you don't! Also, while the ink I use is a great intense black and waterproof when dry, it takes 24-48 hours to dry completely. So if you want to paint over your ink, wait! Don't risk spoiling your painting or your brushes!
Most waterproof inks do have to dry a day or two, no matter what the package says. If you're using something new, test it on a scrap piece of paper. Make certain you use thick ink strokes as well as thin in your test since the thick strokes take longer to dry.
This is what I used in these tutorials.
There are a lot of fun options out there!
Embossing powder gives a great sparkle to your cards and is a lovely finishing touch! It's Christmas, so have some fun, make things sparkle. Embossing powder is a lot more refined than glitter - plus it doesn't shed on the receiver everywhere. It's a really fun touch to make your Christmas cards feel like the holidays!
I couldn't find any tutorials out there using embossing powder with paint, just stamping. However, there's nothing difficult about it. All you do is wet the area you want embossed with water or paint, sprinkle the powder on and tap off the excess on a sheet of paper underneath. The only critical part is you dry it to start from underneath. Not only does heat rise, but dried dust goes everywhere!
A perfect shiny embossing is really only achievable with a heat gun since you need 600 degrees F to get it. Melting with a hairdryer is not as good. But if you don't own a heat gun (like me) you can still get a lovely sparkly effect with your hairdryer. Prop your hairdryer up so the intake isn't blocked and heat the card from underneath. In a minute, you'll see the powder shimmering and melting into the paper. Now you have a lovely holiday sparkle that won't rub off!
Colored Cardstock
Sometimes a card needs a little something. Or sometimes you drop paint where you didn't want it. Either way, colored cardstock is a great way to frame off your artwork.
Always remember to cut the cardstock and card to fit your envelope!
I picked red and green cardstock for Christmas. It's something you can pick up at your local hobby store.
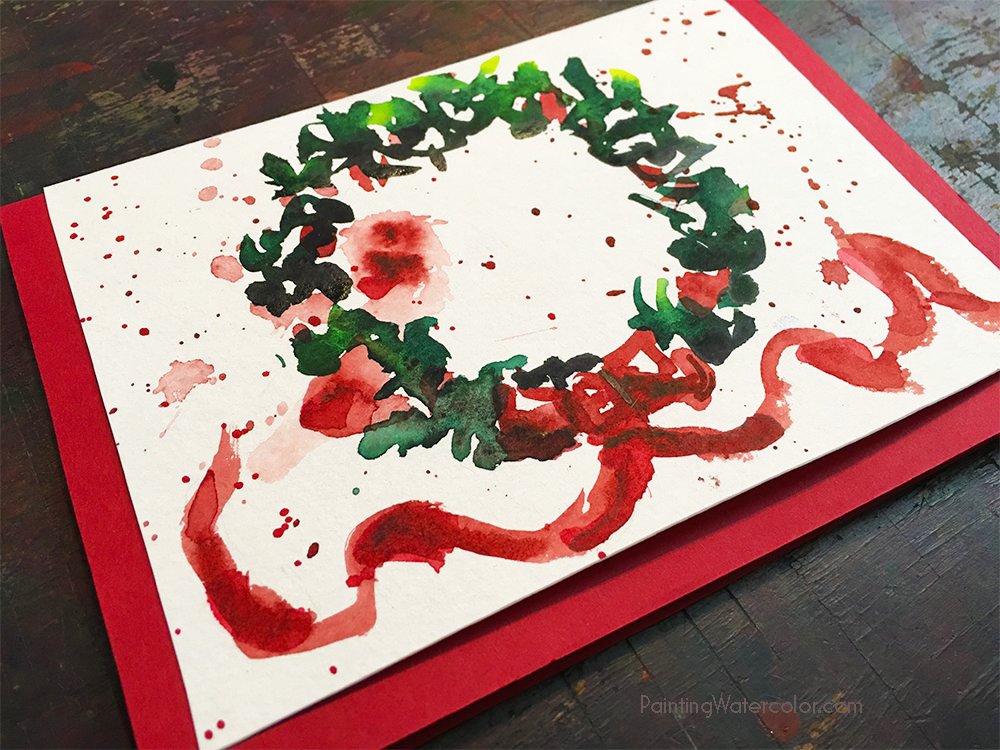
I hope this series inspires you to paint holiday cards this year for your loved ones. It really doesn't matter how good you think you are at painting. Anything you paint for someone is a thoughtful gift.
Time to put on some Christmas music and let your brush dance!
Merry Christmas and a Joyful Holiday to All!
Jennifer Branch


